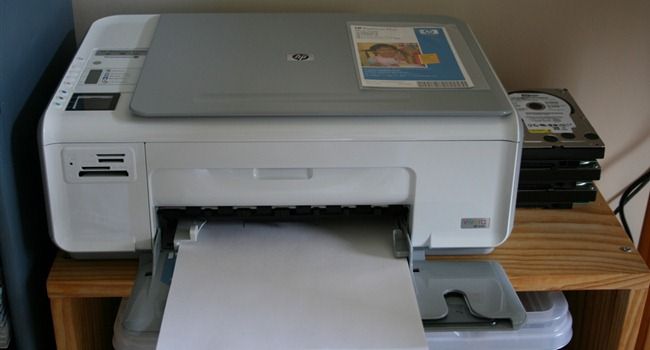
Youll also need aprinterand someheavy cardstock, preferably around 100 or 110 pound.
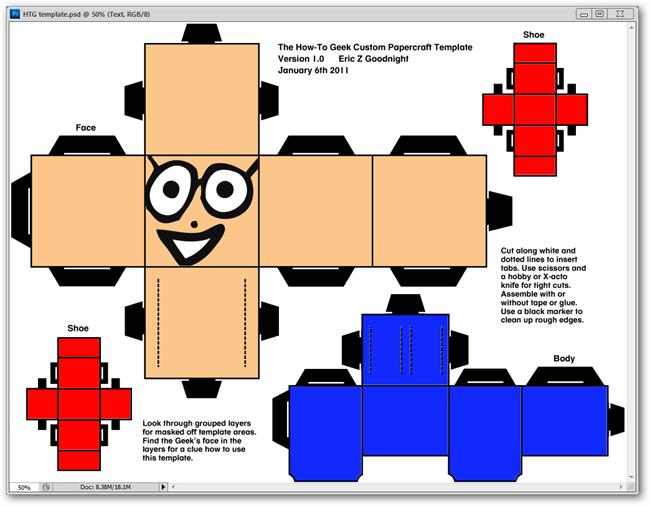
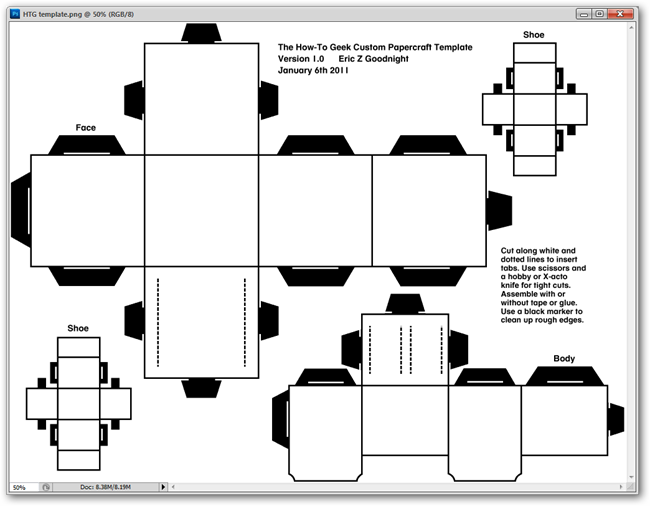
fire up the file in Photoshop and look through the layers and groups.
They are already masked, named, and separated for you to use.
Simply print it using your favorite freeware program, and skip this step entirely.
For instance, if you find the layer Geek Face, youll understand better how to customize your own.
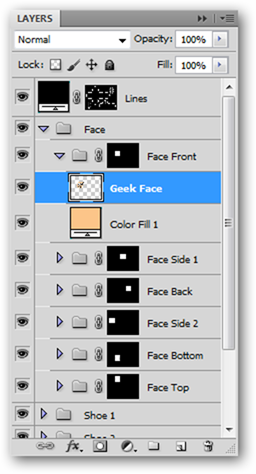
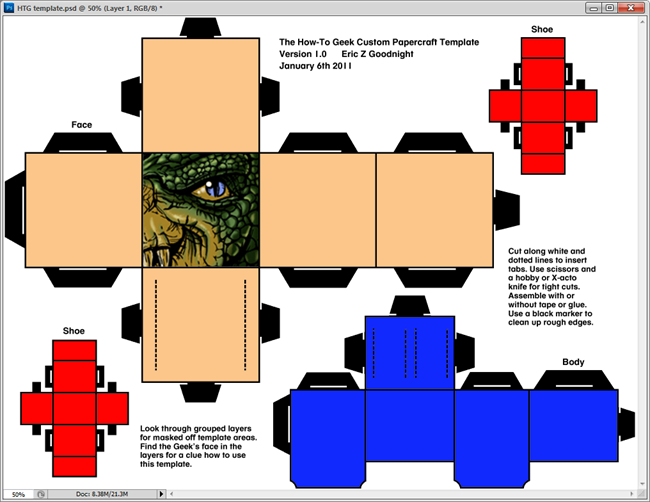
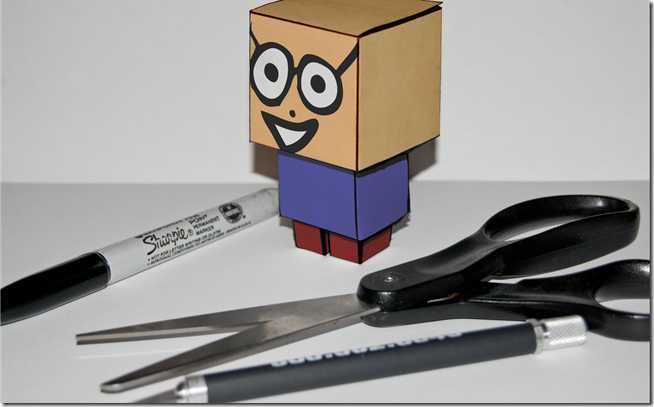
you’re free to pop any graphic you want into any of the colored squares.
you’re able to create whatever kind of character you want, using any graphics you wish to.
Take them right off Google Images, Flickr, Deviant Art, or draw them yourself.
Any inkjet (or other) printer that can fit on cardstock will work perfectly.
you might use regular paper, although cardstock is superior for building sturdy toys.
The thinner the paper, the flimsier the toy.
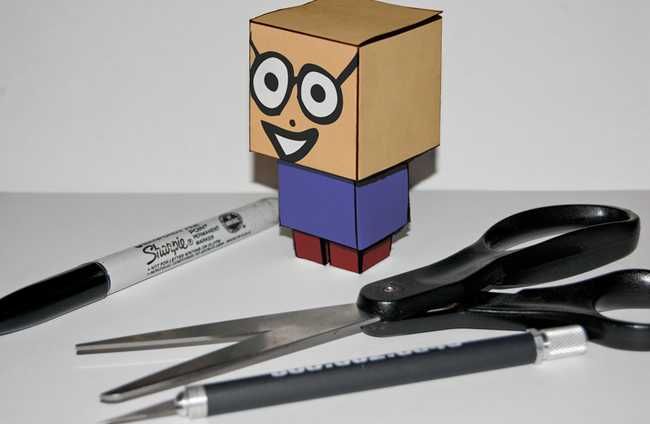
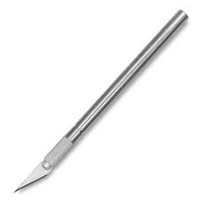
Fold along the solid lines to create cubes or rectangular prisms.
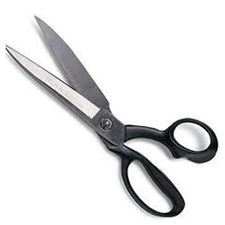
You should end up with four pieces once you fit your tabs into the cut slots.
What the body has tabs that fit into the head, and the two feet fit into the body.
The construction is fairly simple, but can be frustrating.
Have fun with it, and happy papercrafting!
Looking forward to some fun creating your own custom papercraft toys with this template?
Send photos of your favorites to the author via twitter or twitpic attwitter.com/mrbadexample.
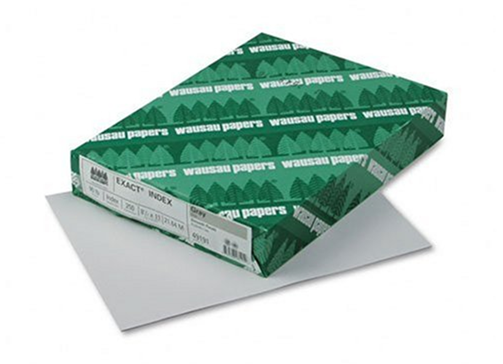
Image Credits: Product screenshots assumed fair use.
Photo Printer byWilliam Hook, available underCreative Commons.Photo by the author available underCreative Commons.
The HTG Custom Papercraft Template available underCreative Commons, with inspiration from the very excellentCubeecraft.com.