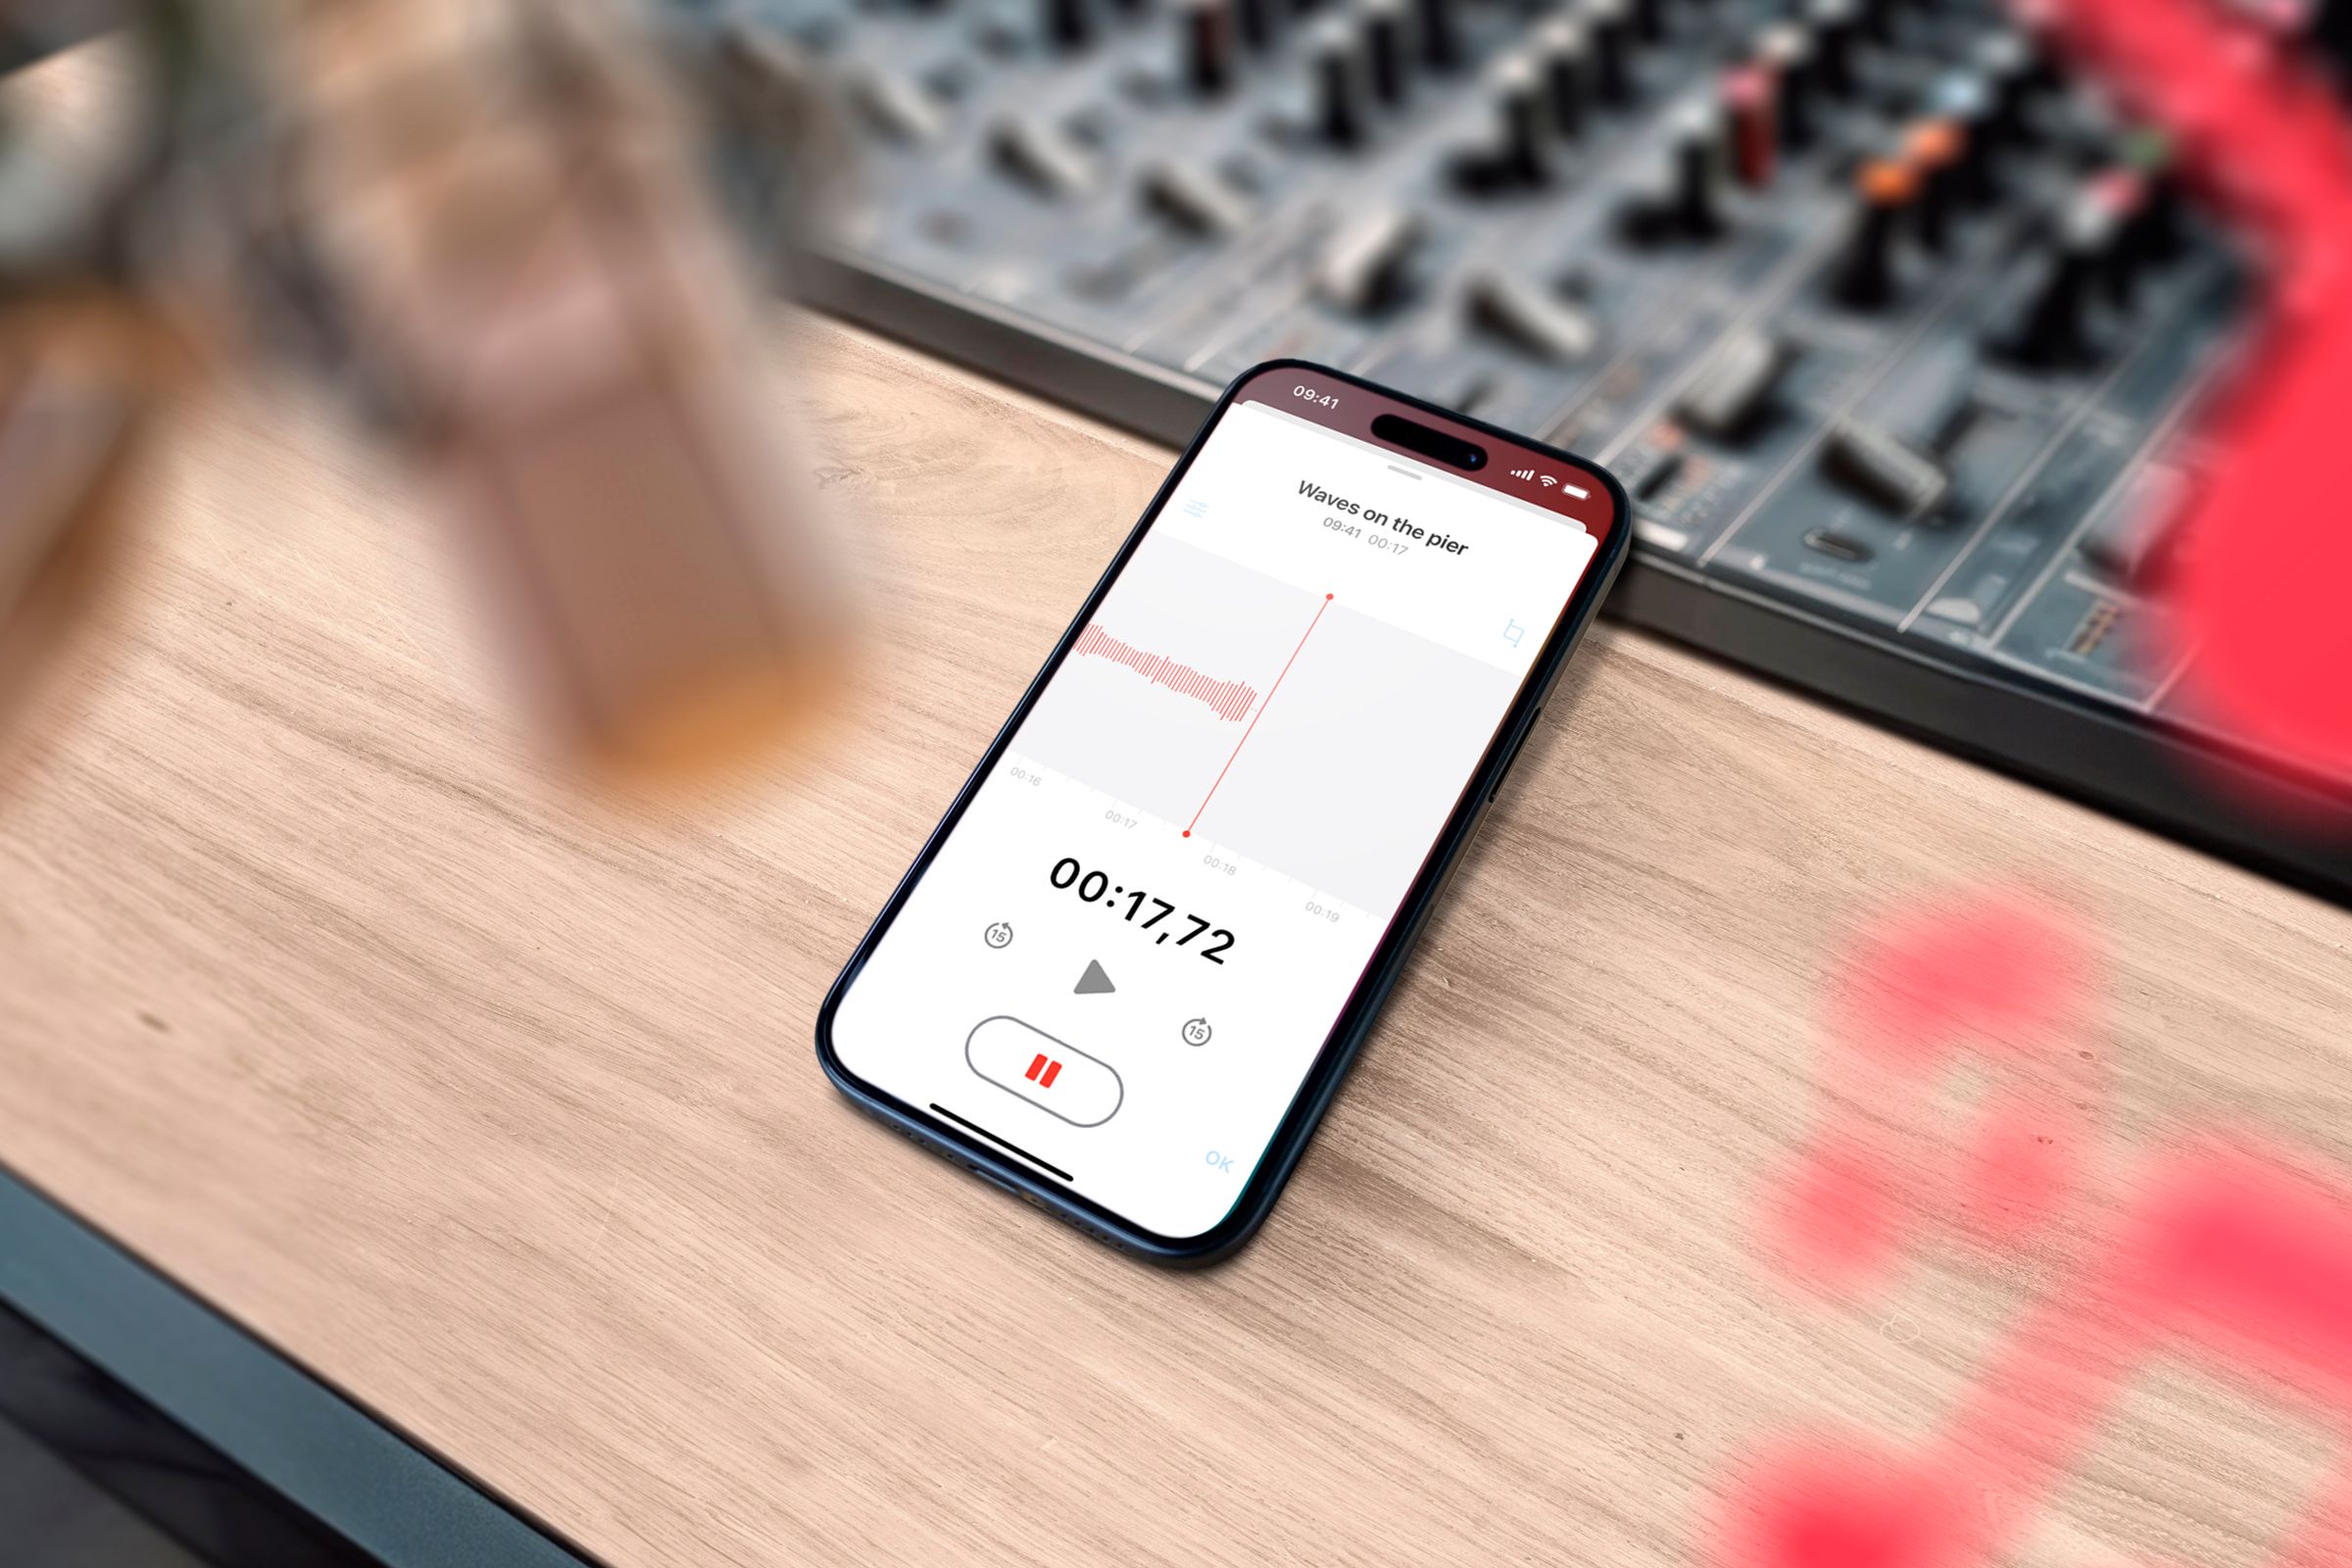
Select “Audio Quality” and switch it from compressed to lossless.
Better quality at the click of a button.
There is a catch, though.
Position the Phone Wisely
The position of your iPhone greatly affects the sound.
First, point the mic toward the sound source as this will pick up frequencies more clearly.
However, positioning also depends on the acoustics of the room.
Lucas Gouveia / Corbin Davenport / How-To Geek
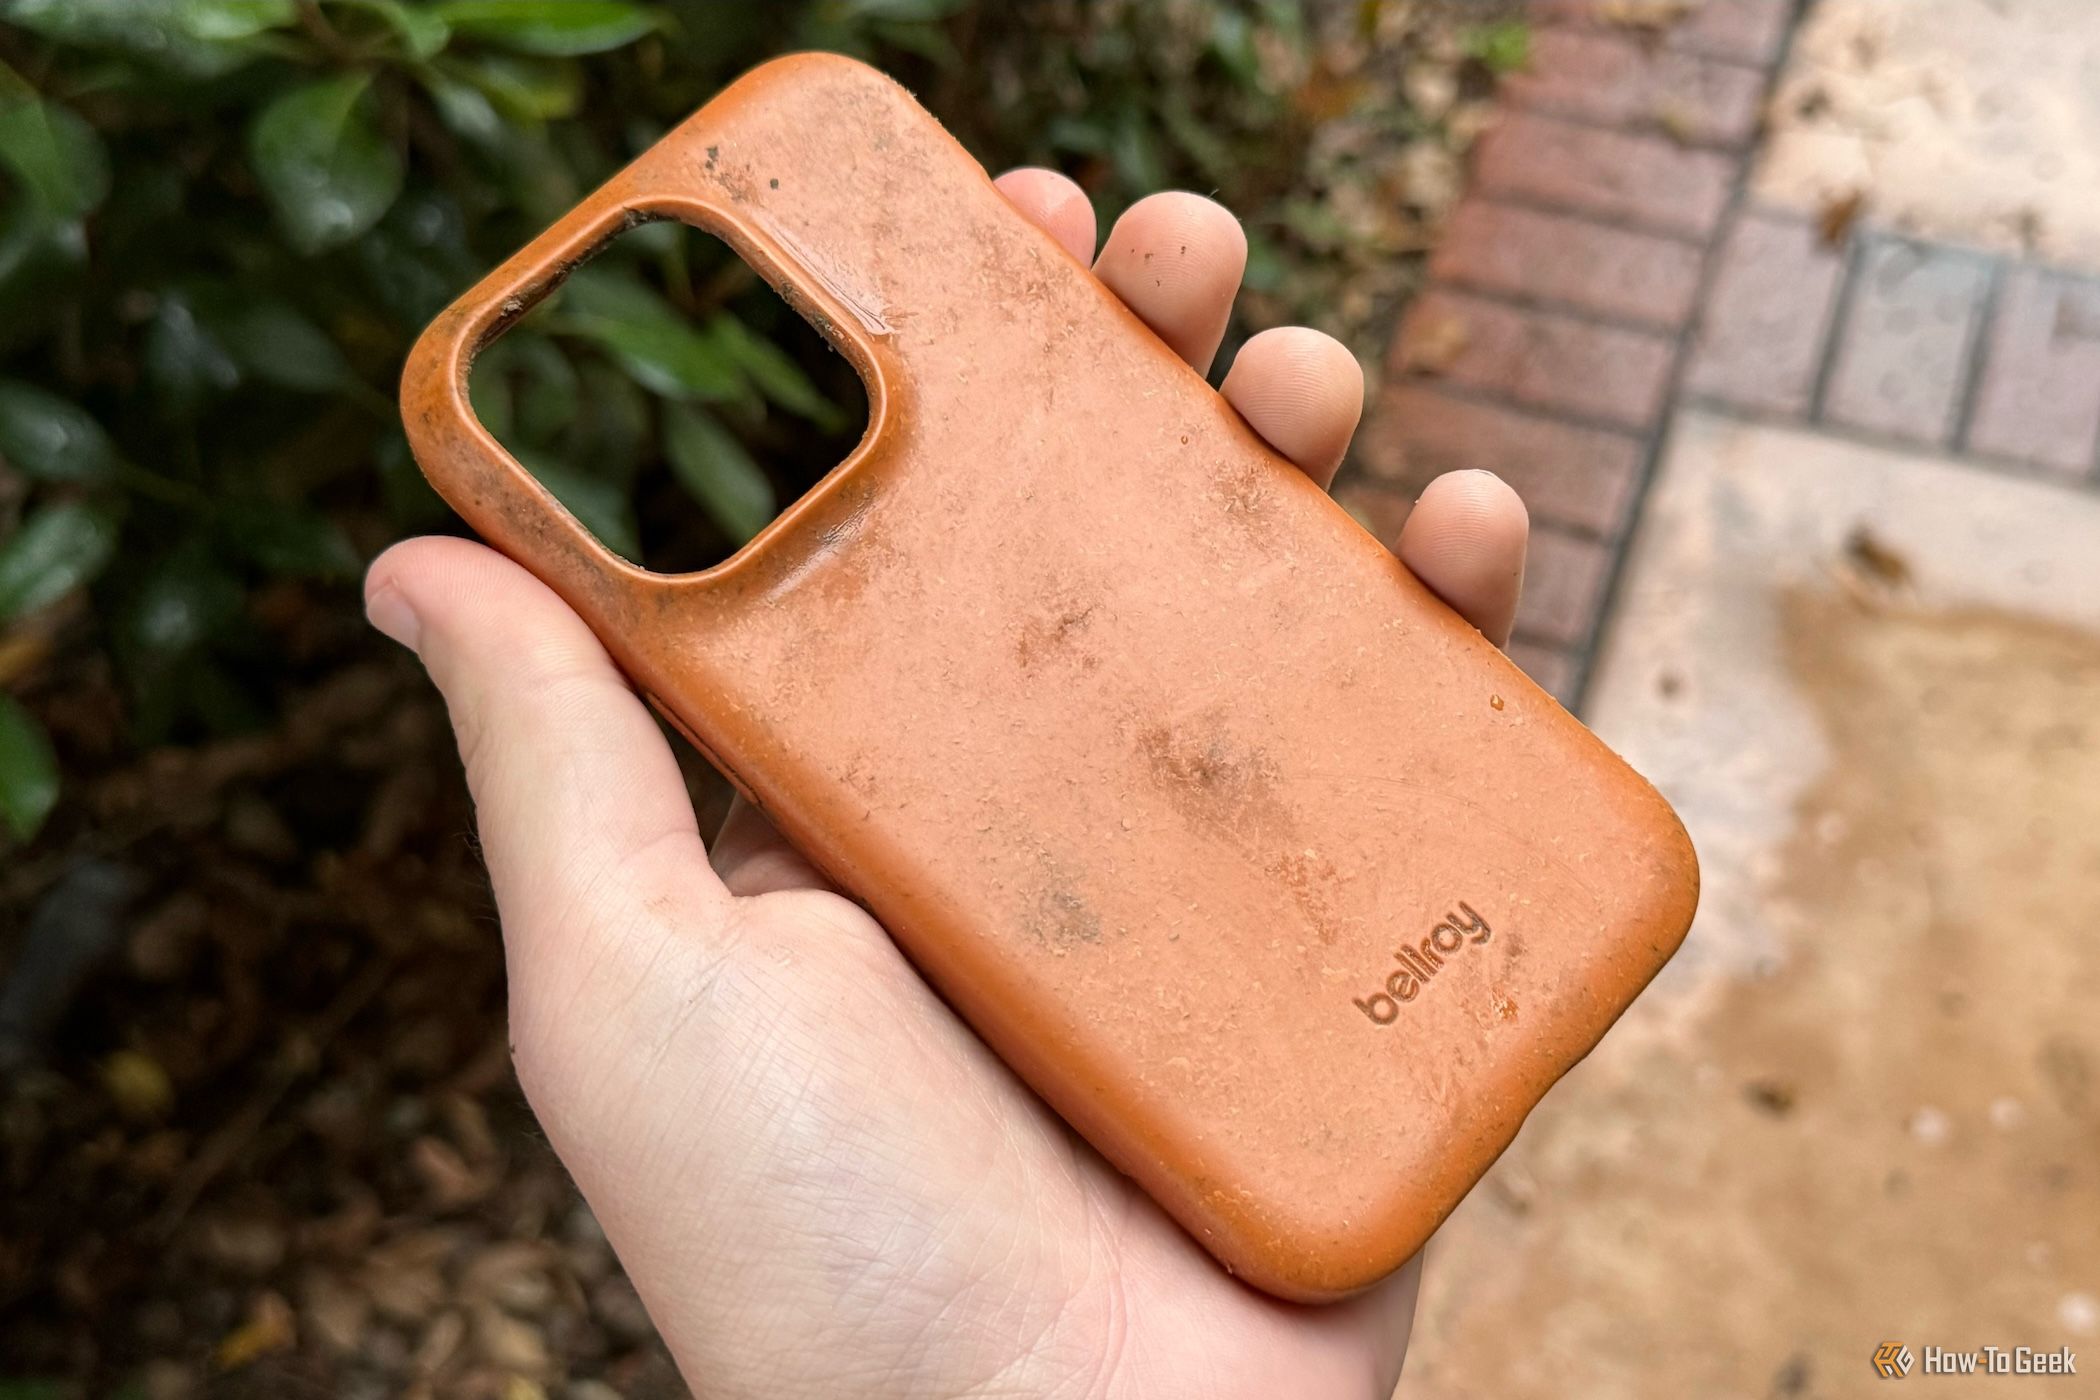
yo remember not to use anything too abrasive, then brush until all the debris is gone.
If you have some stubborn grime, I’d recommend getting a toothpick to chip away at it.
Always double-check to run some tests after you’re finished to ensure your cleaning was a success.
Justin Duino / How-To Geek
Pause Notifications
Maybe you’re the pop in of person whose phone buzzes off the hook 24/7.
Prepare the Environment
Capturing a flawless recording requires isolating the microphone from any outside noise.
As such, it’s crucial that you choose the right recording space.
Tyler Hayes / How-To Geek
I find that the smaller the space, the better.
You also want to do what you could to eliminate ambient noise.
But only do so as long as it doesn’t hinder your ability to record.
However, while Otter has a free trial you might use, it only lasts a month.
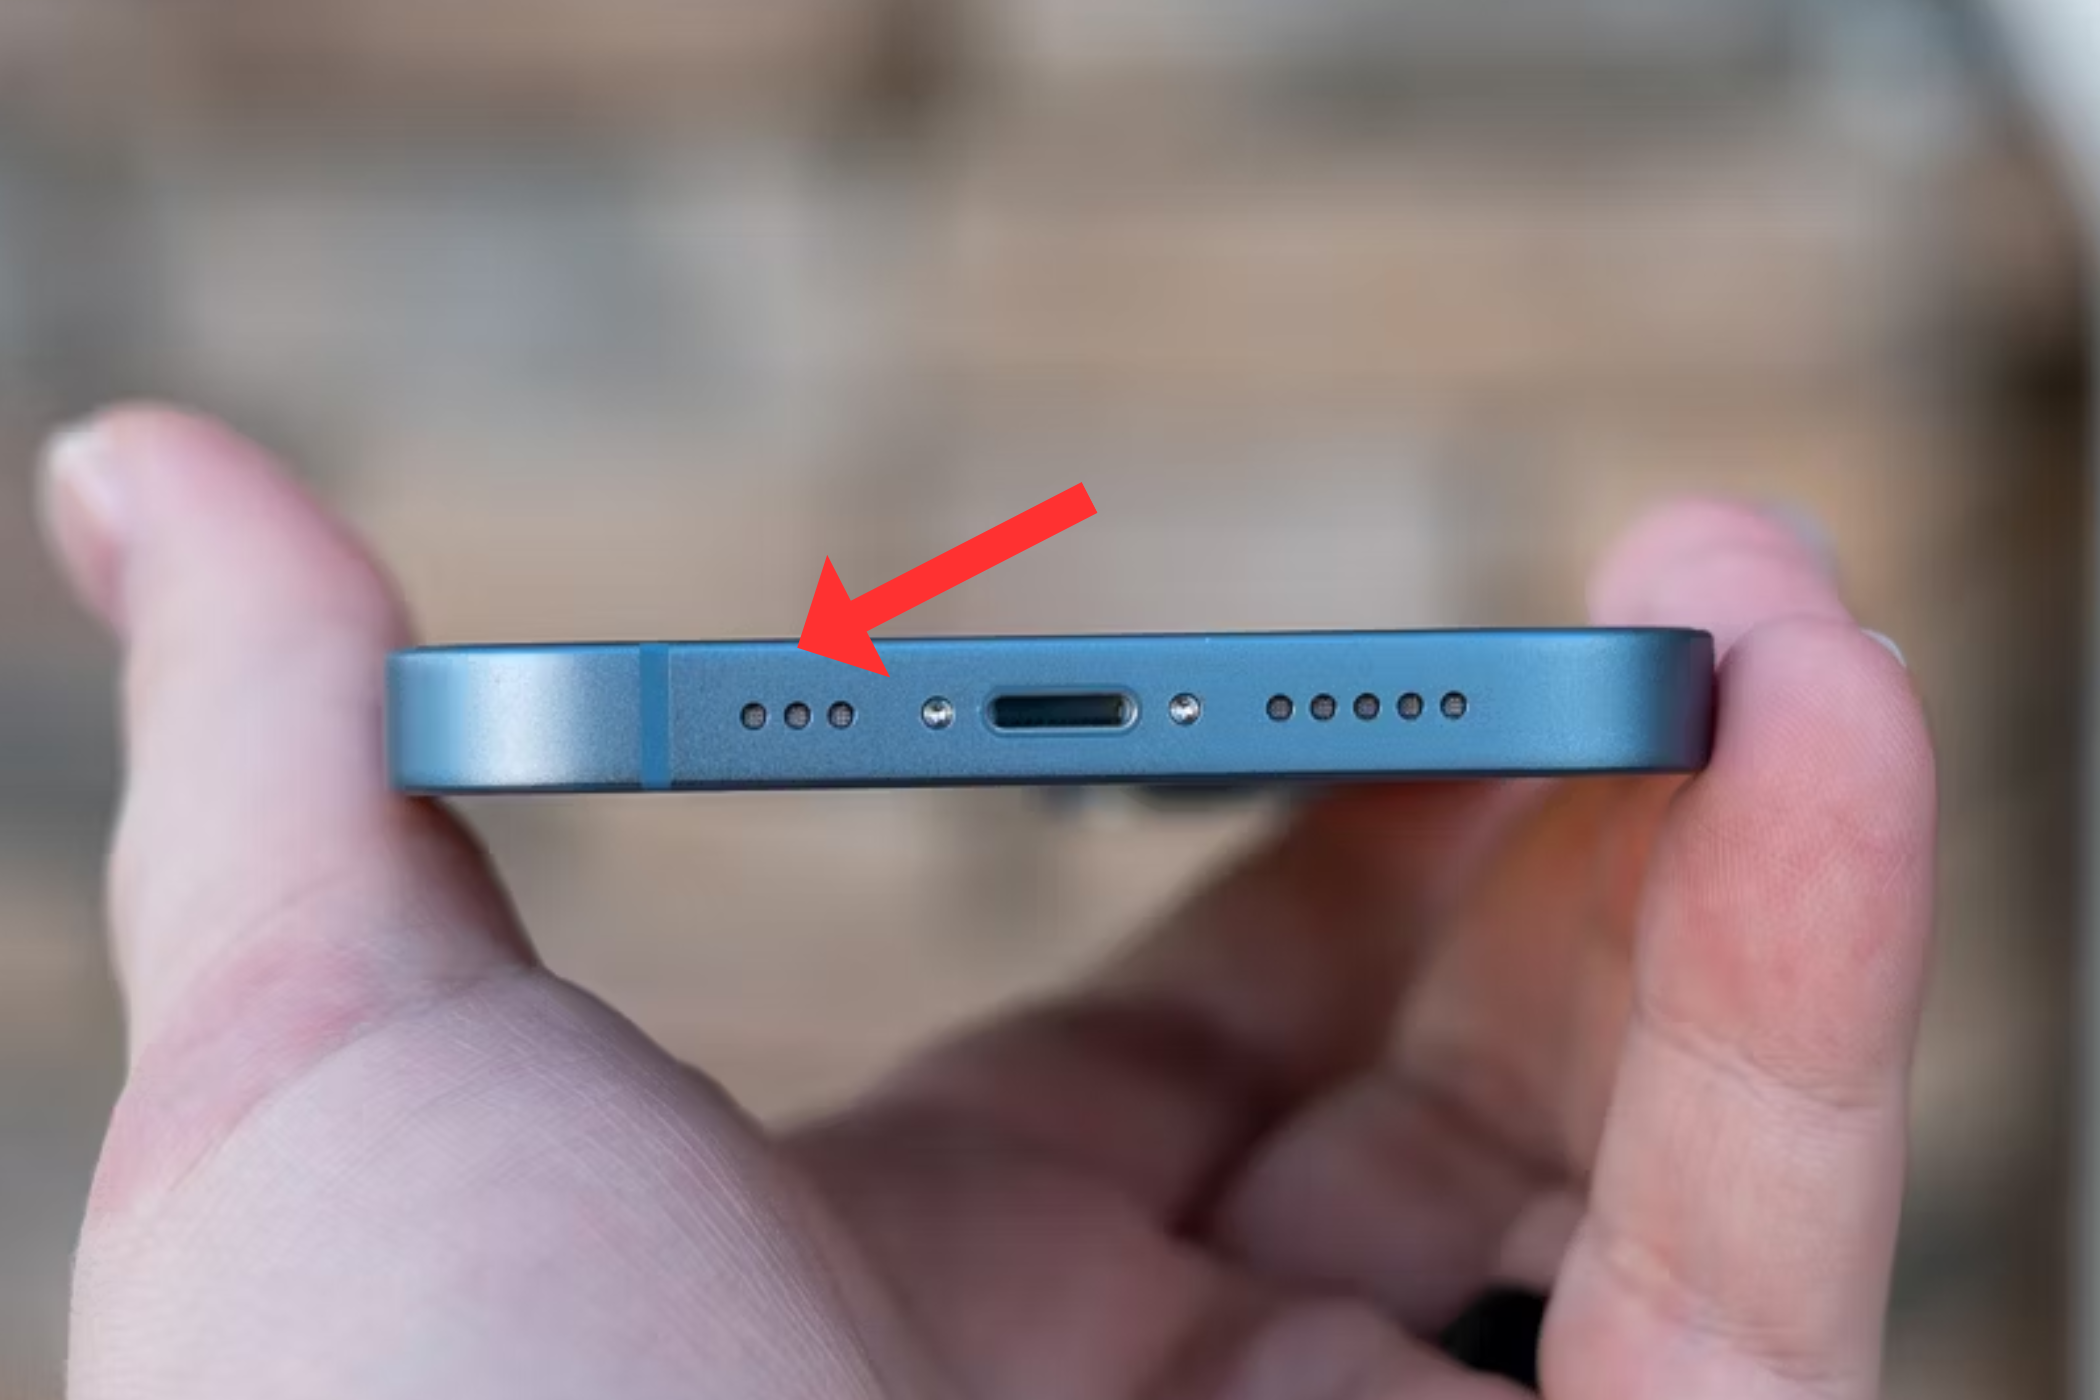
Not all cases hinder your recordings but always inspect your case to ensure it won’t.
First, record with the case on, and then again with the case off.
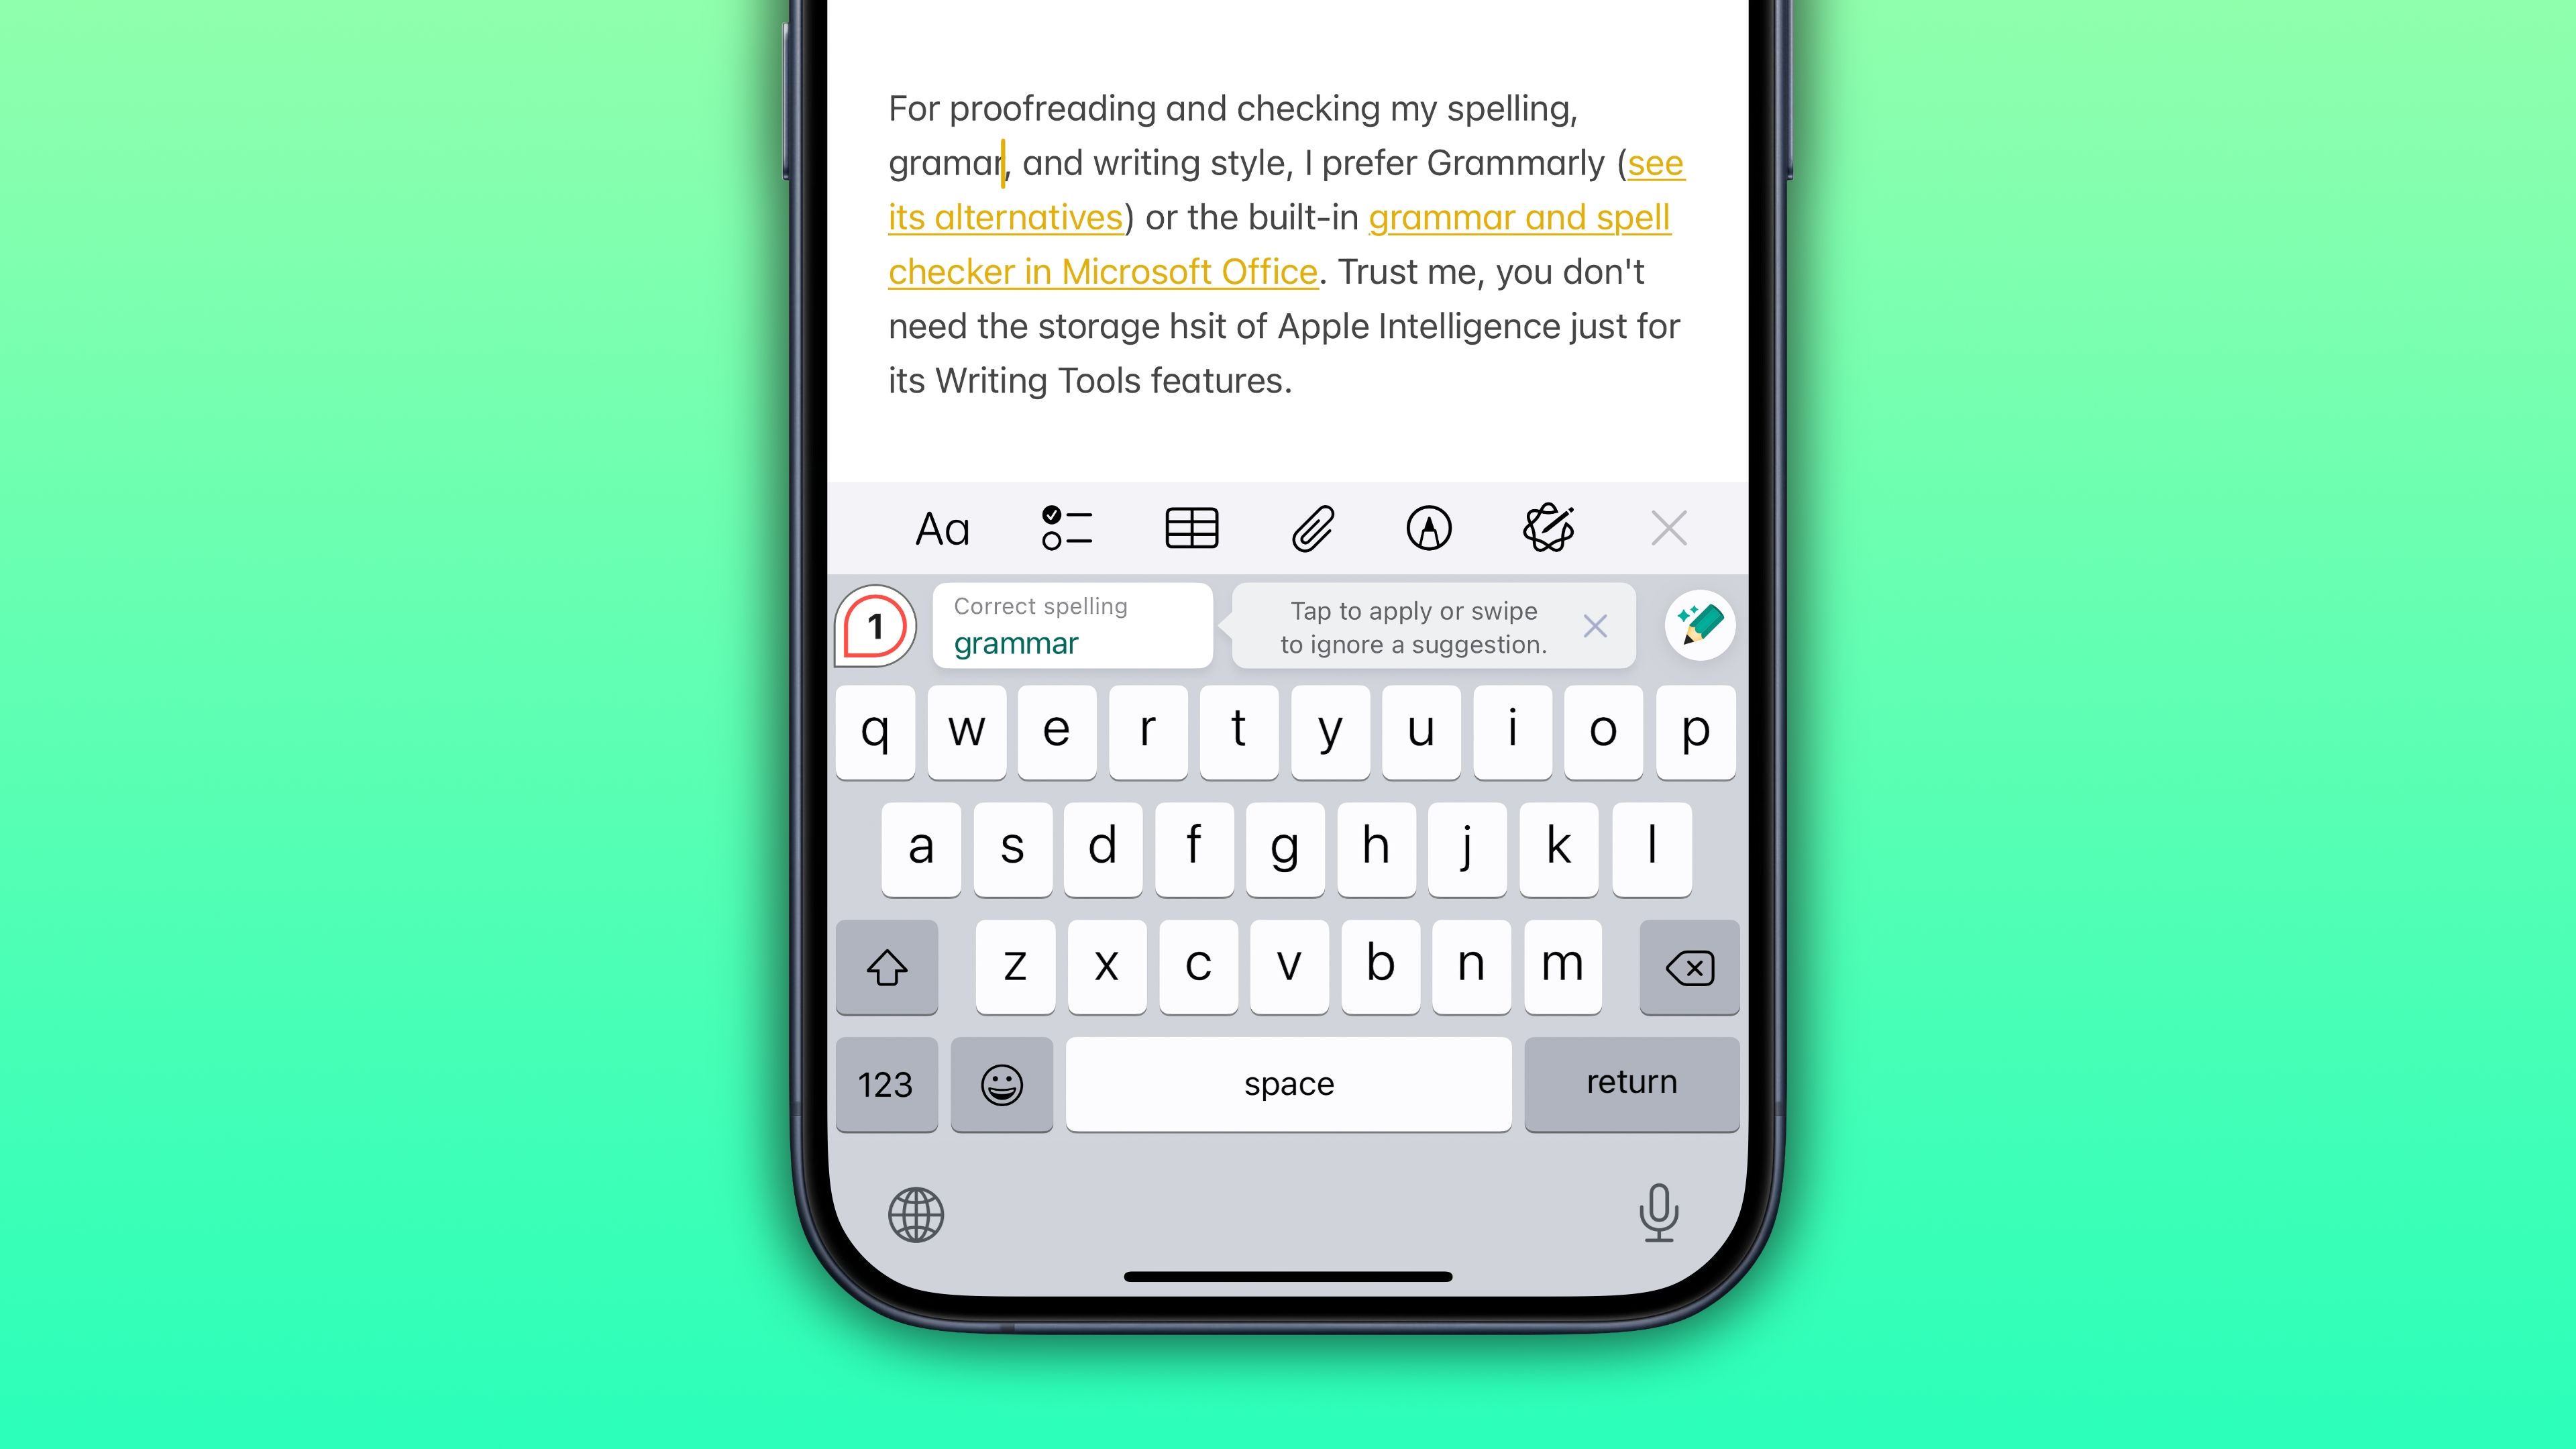
Remember that audio recordings, even low-quality compressed ones, will take up space on your iPhone.
