Fortunately, there are various fixes you’re able to use to sort out the issue.
Let’s explore these solutions in detail.
Toggle the Privacy Shutter
There are many reasonswhy you should use a camera privacy shutter.
Hannah Stryker / How-To Geek
If you’re using one, ensure that it’s fully open.
Additionally, check the camera lens for any dirt or debris that might be obstructing its view.
Therefore, thoroughly check the lens and, if necessary, gently clean it with a microfiber cloth.
Be very careful using cleaning liquids on or around your webcam or computer screen.
Some of them will damage or completely remove anti-glare coatings present.
It the unit has a touch screen, harsh cleaning solvents may damage the oligophobic coating, too.
Use pure water when you have to use a liquid.
Never use any cleaners with micro-abrasives.
Additionally, trydisconnecting any unnecessary USB devicesthat are connected to your system.
Use the Camera Troubleshooter
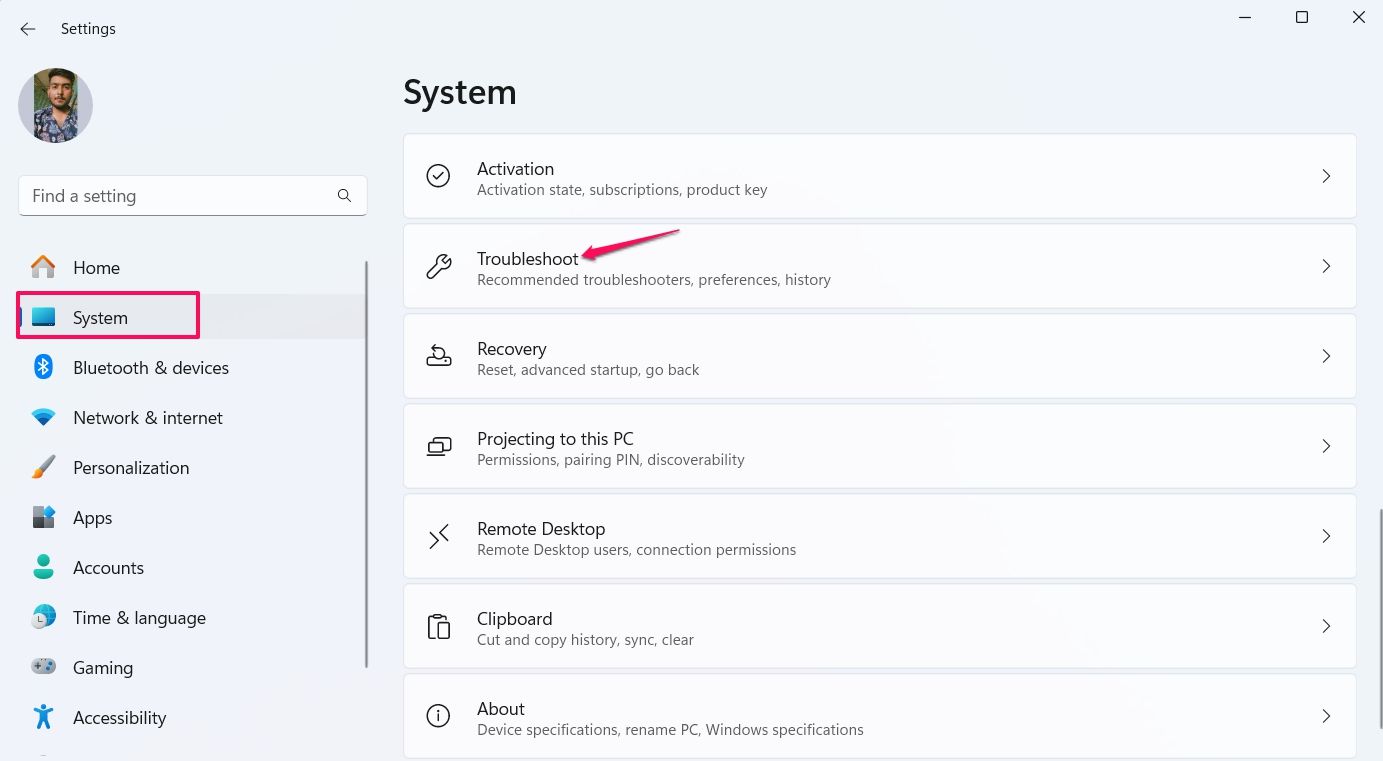
Windows offers various troubleshooters that can be useful for resolving different issues.
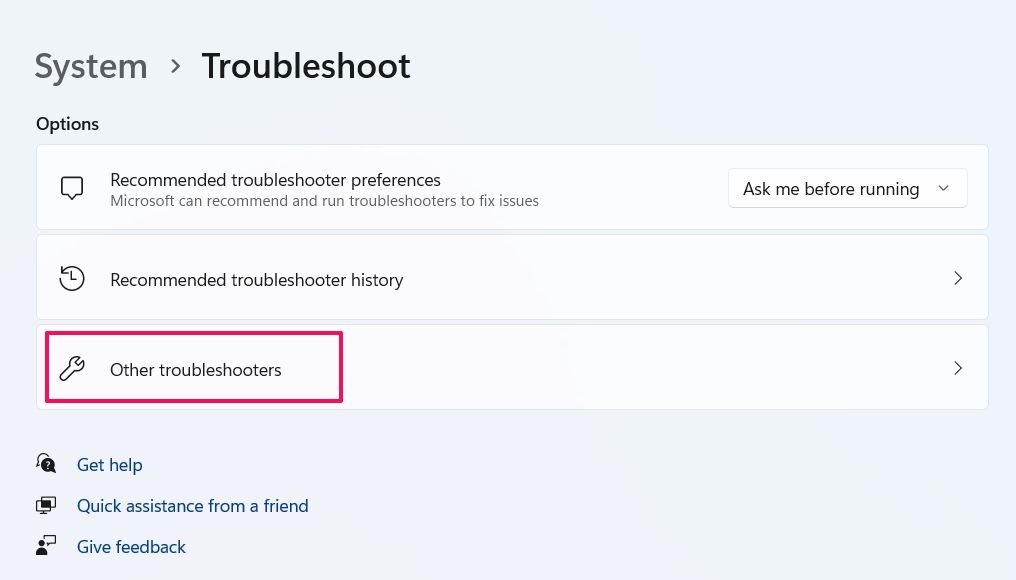
Then, select “System” from the left sidebar and click “Troubleshoot” in the right pane.
Click “Other troubleshooters.”
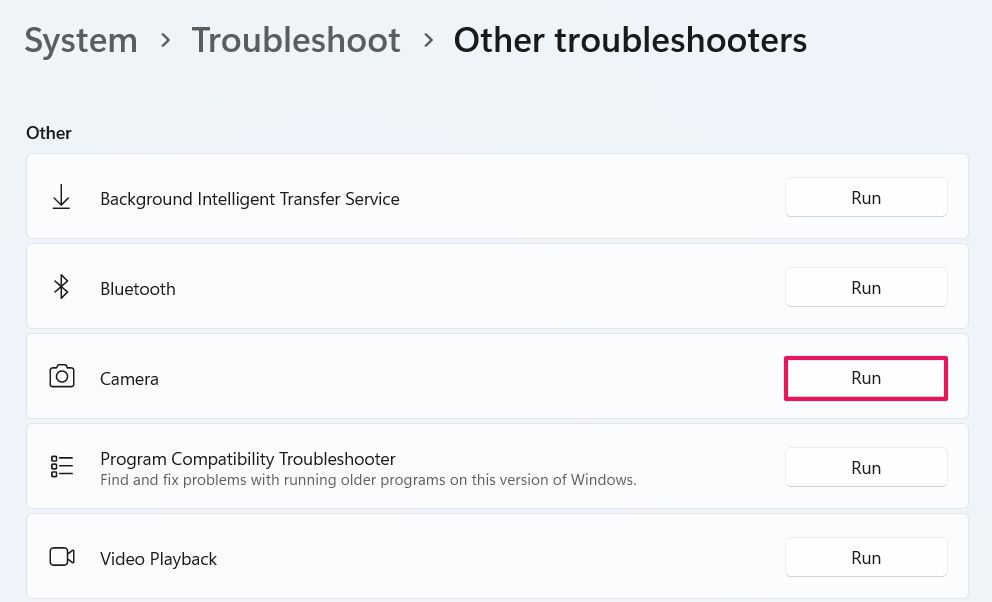
Click “Run” next to the Camera option.
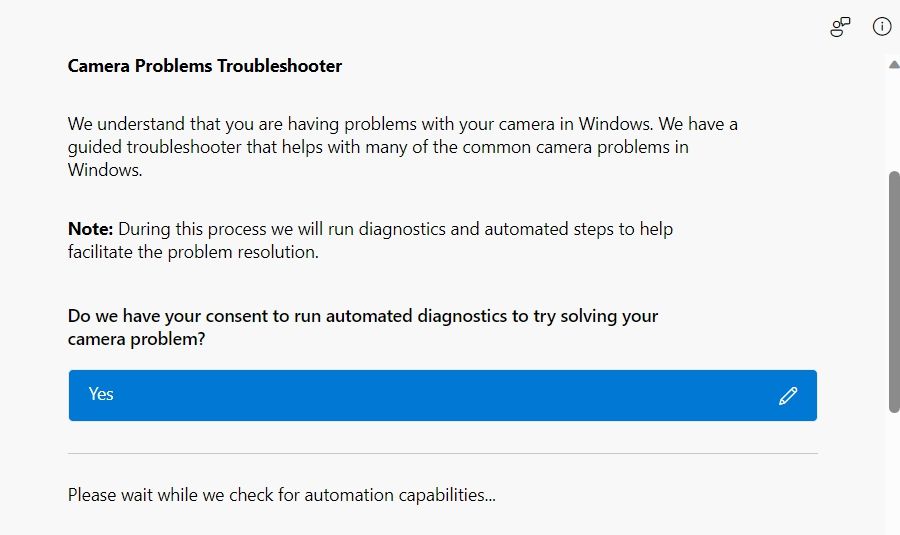
The Camera troubleshooter window will open.
Now, follow the on-screen instructions to see if the troubleshooter resolves your issue.
If the troubleshooter fixes your issue, you’re good to go.
However, if you’re still facing the problem, try the next solution on the list.
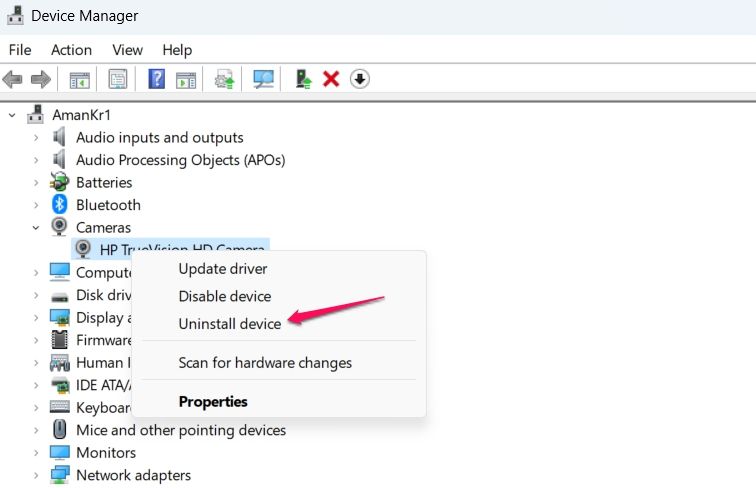
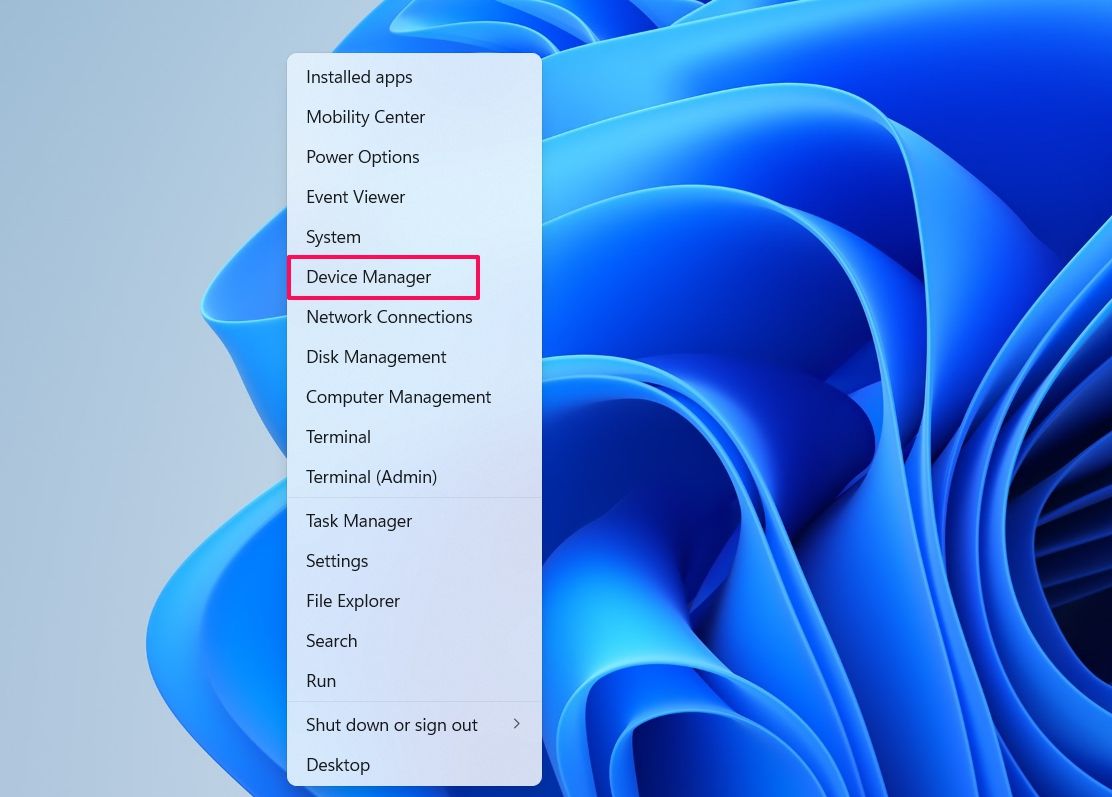
To begin, you need toopen equipment Manager.
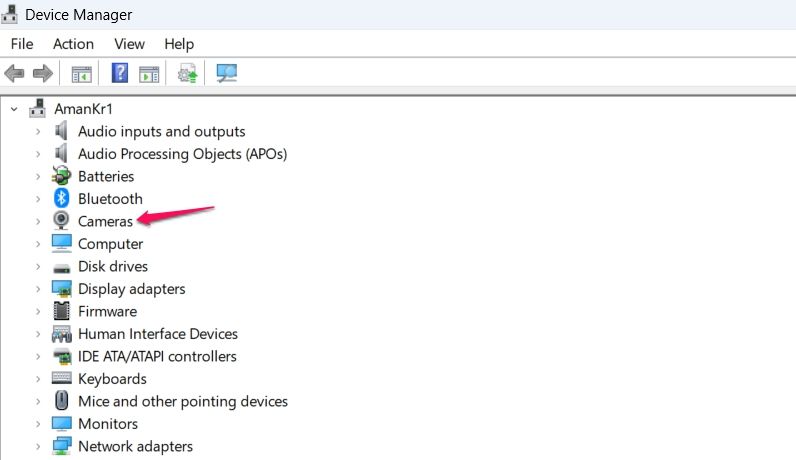
Press the Windows+X keys together and choose “machine Manager” from the menu that appears.
In the machine Manager, double-smack the “Cameras” node.
Right-clickon your camera and choose “Disable gear.”
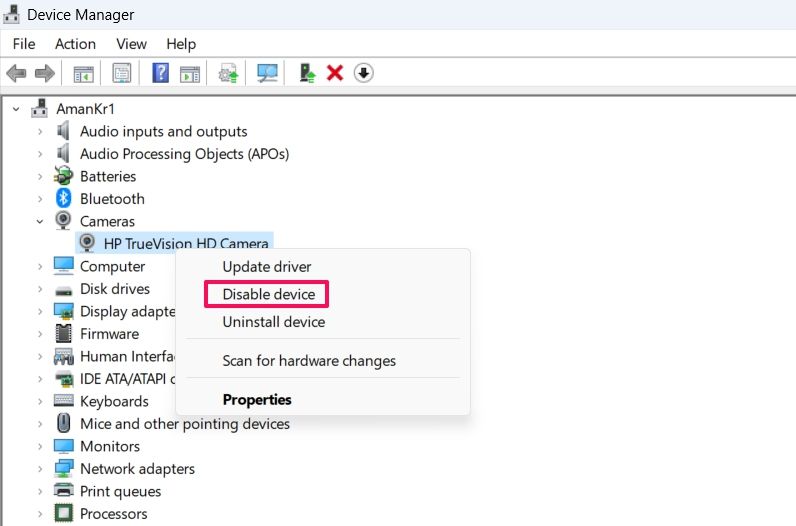
Click “Yes” to the confirmation box that appears.
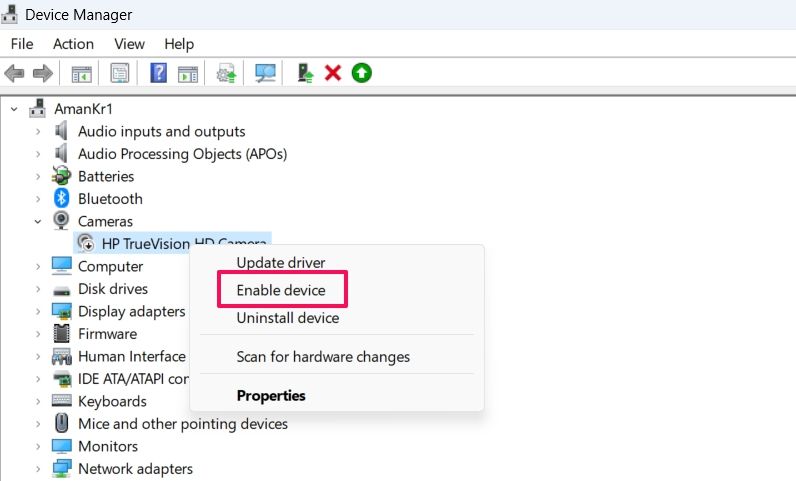
Now, kill the unit Manager and peek if you are still facing the issue.
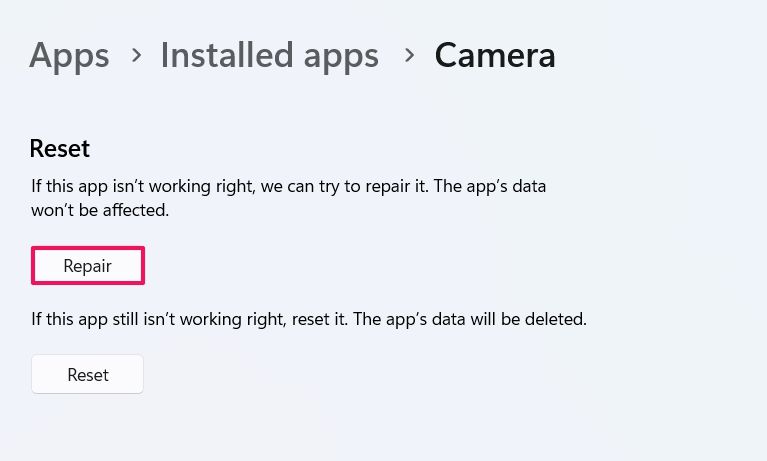
Fortunately, Windows offers a repair feature that can detect and fix corruption in the app files.
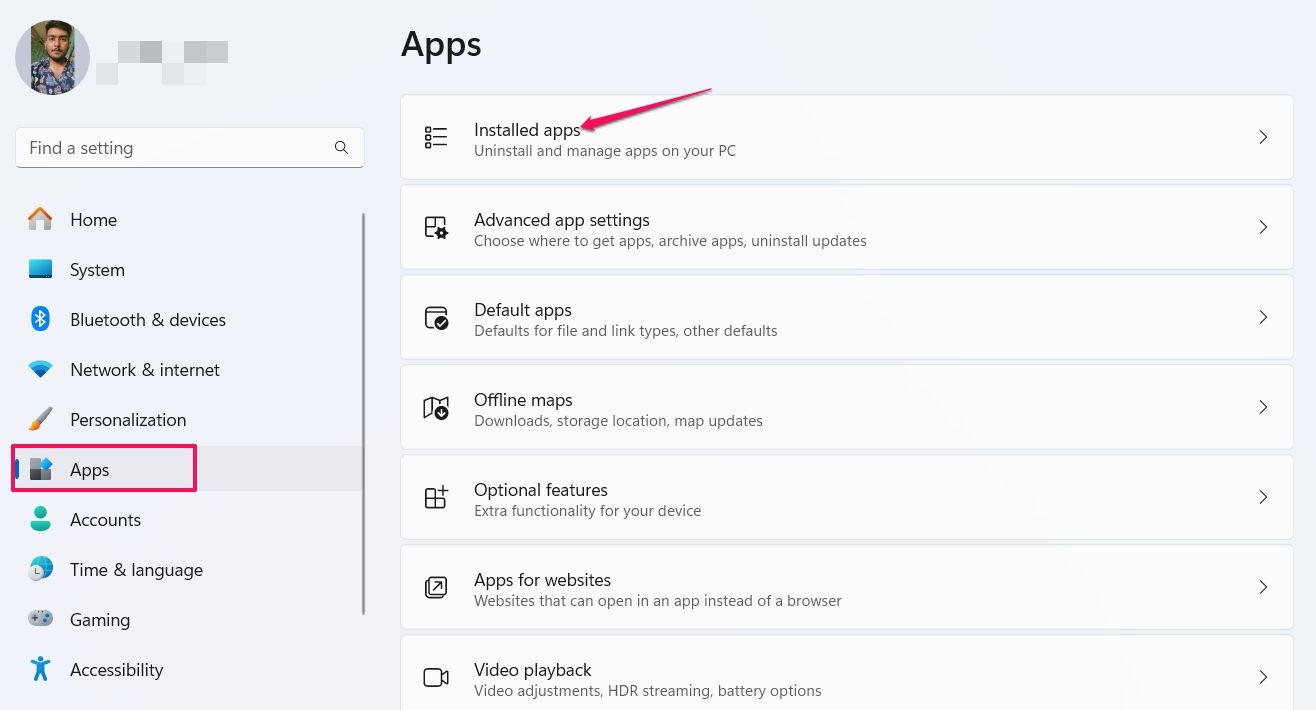
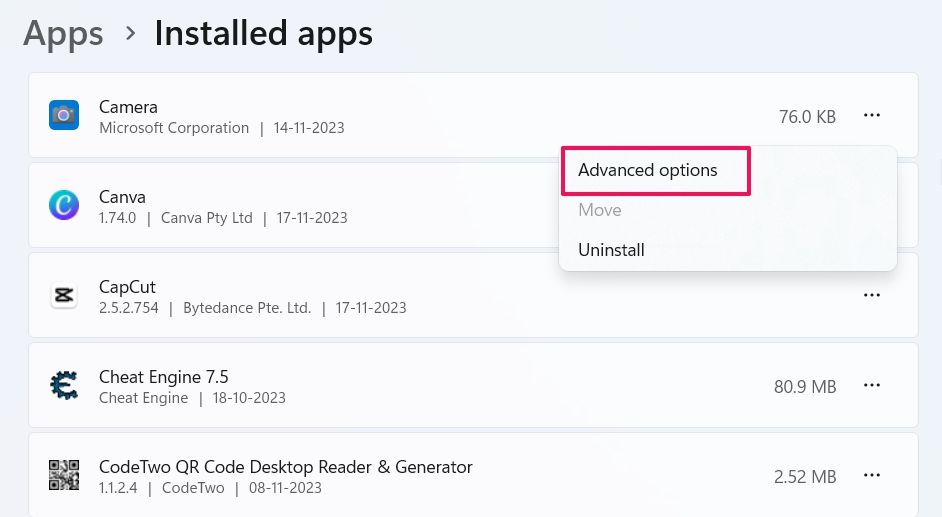
tap the three-dots next to Camera and choose “Advanced Options.”
Under the Reset section, nudge the “Repair” button.
Windows will now give a shot to repair the app.
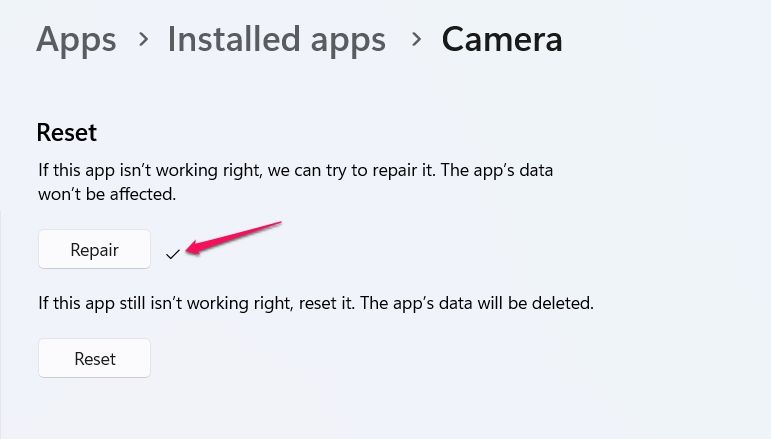
Once the process is complete, you will see a checkmark next to the Repair button.
Now, launch the Camera app and look to see if the black screen issue has been resolved.
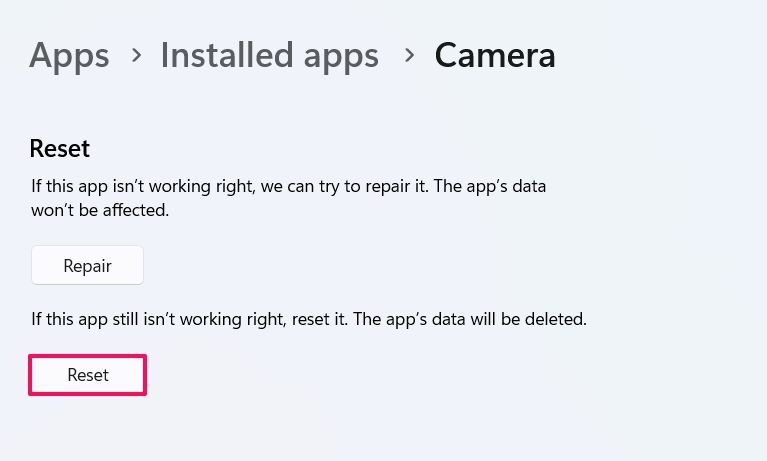
If the issue persists, you will need to reset the Camera app.
However, note that resetting the Camera app will erase all of its data.
To reset the Camera app, smack the “Reset” button.
Once the reset process is complete, launch the Camera app.
It should now be working fine.
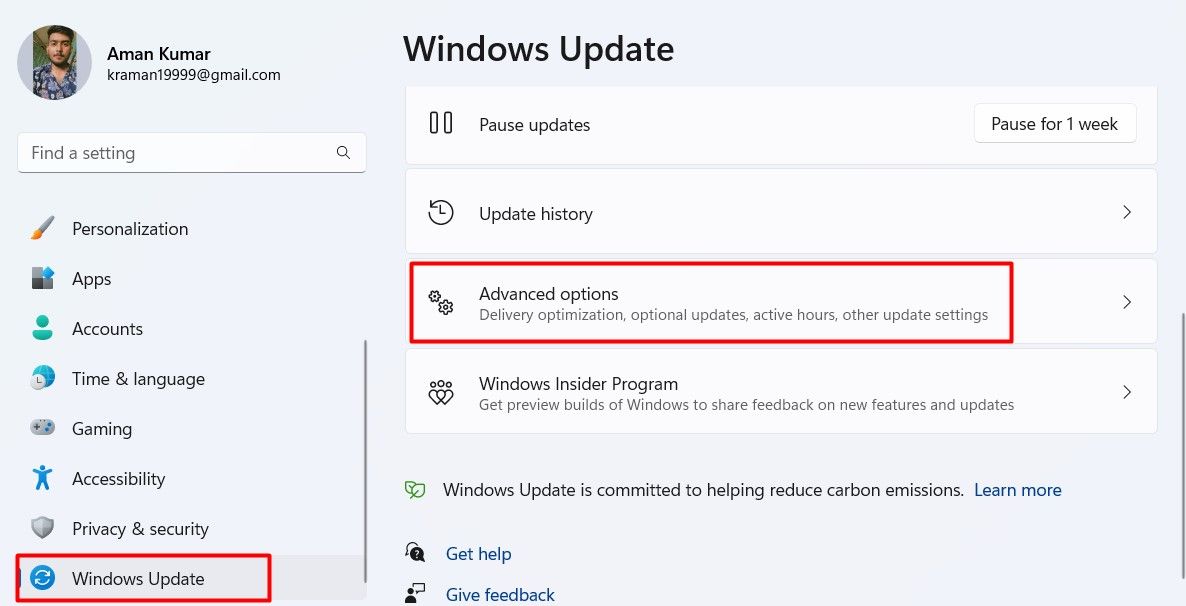
An updated ecosystem minimizes the risk of encountering issues stemming from outdated software and drivers.
grab the “Optional updates” option under the Additional options section.
Now, double-nudge the “Driver updates” section and check for any available updates for your camera.
This will be helpful if the problem is occurring due to corruption in the camera driver.
Then, click “Uninstall” again on the confirmation box that appears.
After that,kickstart your system.
Windows will automatically search for and plant the camera driver.
You should now be able to take photos and videos without any issue.