This is why you should use Microsoft Word instead.
Start in Excel by creating your list of names and addresses.
Then,press F12 to name and keep your documentin a memorable place on your box.

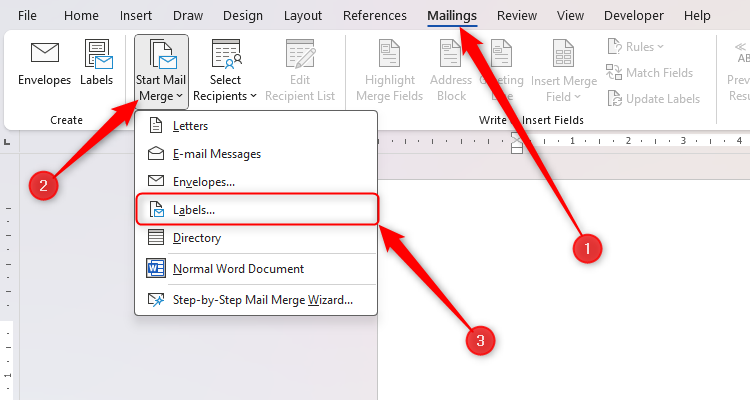
Now, open a blank Word document, and click Mailings > Start Mail Merge > Labels.
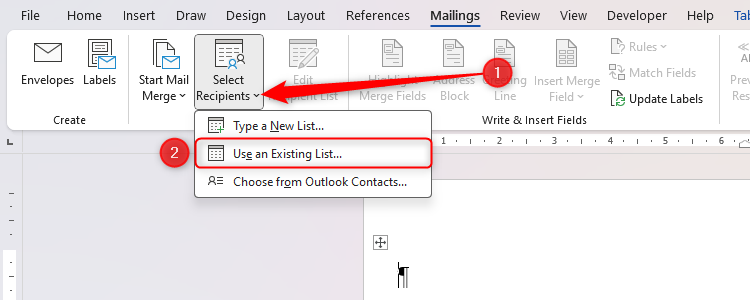
The next step is to import the address list that you created in Excel.
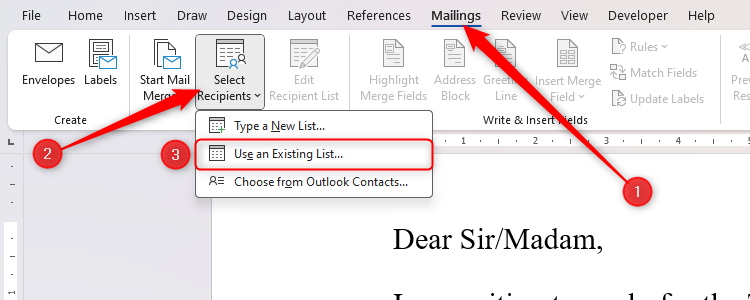
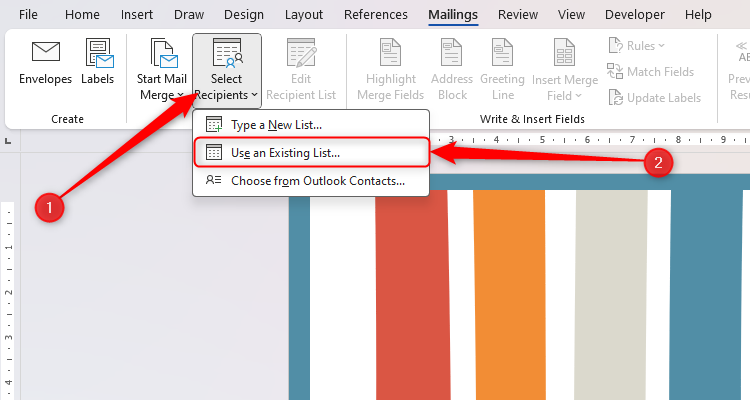
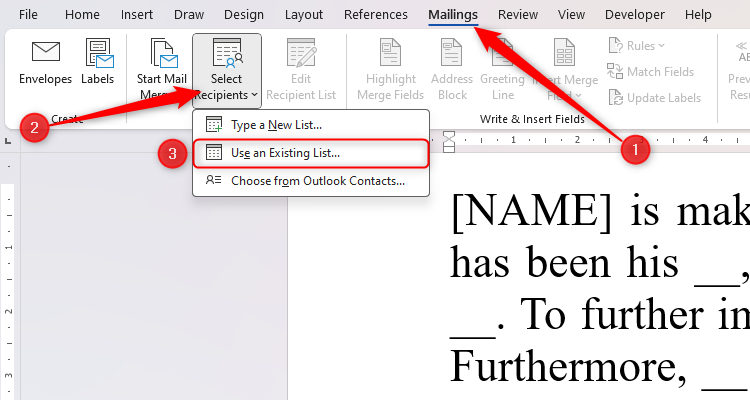
To do this, with the Mailings tab still open, click Select Recipients > Use An Existing List.
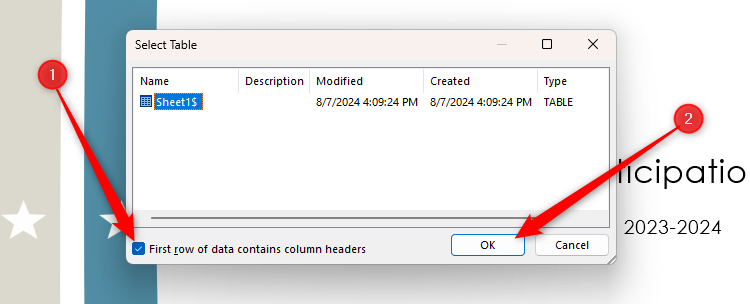
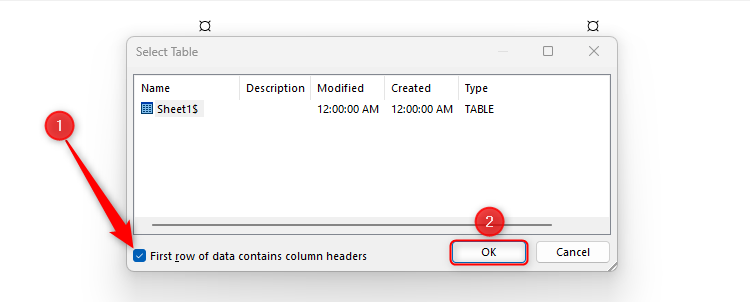
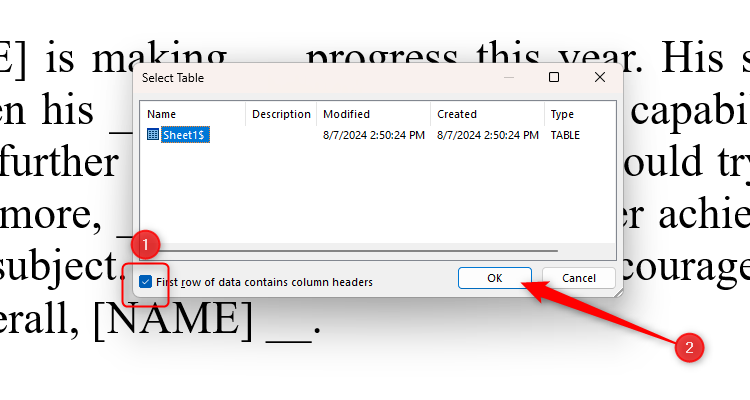
Word is now ready to pull the data across from Excel.
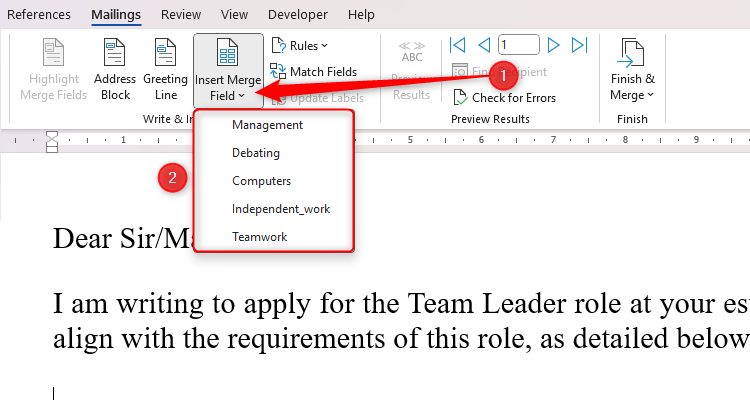
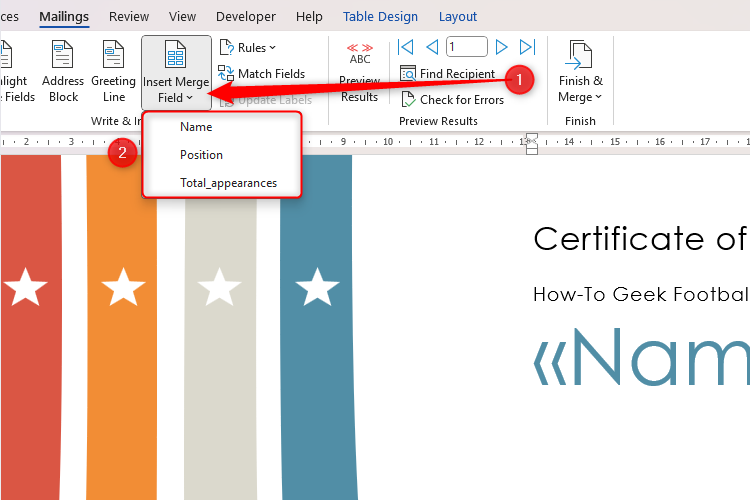
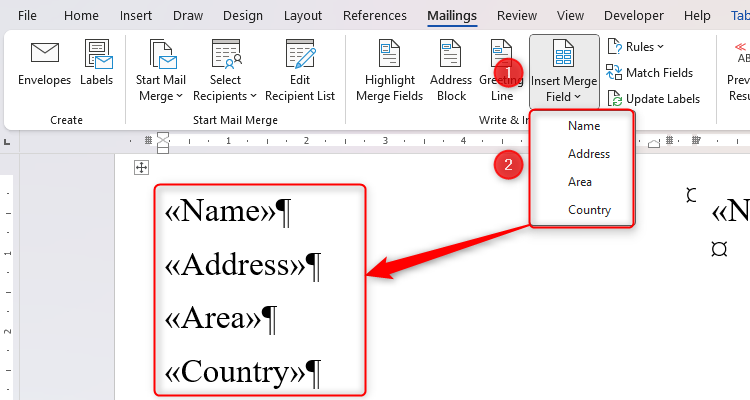
Repeat the process for each line of the address label, making sure you press Enter between each one.
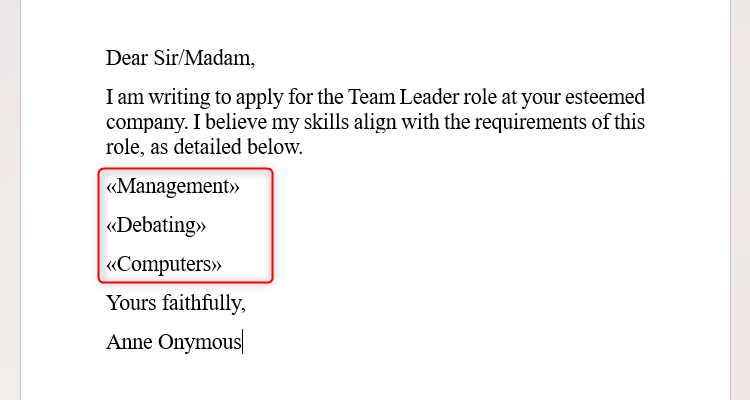
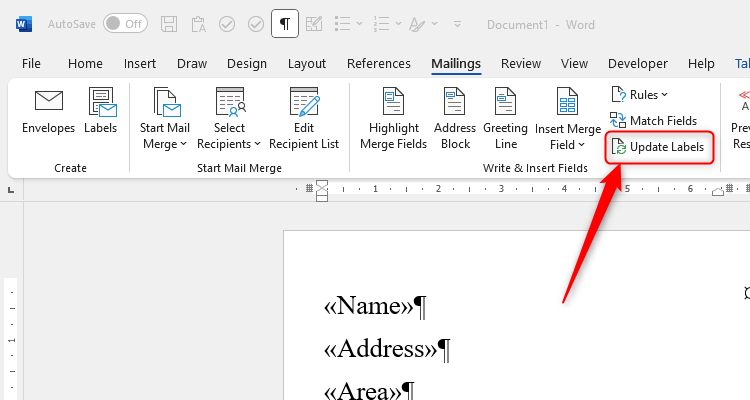
When you have inserted all merge fields, click “Update Labels.”

This will apply the merge fields you just added to each of the labels in your document.
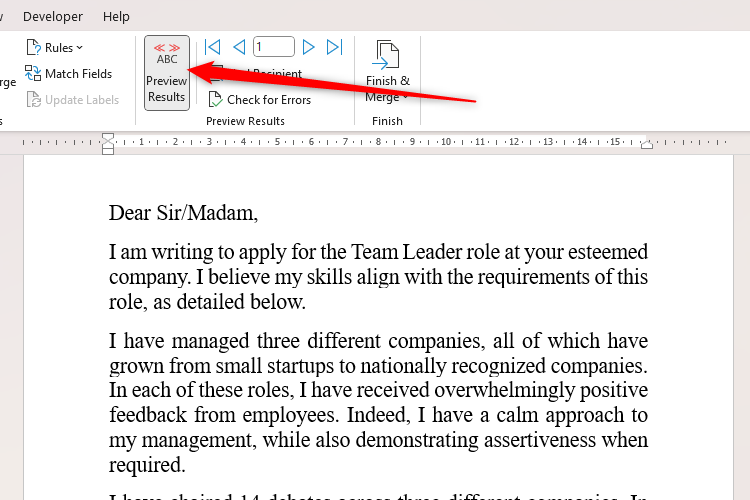
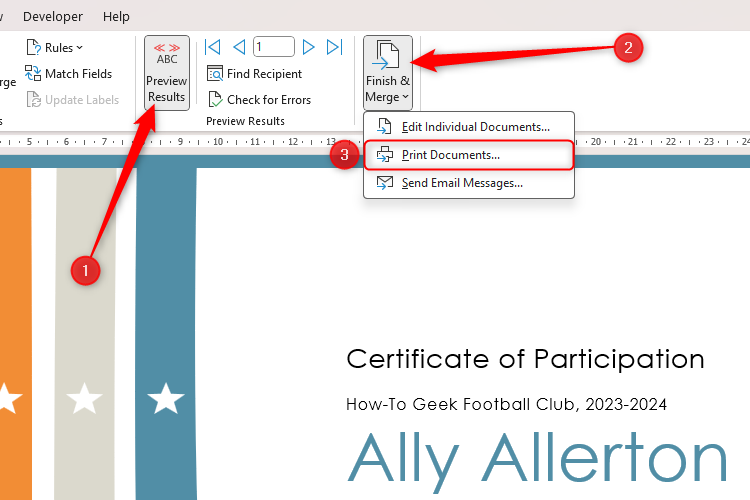
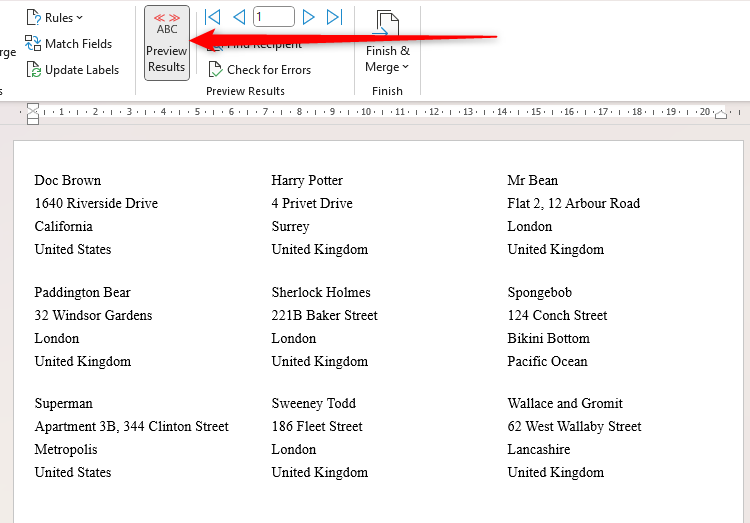
Now, click “Preview Results” to check you’re happy with how your labels look.
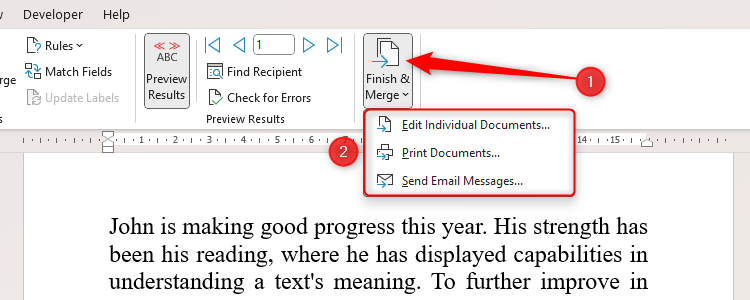
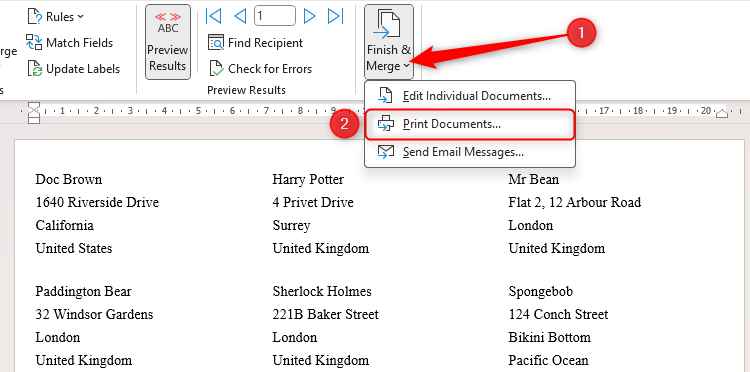
To complete the process, click Finish And Merge > Print Documents.
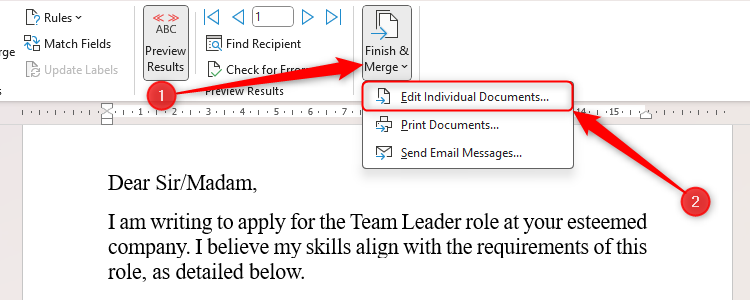
If you want to make changes to individual addresses, click Finish And Merge > Edit Individual Documents.
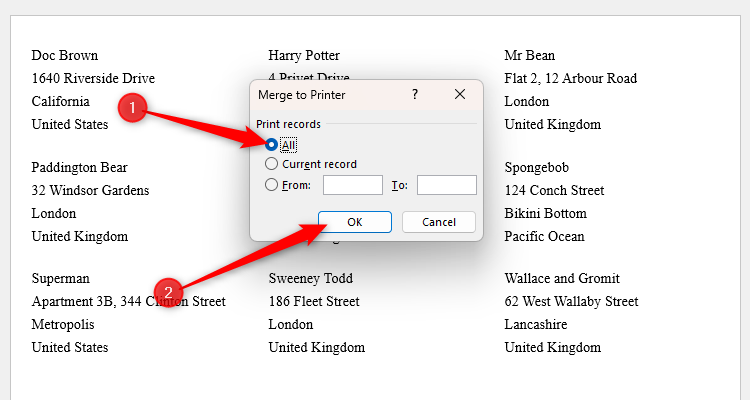
Then, ensure “All” is selected, and click “OK” to print.
Finally, cut up your labels and stick them onto your envelopes!
Now, return to your Word document.
In the Mailings tab, click Select Recipients > Use An Existing List.
you could also use the arrows to flick through all the reports if you wish.
After all, the skills you have can be applied to many different roles.
This is where mail merge comes into play.
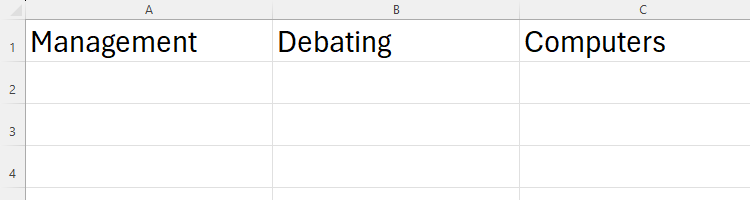
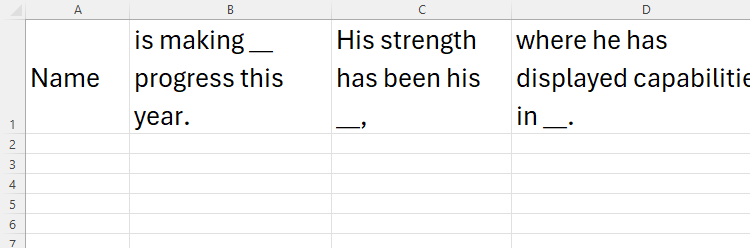
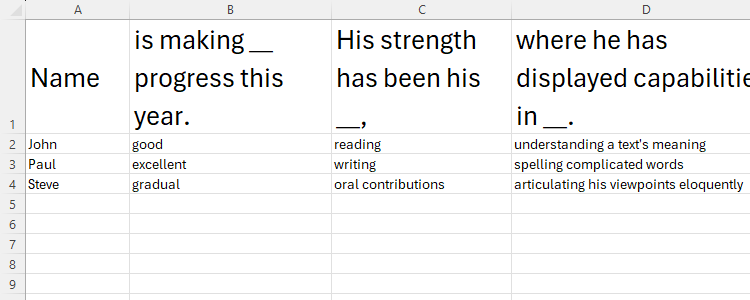
Across row 1 in a blank Excel worksheet, punch in the different skill categories you fall into.
In row 2, underneath each skill, write a few sentences demonstrating your possession of that skill.
when you’ve got finished detailing your skills, press F12 to name and save the workbook.
Then, in the Mailings tab, click Select Recipients > Use An Existing List.
If not, you might select and reorder your text.
Inevitably, you will want to amend the wording here and there to ensure that the letter is coherent.
To make changes, click “Finish And Merge,” and select “Edit Individual Documents.”
Then, press F12 to name and save these details.
Next, design your certificate in Microsoft Word.
If you prefer, you might use a template by clicking File > Home > More Templates.
Now, in the Mailings tab, click Select Recipients > Use An Existing List.
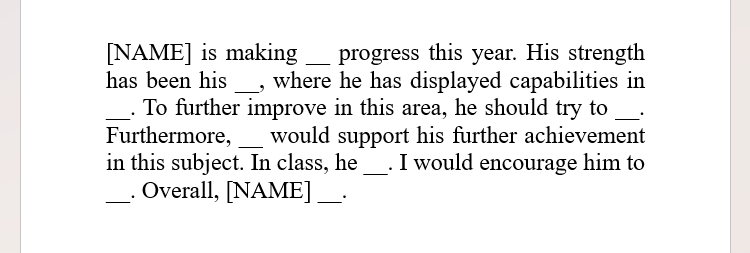
![A report in Word, with [NAME] selected, and the relevant field from the Insert Merge Field drop-down selected.](https://static1.howtogeekimages.com/wordpress/wp-content/uploads/2024/08/a-report-in-word-with-name-selected-and-the-relevant-field-from-the-insert-merge-field-drop-down-selected.png)