We’re going to show you how to download the necessary sound packs and create a retro sound scheme.
Also, ensure that every sound it contains is in WAV file format.
An example of where to find sound packs is the Sound Schemes Gallery page on theWinCustomize website.
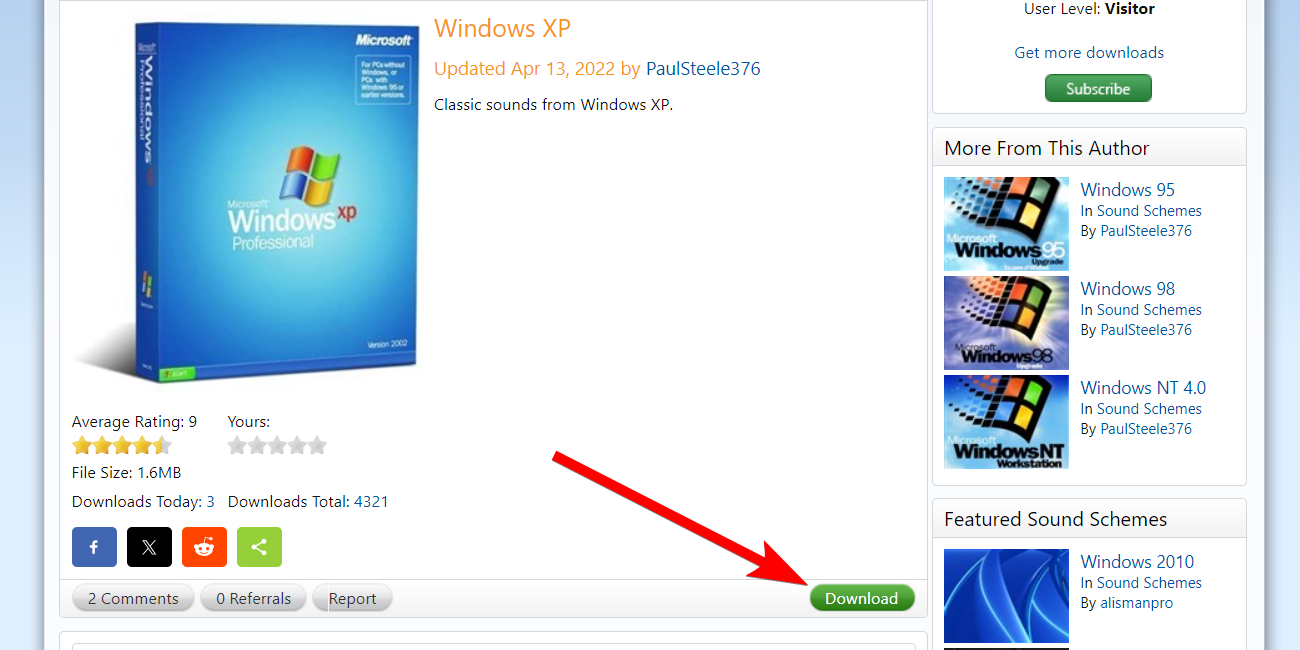
pick the one you want and click Download to save it to your system.
The sound pack’s file extension will be SOUNDPACK, which Windows will not recognize.
You need tochange it to a ZIP filejust so you’re able to extract the sounds.
If you could’t see the file extension, ensure you’veenabled the option to see file extensions.
Next, right-nudge the sound pack and select Show More Options > Rename in the context menu.
Then, deletesoundpackfrom the file name and replace it withzip.
Next,extract the zip fileto view the contents of the sound pack.
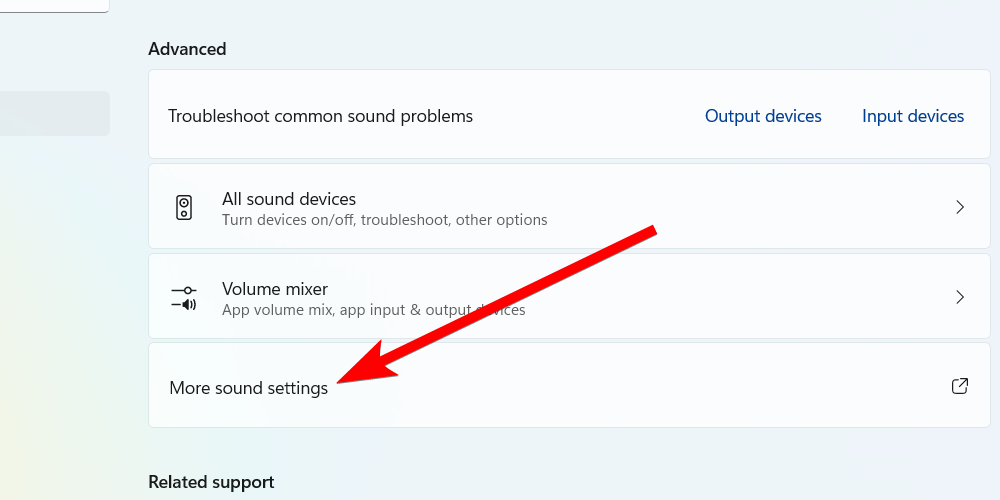
Next, go for the “Sound” tab, and go for the “Save As” button.
Now, give the new scheme a name, and smack the “OK” to save it.
Next, you must change the sounds for various system events in the Program Events section.
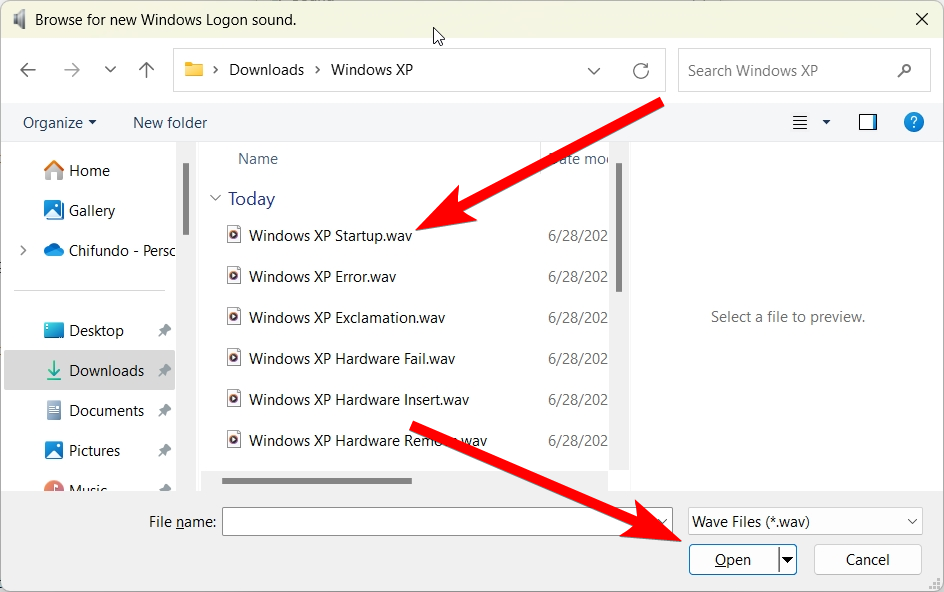
For example, to change the Windows startup sound, opt for “Windows Logon” event.
Then, click “Browse” in the Sounds section.
Then, go ahead and change the rest of the sounds.
Afterward, click “OK” to kill the dialogue box and save the changes.
This will back up a copy of the Windows Registry.
That way, if you make a mistake, you canuse the restore pointto undo it.
Then, double-nudge the “ExcludeFromCPL” value to edit it.
Set “Value Data” to0and then click “OK” to save the changes.
Afterward, you should be able to see the “Windows Logon” event when changing system sounds.
you might create as many sound schemes as you need for different Windows versions.
you’re free to take the retro overhaul a step further, beyond sounds.
