Thanks to the free Google Picasa program, though, Windows users can have an equally useful picture previewer.
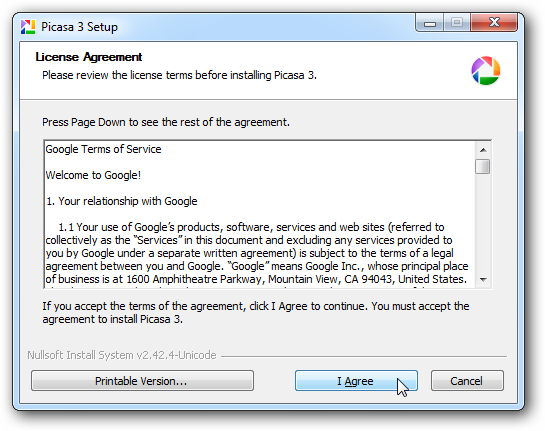
Download it from Google at the link below, and then install as normal.
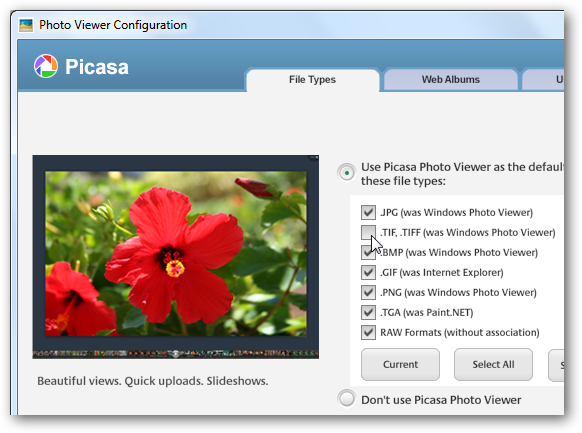
These are all checked by default, so you may want to uncheck them when youre completing your installation.
Youll need to run Picasa to setup the Photo Viewer.
Now youll be presented with the Photo Viewer Configuration window.
Your screen will dim, and the picture will zoom out and display in a full-screen overview.
![sshot-2010-07-19-[12-27-09]](https://static1.howtogeekimages.com/wordpress/wp-content/uploads/2010/07/sshot20100719122709.png)
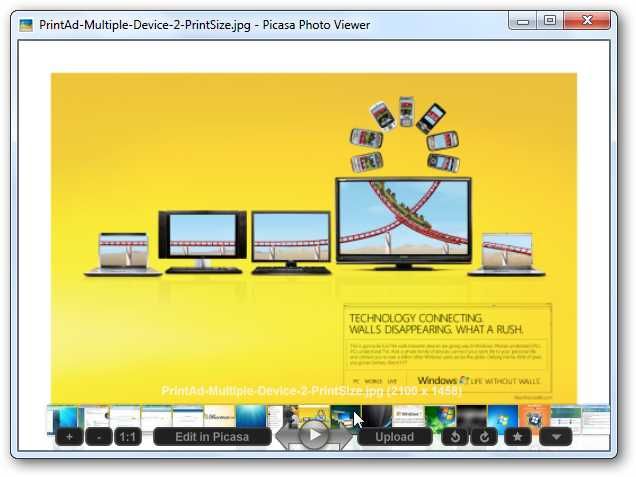
No window chrome, just your picture and your desktop behind.
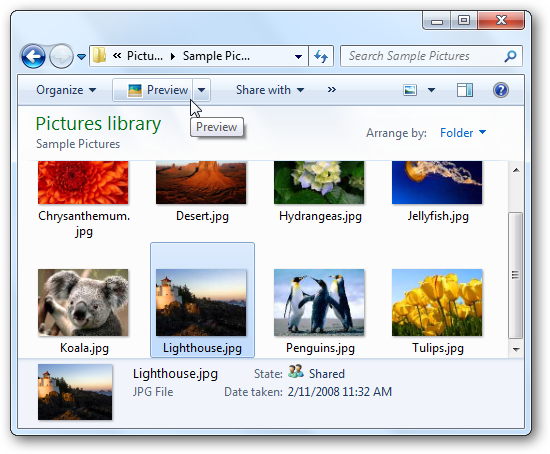
The preview loads almost instantly, and looks sharp!
The preview works beautifully, with zoom in and out animations when opening and closing a preview.
![sshot-2010-07-19-[12-27-47]](https://static1.howtogeekimages.com/wordpress/wp-content/uploads/2010/07/sshot20100719122747.png)
hit the exit button to terminate the preview, or double-hit the image to open it full-screen again.
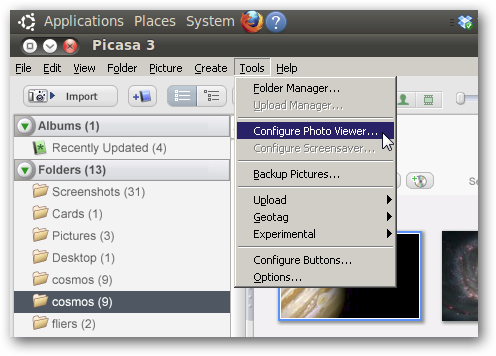
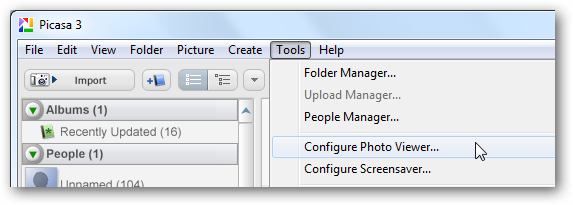
Change Picasa Photo Viewer SettingsYou can easily change the Photo Viewers configs.
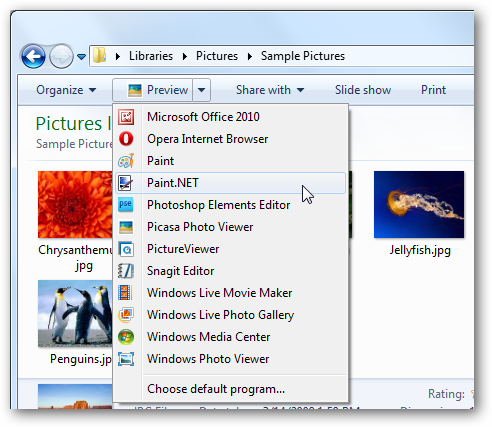
If youre running the Picasa program, select Tools in the menu bar and then click Configure Photo Viewer.
![sshot-2010-07-19-[12-28-22]](https://static1.howtogeekimages.com/wordpress/wp-content/uploads/2010/07/sshot20100719122822.png)
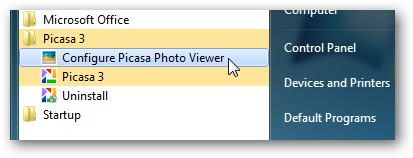
Alternately, select Configure Picasa Photo Viewer directly in the Start menu.
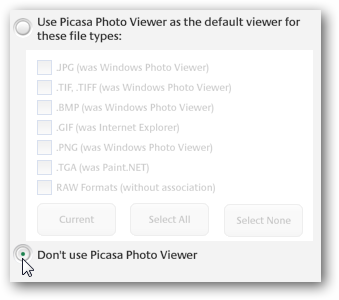
Now you’re able to select all the file types you want to preview with Picasa Photo Viewer.
On the first tab, click Dont use Picasa Photo Viewer.
ConclusionThe Picasa Photo Viewer is one of the biggest reasons we installed this program.
It fits in great with the Windows 7 interface, and seems more natural than the default Photo Viewer.
Try it out, and let us know what you think!LinkDownload Picassa from Google
![sshot-2010-07-19-[12-29-23]](https://static1.howtogeekimages.com/wordpress/wp-content/uploads/2010/07/sshot20100719122923.png)
![sshot-2010-07-19-[12-30-58]](https://static1.howtogeekimages.com/wordpress/wp-content/uploads/2010/07/sshot20100719123058.png)
![sshot-2010-07-19-[13-01-49]](https://static1.howtogeekimages.com/wordpress/wp-content/uploads/2010/07/sshot20100719130149.png)
![sshot-2010-07-19-[14-26-49]](https://static1.howtogeekimages.com/wordpress/wp-content/uploads/2010/07/sshot20100719142649.png)