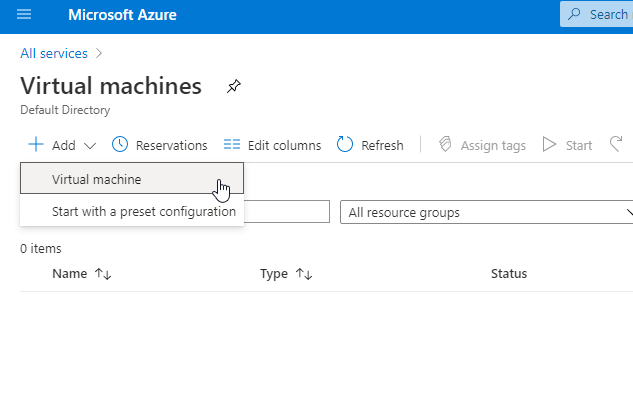
Next, click onAdd Virtual Machineto start the process of creating a new VM.
This will present you with theCreate a virtual machinewizard.
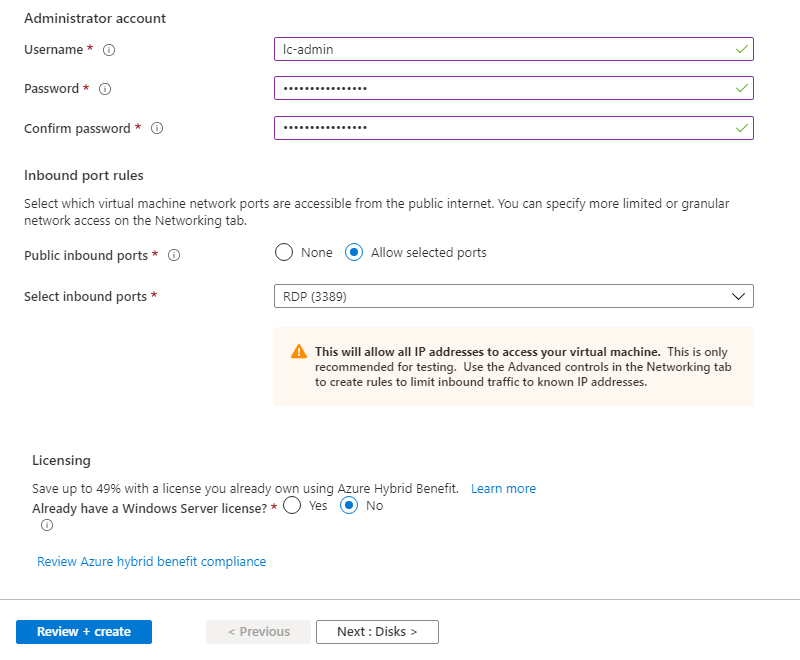
There are a number of options that are important to consider when provisioning a VM in Azure.
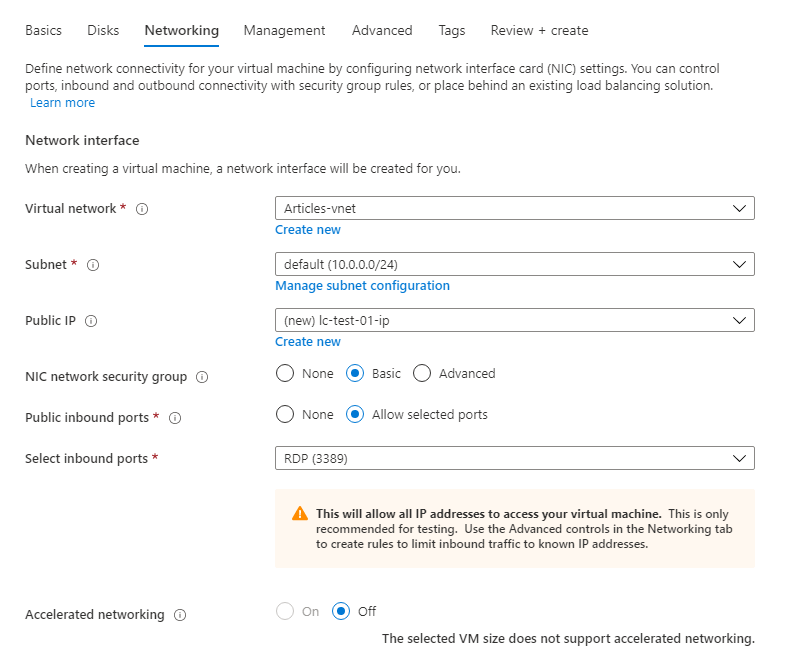
Additionally, you’re able to allow inbound firewall ports on VM creation.
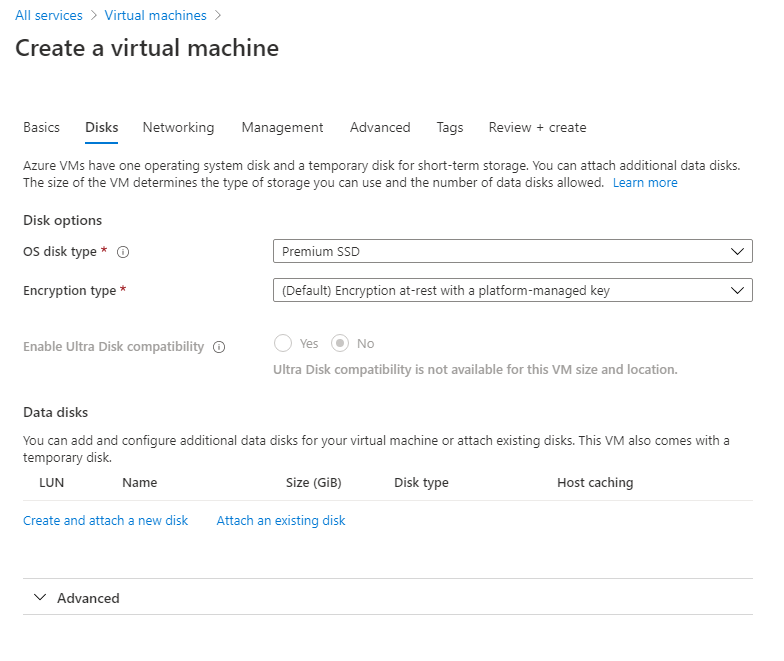
Data disks allow you to add additional attached storage, such as secondary data drive.
In this example, we are going to stick with the default system drive only.
Networking Configuration
Networking will define our connectivity to outside and inside Azure resources.
Additionally, you might choose whether or not to use NIC web link security groups and their functionality level.
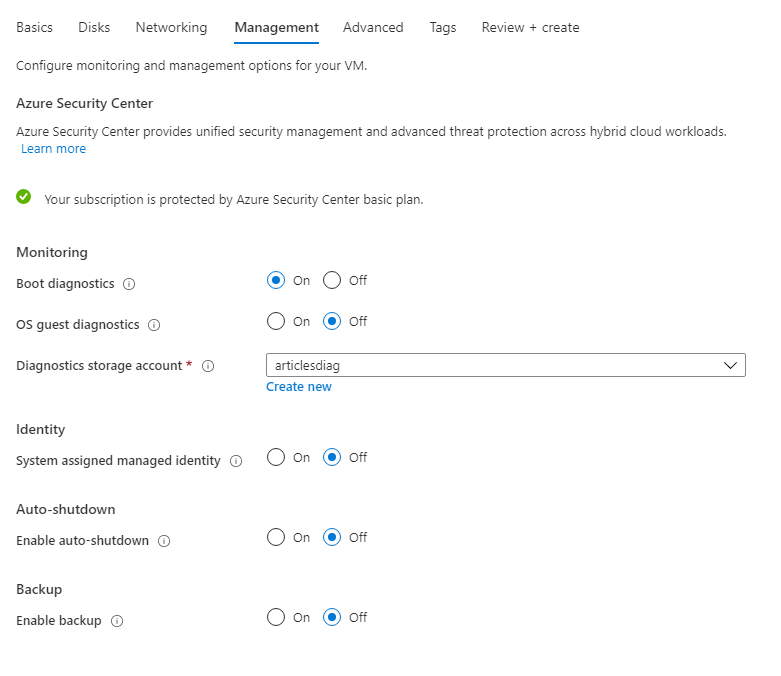
But there are a few very useful features that may be useful for the VM.

Backup
Backing a system up is a crucial step that every administrator should see to it works well.
Using the backup feature of Azure takes the load and worry off an administrator and restores become very easy.
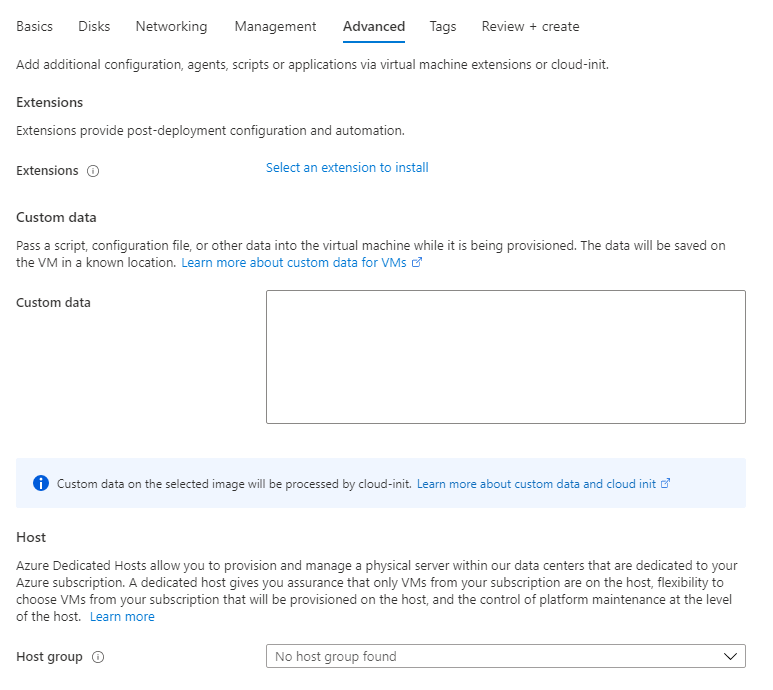
Third-party extensions that may be automatically installed to the VM upon provisioning can be chosen here.
This allows provisioning processes to take advantage of the additional data passed in.
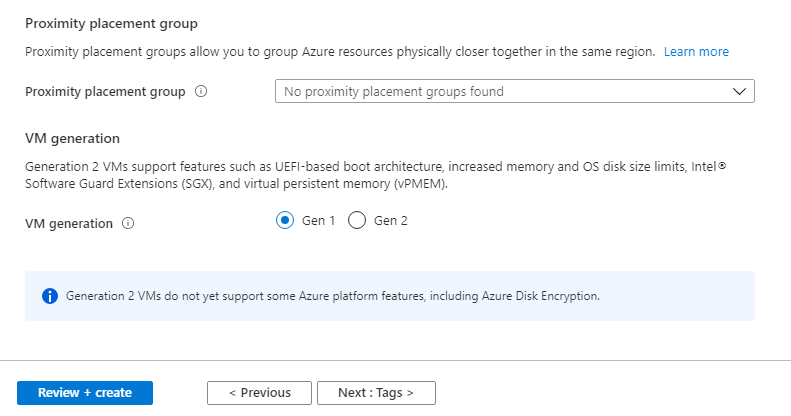
As of the moment, the default is Generation 1.