Looking for a quick way to transform your photos into handsome, convincing vintage art?
Heres how to do it.
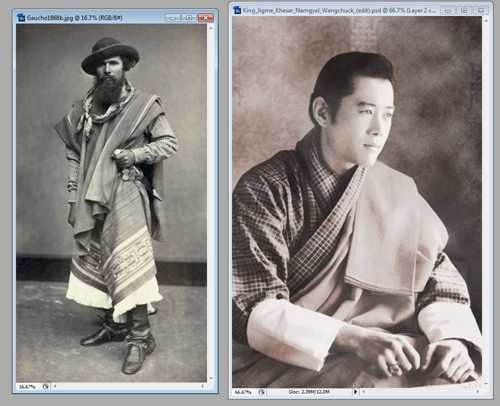
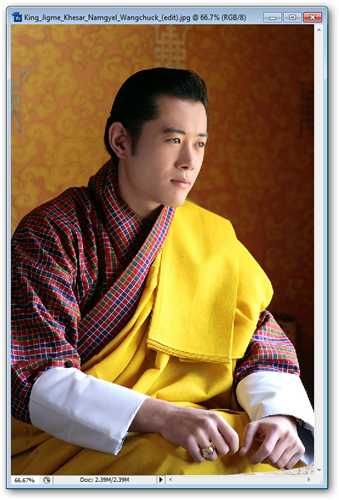
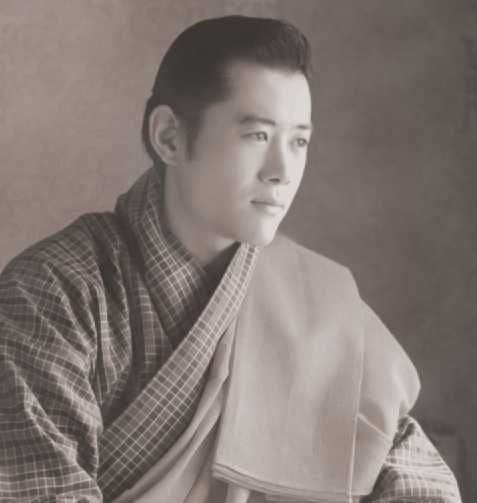
I came across this pic of the King of Bhutan and thought it had some nice possibilities.
You will, of course, be using whatever photo you want.
I recommend one with high resolution, and good contrast between lights and darks.
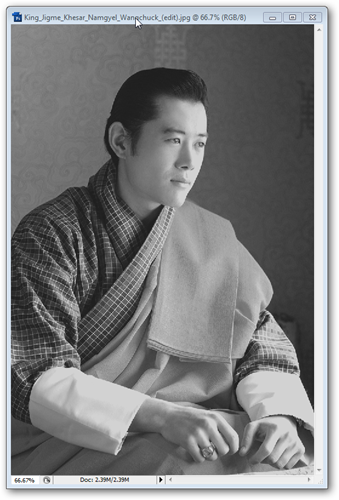
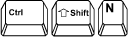
Press
to do a quick desaturate and turn the image to grayscale.
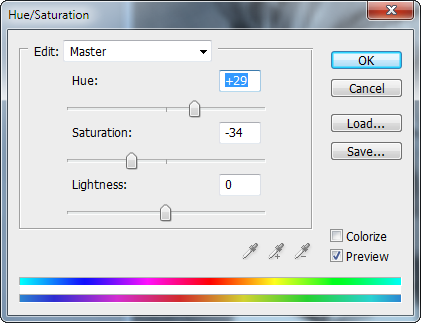
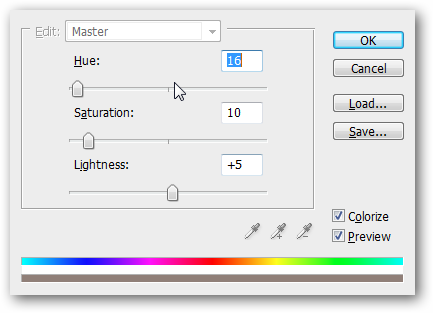
Then, press
to bring up the Hue/Saturation palette and set it to Colorize with these Hue/Saturation/Lightness values.
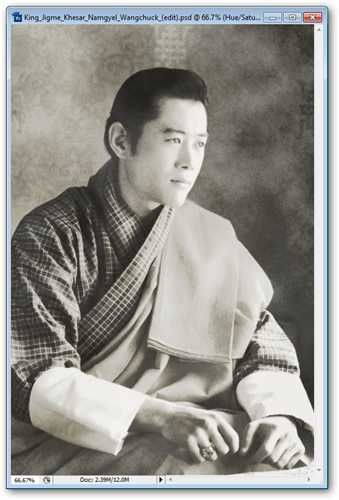
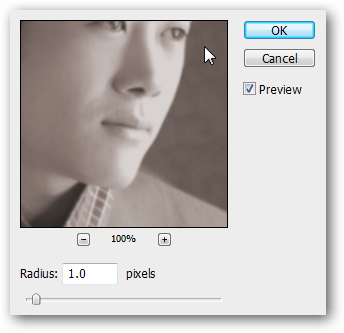
Our image is looking nicely sepia toned already, with softened edges from the Gaussian blur.
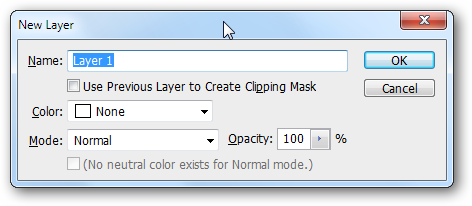
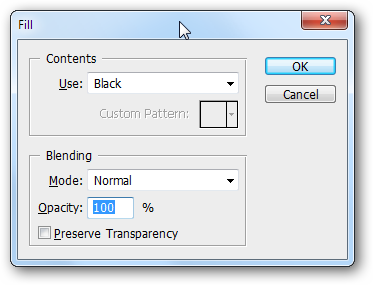
to create a new layer.
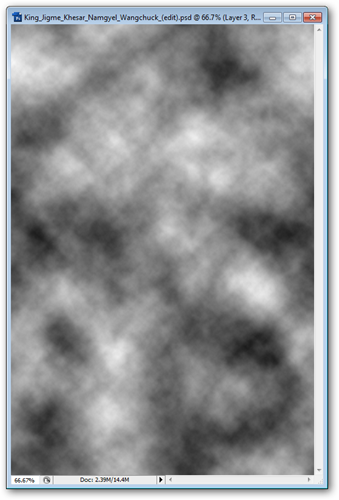
The layer of clouds should look about like this.
If you used Filters > Render > Difference Clouds, it wont look very different.
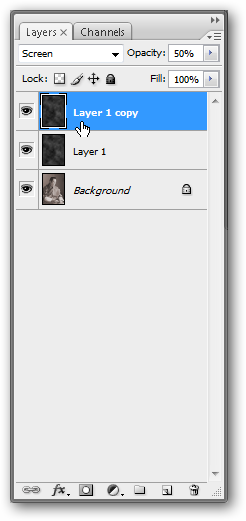
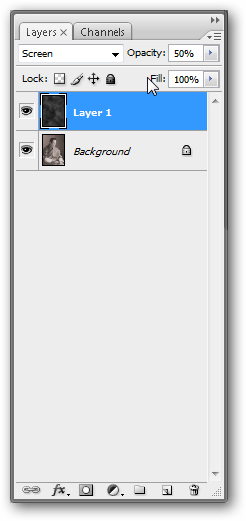
Set your Layer Effect to Screen in your Layers Palette.
And bump the Opacity down to 50%.
Make of copy of the layer by right clicking and pressing Duplicate.
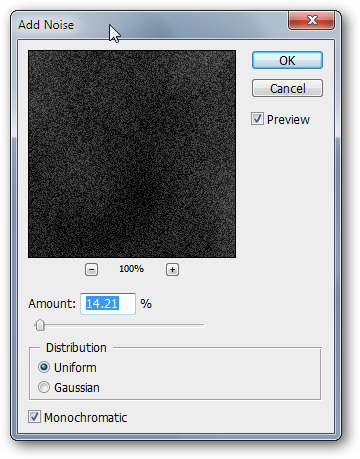
Its important to use the Monochromatic setting.
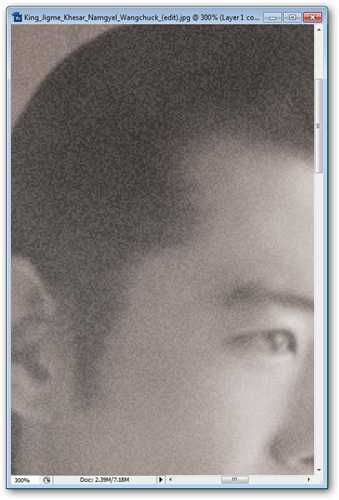
This layer of noise will add a reticulation effect to your photo.
Its a little harsh, so lets look into softening it.
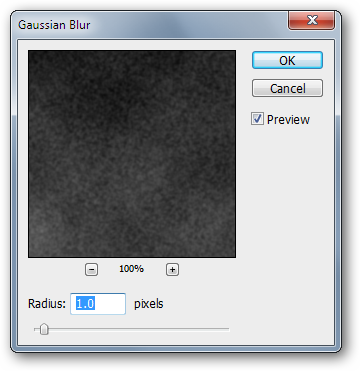
Use Filters > Blur > Gaussian Blur again.

The same options as last time will be fine.
At this point, you should have a pretty good look going on in your image.
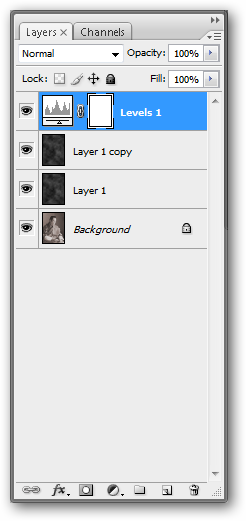
I decide I want some harsher values, so I want to play with my levels a bit.
smack the
at the bottom of your layers palette to bring up Adjustment Layers.
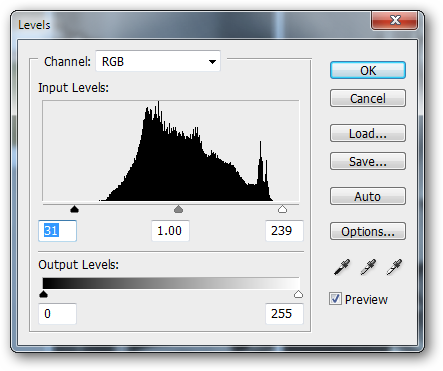
Set your levels as shown.
The black arrow moves to the right, making your darks darker.
Your white arrow moves left, increasing the whites in your image.
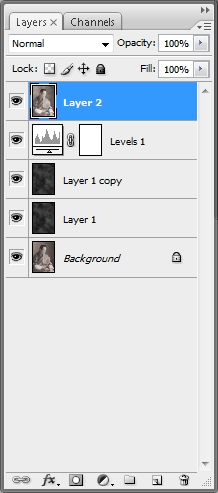
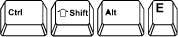
to make a complete copy of your image and put it on top of all your layers.
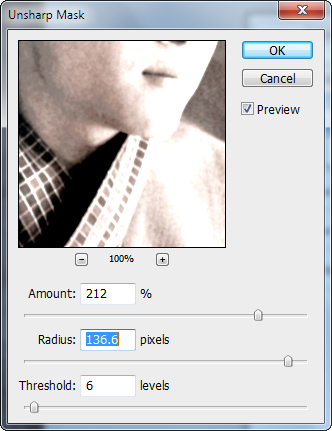
On this new layer, go to Filters > Sharpen > Unsharp Mask and use values similar to these.
This will harshen a lot of your darks and lights even further.
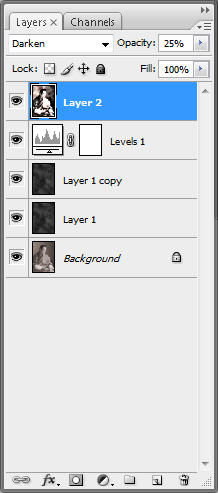
Set this layer effect to Darken.
From there, adjust your Opacity to 25%.
This will add some harsh, dark values to your image.
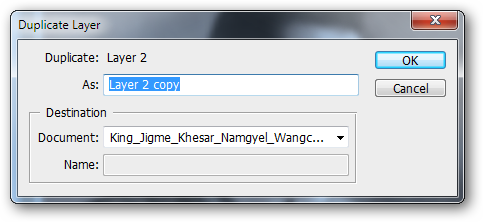
Duplicate your layer by right clicking and picking duplicate.
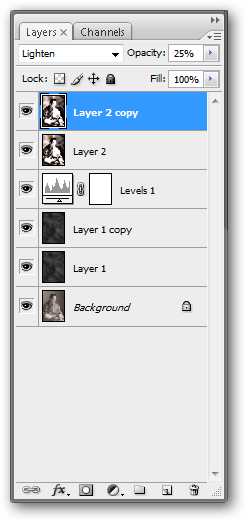
Set this duplicated layers effect to Lighten with the same opacity.
Go to your Layers Palette and press the
to bring up your adjustment layers again.
Create a Hue/Saturation layer effect on top.
Use values similar to these.
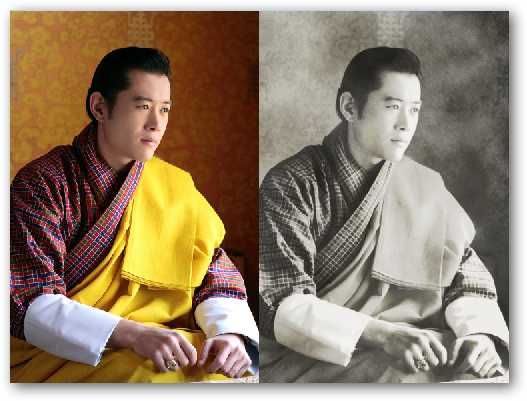
You may need to change around some of the values in the filters to suit your own photo.
But the basic steps can remain the same and will give you a similar look.
Image ofKing Jigme Khesar Namgyel Wangchuckby Royal Family of Bhutan viaWikipedia.
My derivative image free underCC license.