This technique is most likely the simplest.
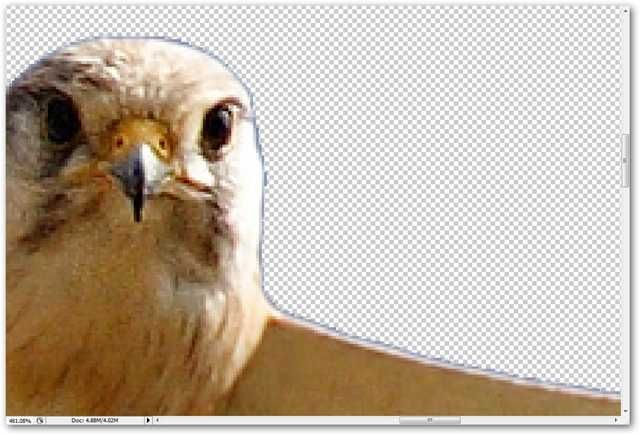
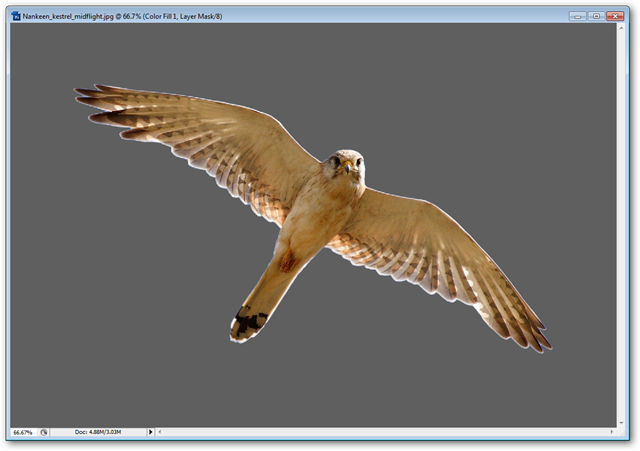
The image above is very ideal for this technique.
If they are, you may want to check out my more advanced tutorial onRemoving Complex Backgrounds from Images.

If not, this How-To will help you remove those simpler backgrounds.
Diving right in, right tap on your “Background” layer in your Layers Palette.
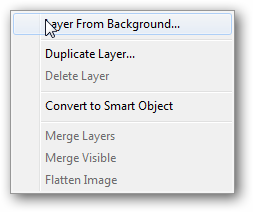
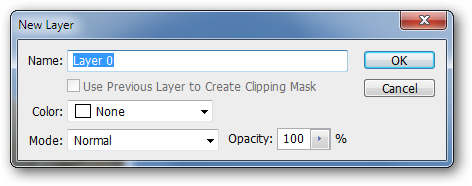
Pick “Layer from Background…” to unlock your Background layer.
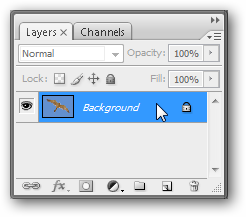
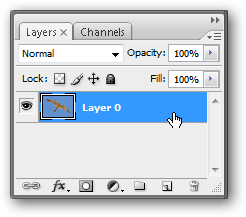
“Background” becomes “Layer 0.”
Simply press OK at this prompt.
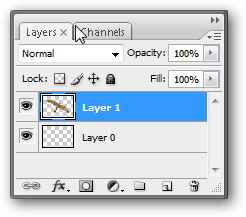
If your Layers Palette looks like this, it’s time to erase out your background.
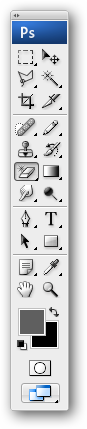
Click and hold on the Eraser Tool until you get the contextual menu.
You’ll be picking the “Magic Eraser.”
The Control Palette is at the top of your screen.
You’ll need to set your tool to have these parameters before the next step.
Oftentimes, your images will come out the same.
Press
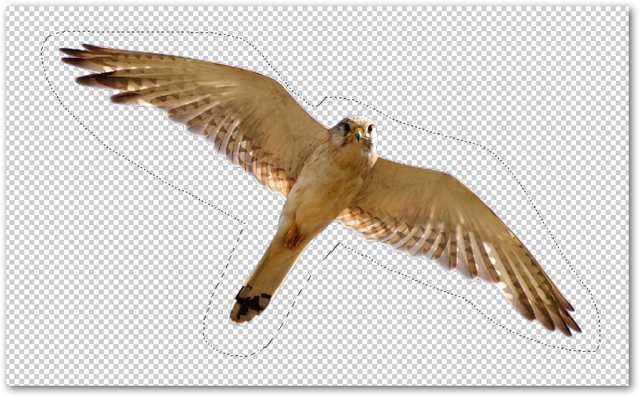
to choose the Lasso tool.
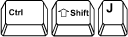
to perform a “New Layer Via Cut.”
This will remove whatever was in your lassoed area and automatically move it to a new layer.
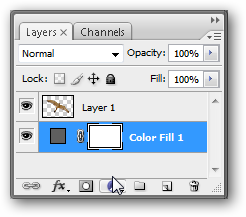
I go for the
to add a “Color Fill” style Adjustment Layer.
I decide that it’s pretty decent, despite some haloing around some of the darker areas.
Again, this image is a fairly perfect one for removing the background with the Magic Eraser.
If your background is more complex for the Magic Eraser, see my tutorial on removing complex backgrounds.