Today’s graphics idea was requested by a reader that wanted to do something about those blurry images.
Keep reading to see our solution!
Feel free to follow along, although your menus and shortcuts may be different than we use here.
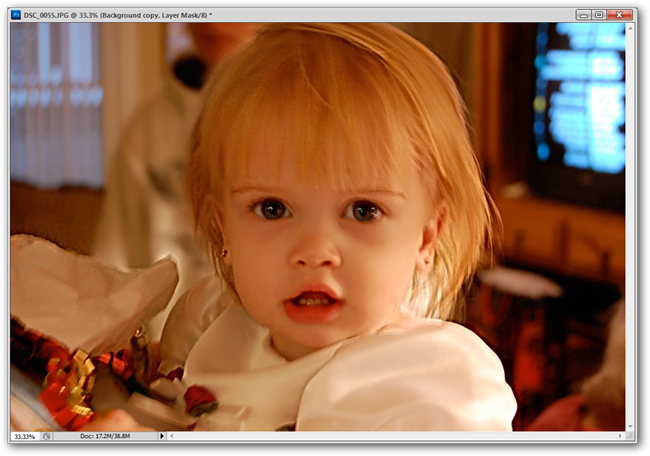
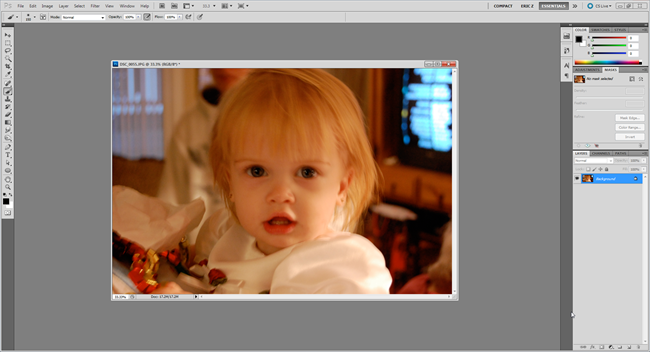
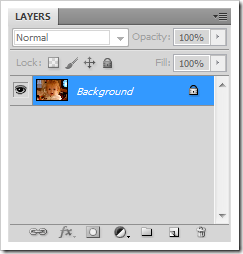
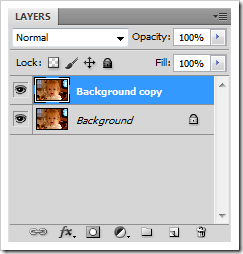
Duplicate a copy of your photo background layer.
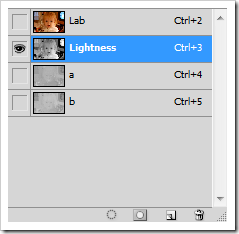
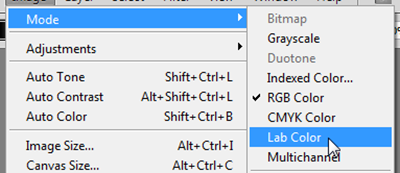
Navigate to Image > Mode > Lab Color and select it.
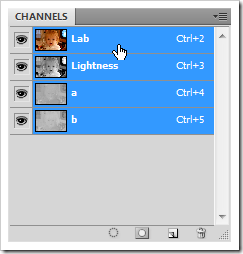
Then select only the “Lightness” channel.
Your image should jump to a grayscale—that’s normal.
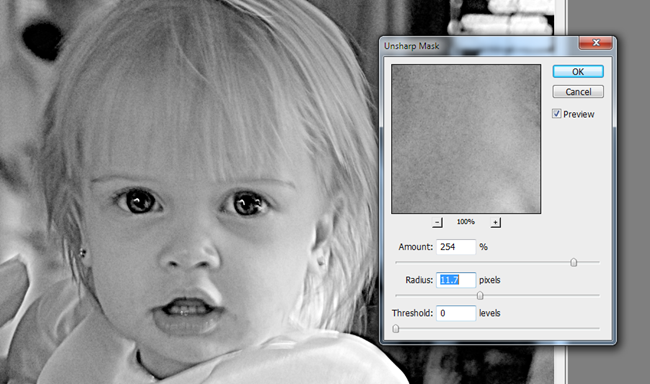
In that grayscale, navigate to Filter > Sharpen > Unsharp Mask.
These controls harshly overdo our sharpening, unintentionally bringing out grain texture in our image.
you could use the options shown here, but adjust it to suit your own needs.
Remember, overdoing it at this stage is okay, be extreme, if necessary.
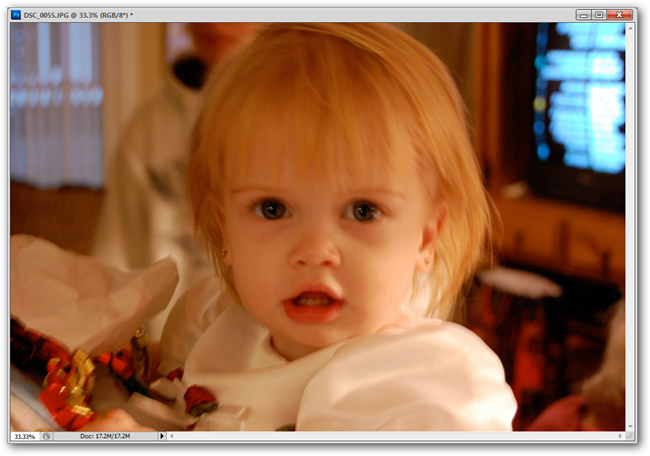
poke the “Lab” combined channel in the Channels panel.
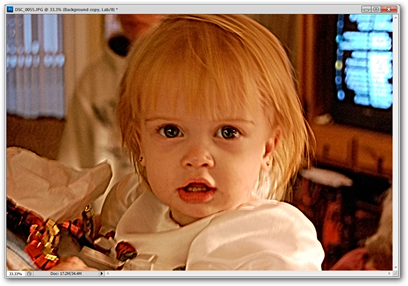
That should return your image to full color.
Adjusting sharpen filters in Lab color can stop the filter from affecting the color in the image.
But our image is nearly ruined by the harshness of the grain.
Let’s take our tip a step further and create an image that looks more like what we want.
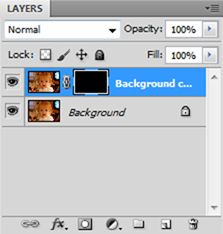
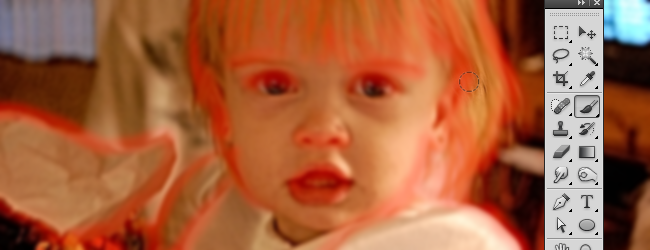
Hold down ALT and grab the
button in your layers panel.
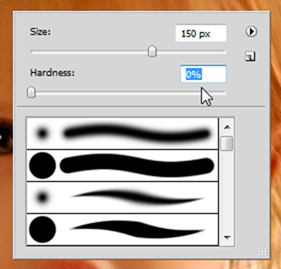
Then pick the paintbrush tool and right click to set it to a soft brush setting.
verify your foreground color is white, as shown above right.
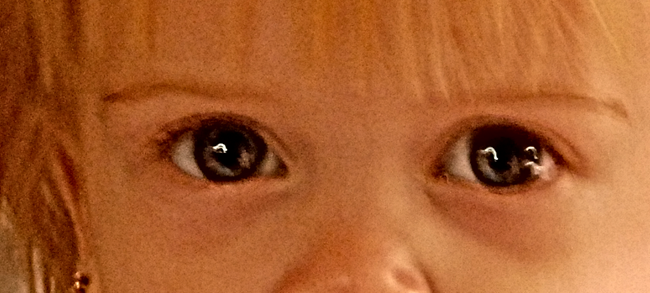
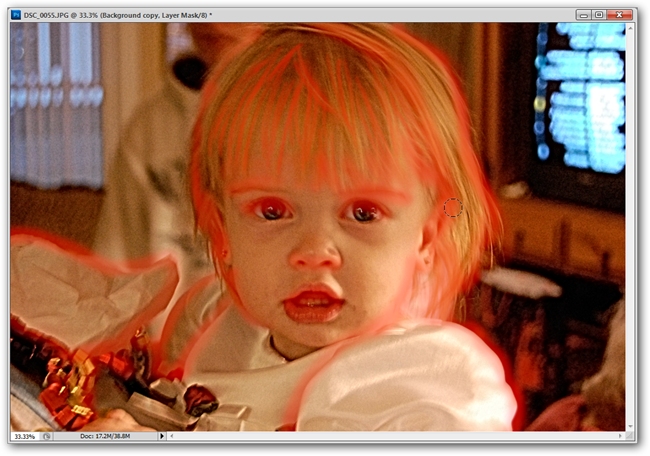
Edges work best, as shown here in red.
By painting in the edges, you give the soft image an illusion of sharpness.
But this technique can help you salvage an image that’s not quite gone over the brink.
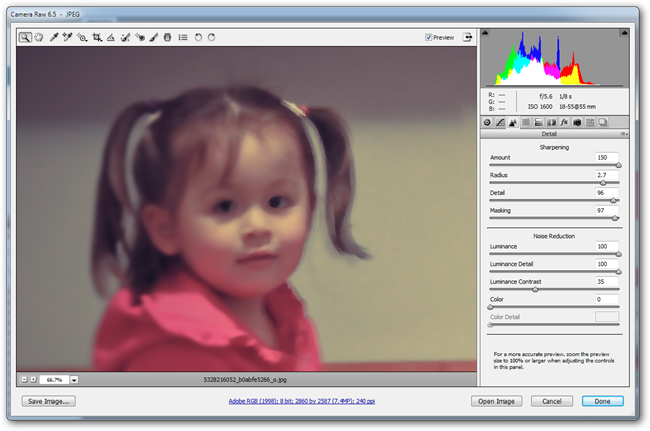
In the Camera Raw program, use the
icon to bring up the sharpening and details tools.
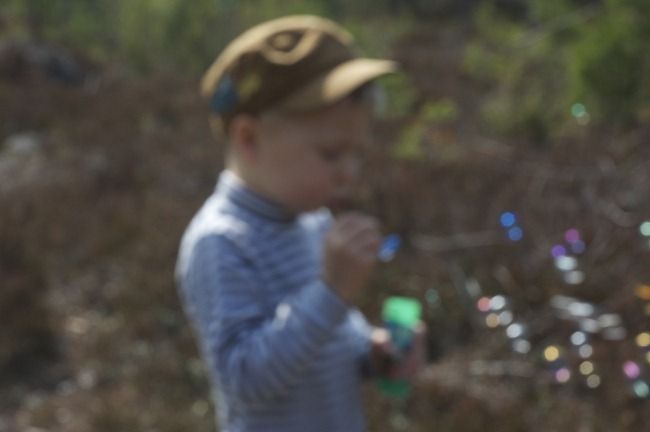
Image Credits: Bubbleblower by Jrgen Schyberg, Creative Commons.
Focus on Less by quatipua, Creative Commons.
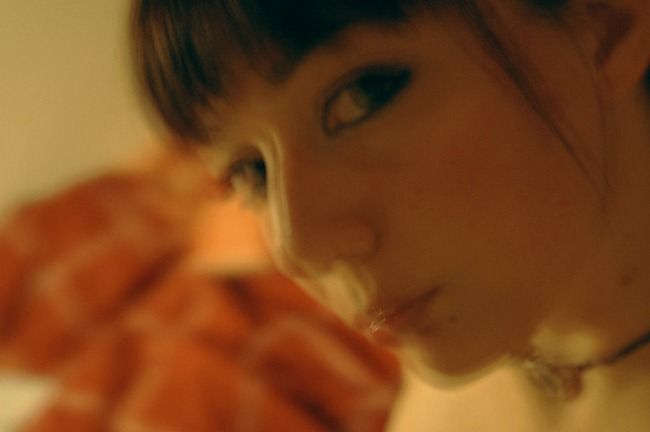
Out of focus by Susana Fernandez, Creative Commons.
Other photographs copyright by the author.