Sometimes a visual demonstration works much better than a list of instructions.
Once that is done you are ready to get started.
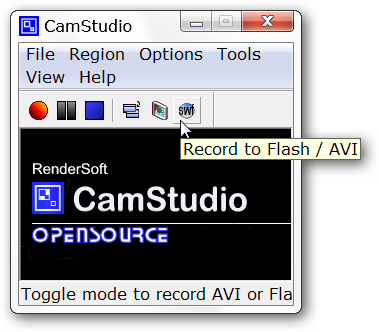
When you start the program you will see a surprisingly small window.

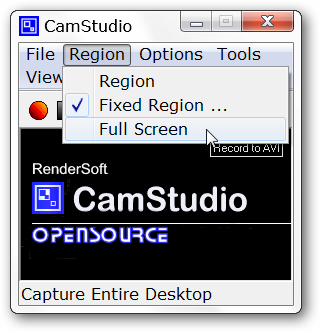
The first one to look at is the region or area that you want to record.
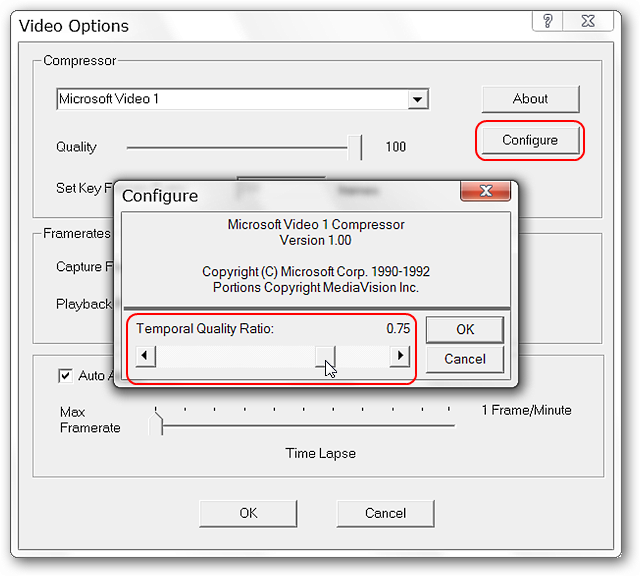
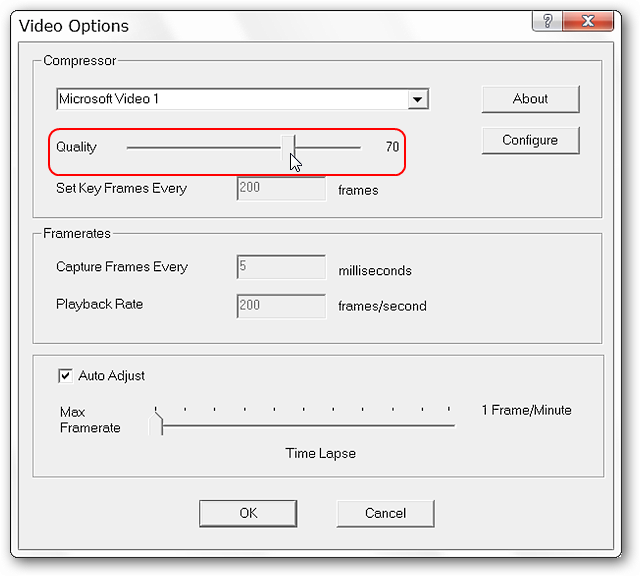
The default setting for quality is 70…adjust that to the level that best suits your needs.
Note: For our example we maxed out the various video prefs for best quality.
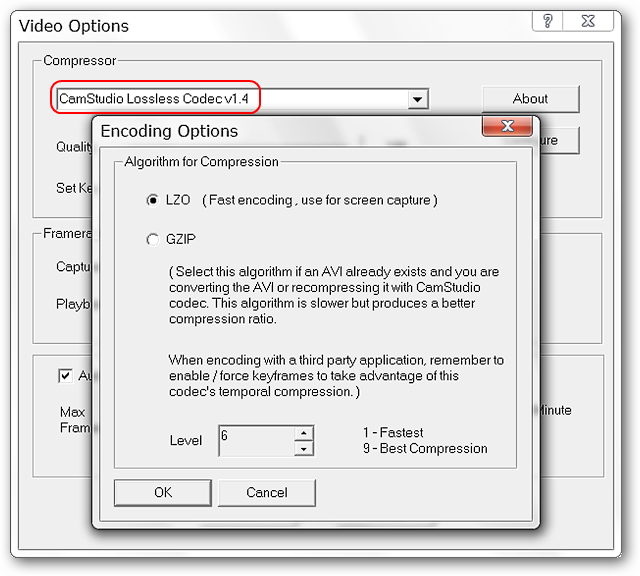
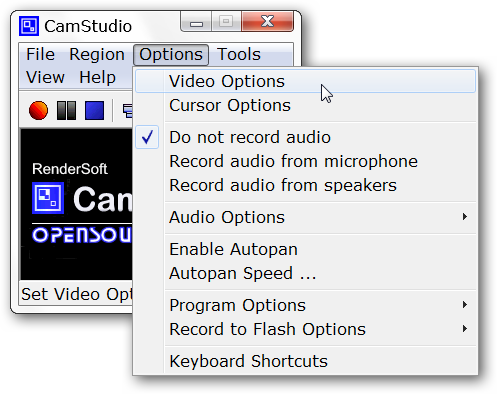
you’re free to configure the controls for the compressor you want to use if desired.
Once you are satisfied with the configs tap on the red record button to start.
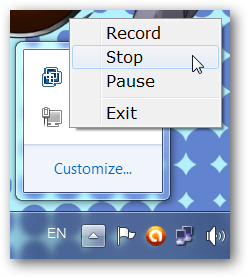
If you better pause while recording or stop recording punch the system tray icon and opt for appropriate command.
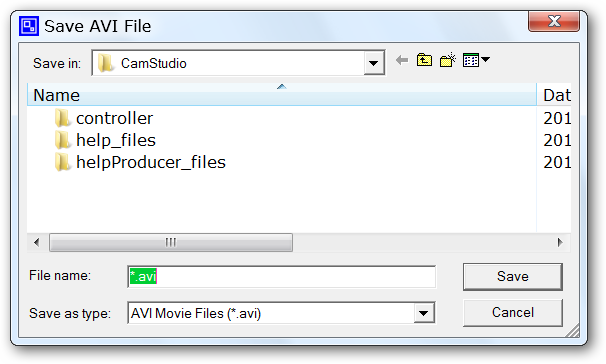
When you are finished recording you will be presented with the save file window.
Browse for the desired save location and name your new file.
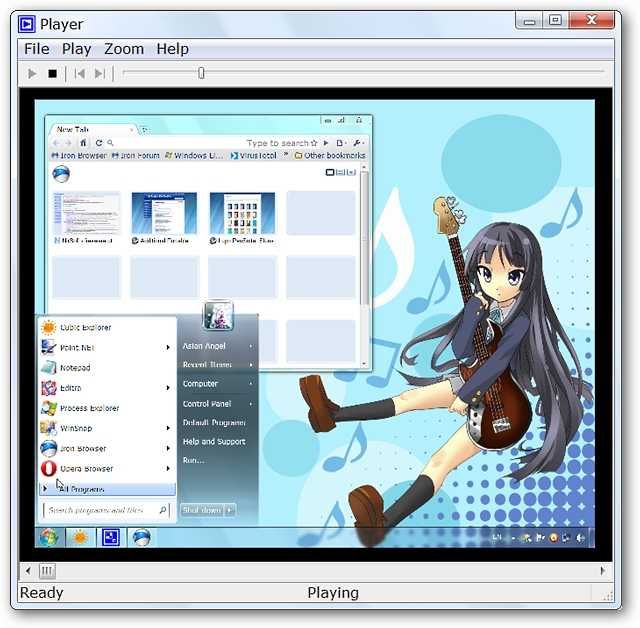
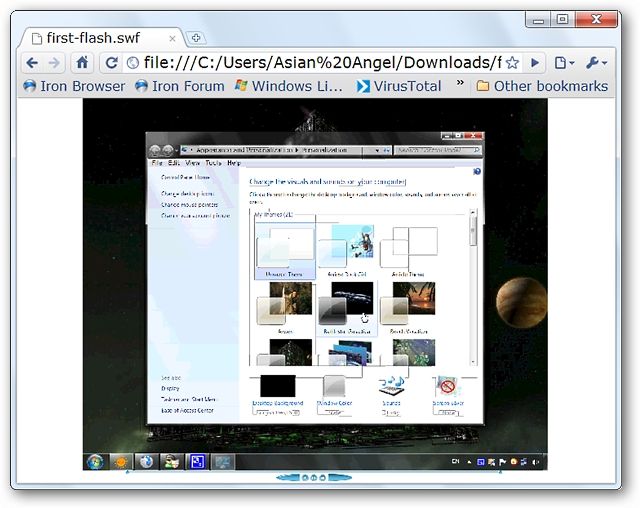
Our sample video shown here is at 50% of original size so may look slightly gritty.
The detail was much better at 100%.
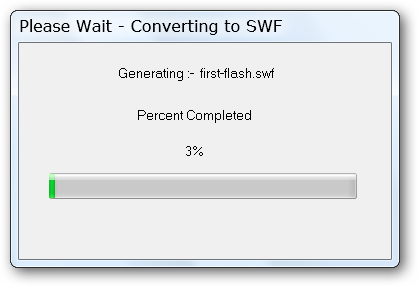
At that time the conversion process from .avi to .swf will begin.
When complete you will have a new flash video and html file that goes with it.

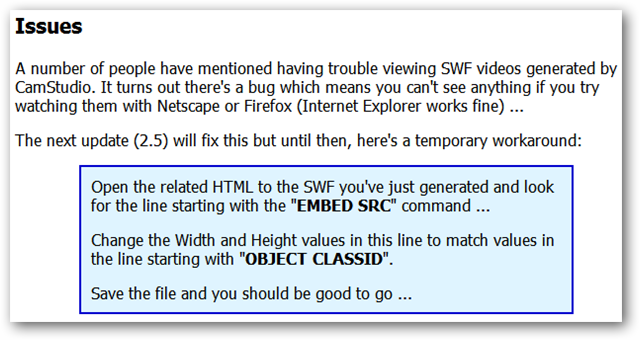
There is a small bug in the generated html file.
Links
Download CamStudio Stable Version & CamStudio Codec*Download links are approximately half-way down the page.
Download CamStudio Stable Version & CamStudio Codec at SourceForge*Beta version also available here.