If you don’t have one already made, you’re able to easily make one followingthese instructions.
We have also included the link to the restore disc below.
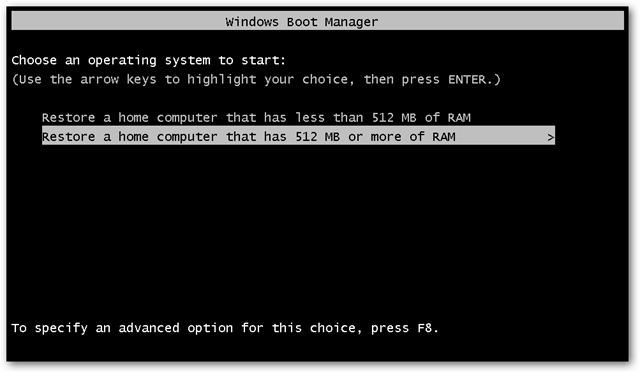
Boot from the CD then select if your machine has 512MB or RAM or more.
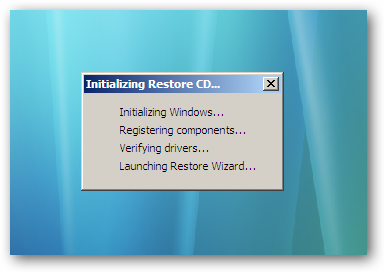
The disc will initialize…
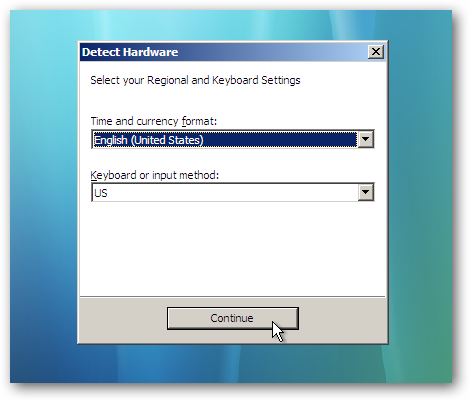
Then choose your language and keyboard parameters.
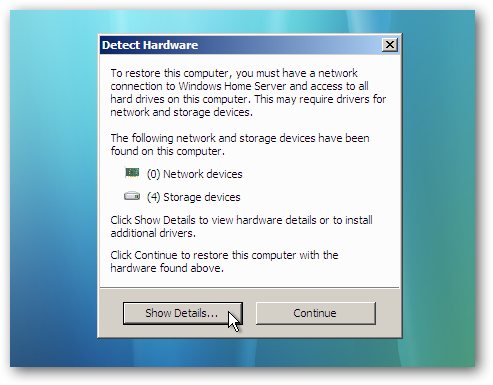
However, if it doesn’t like in our example, tap on the Show Details button.
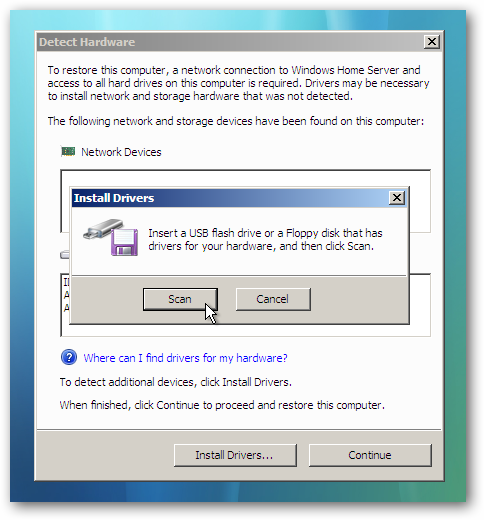
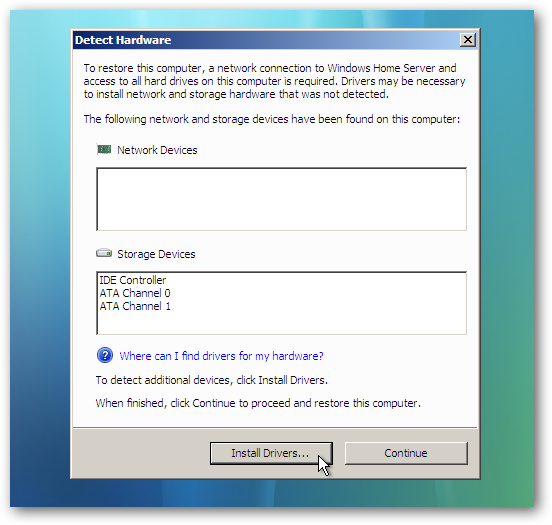
In the Detect Hardware screen choose the Install Drivers button.
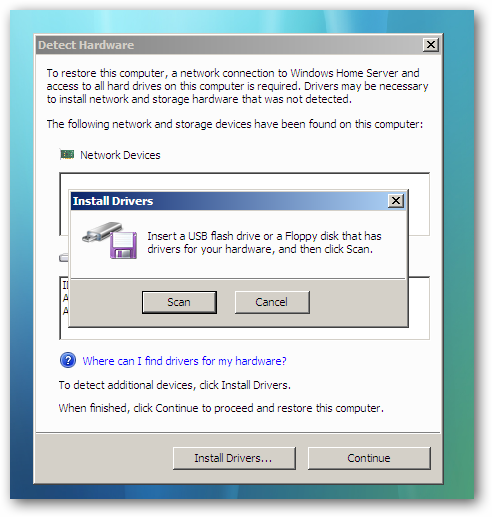
Now you will need to have a USB flash drive with the correct drivers on it.
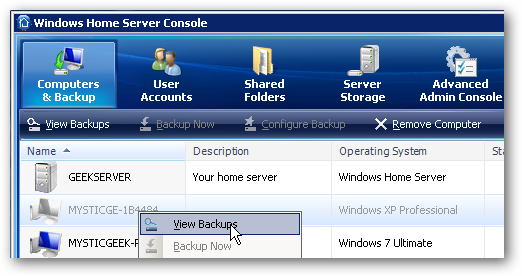
In the Computers and Backup section right-tap on the computer you want to restore and select View Backups.
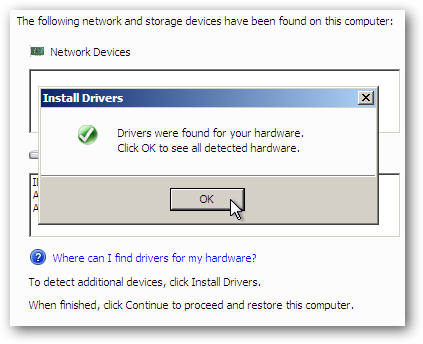
Wait a few moments while the drivers are found then click Ok then Continue.
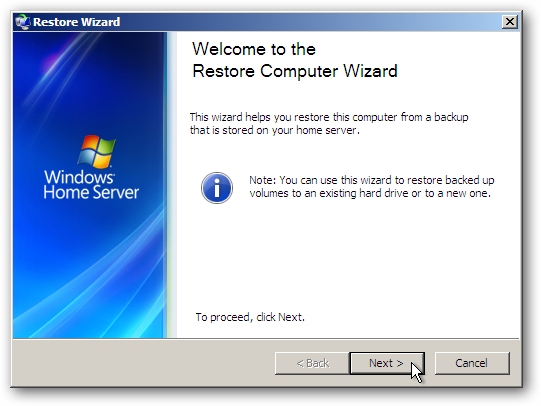
The Restore Computer Wizard starts up…
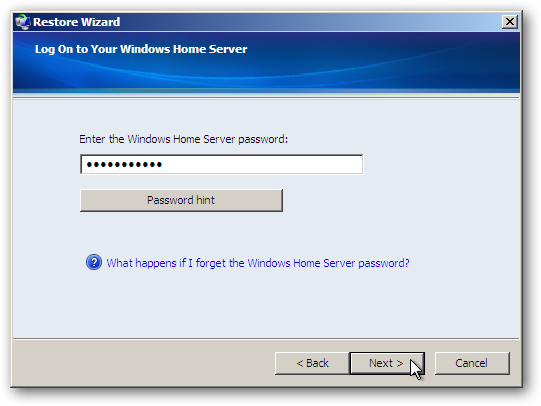
Enter in your home server password and click Next.
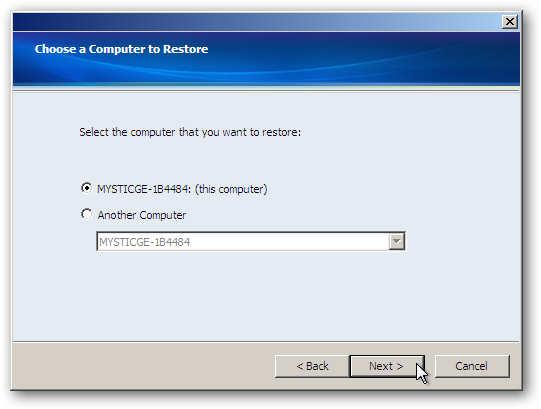
go for the computer you want to restore.
Make certain you’re selecting the correct machine.
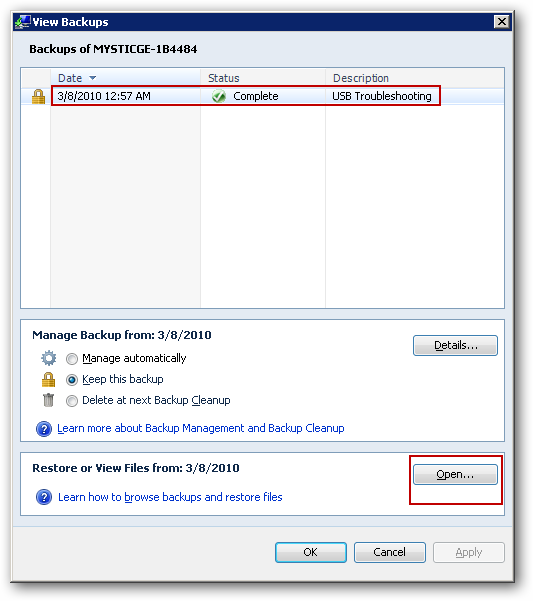
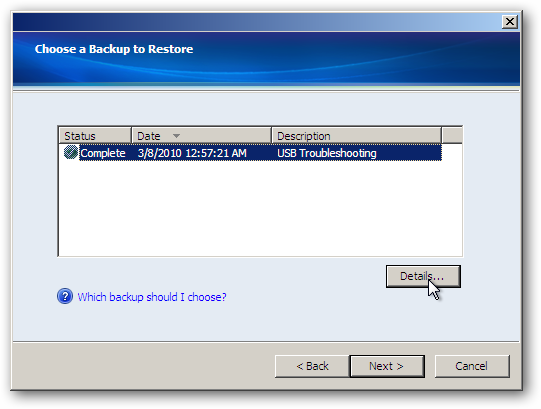
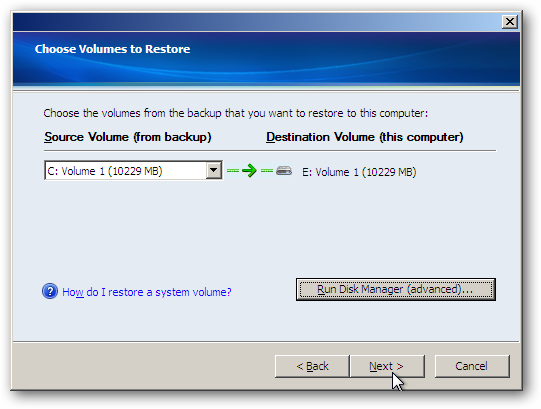
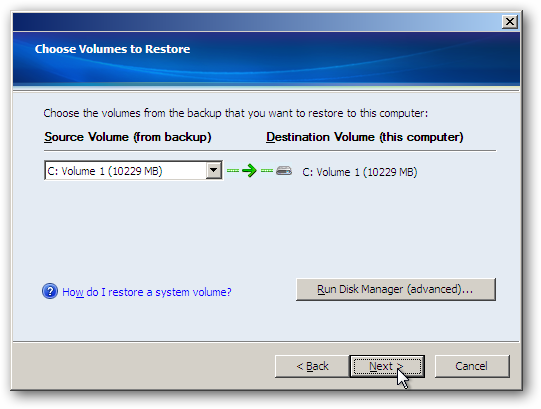
Now grab the backup you want to restore.
In this example we only have one but chances are you’ll have several.
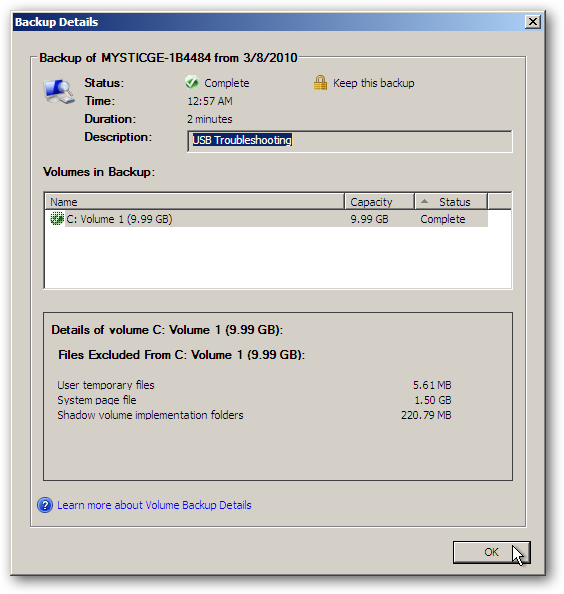
If you have several backups to choose from, you might want to check out the details for them.
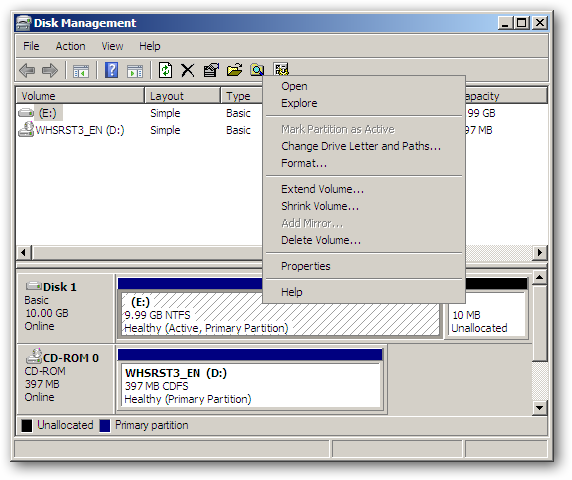
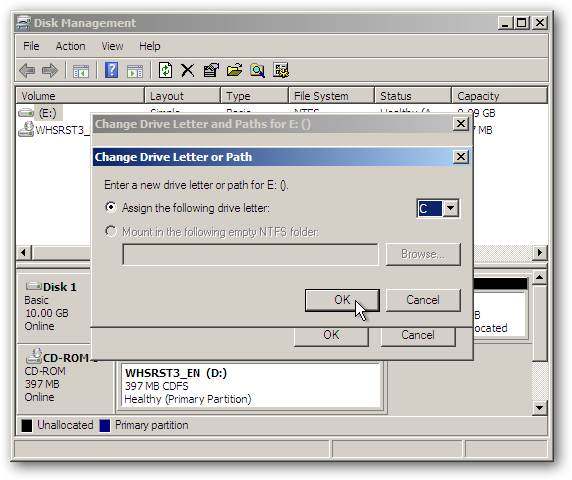
For example we want to change the destination drive letter to (C:).
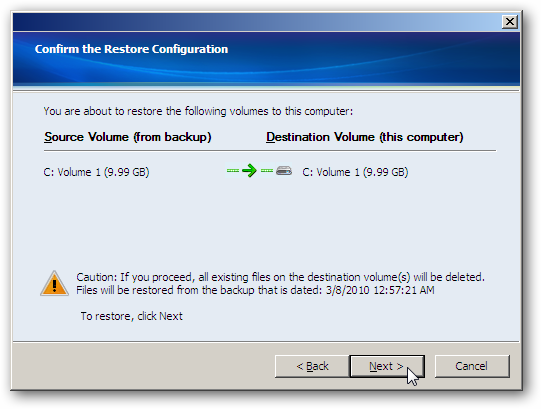
After you’ve made all the changes to the destination disk you might continue with the restore process.
If everything looks correct, confirm the restore configuration.
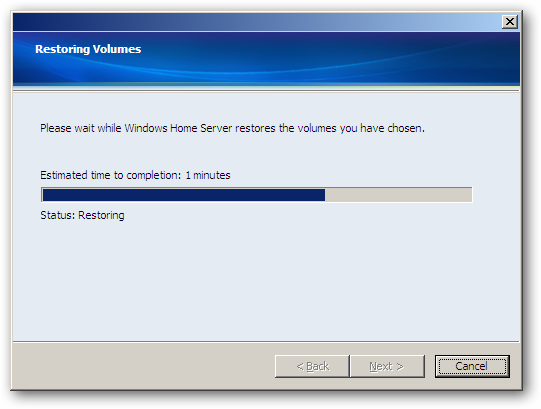
Now Windows Home Server will restore your drive.
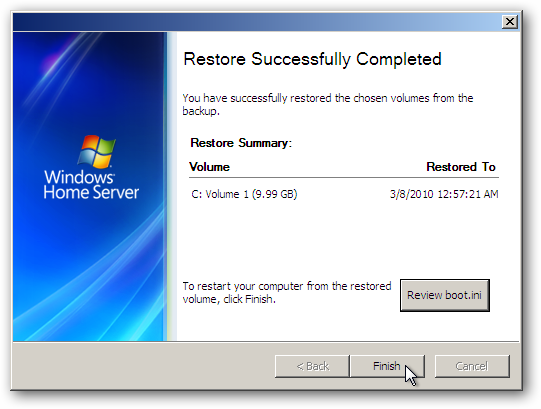
You are notified when the restore successfully completes.
Click Finish and the PC will reboot and be restored and should be working correctly.
All the updates, programs, and files will be back that were saved to the last successful backup.
Anything you might have installed after that backup will be gone.