This free program lets you create and run virtual machines, whether or not you have hardware virtualization.
Install XP mode; just follow the default prompts as usual.
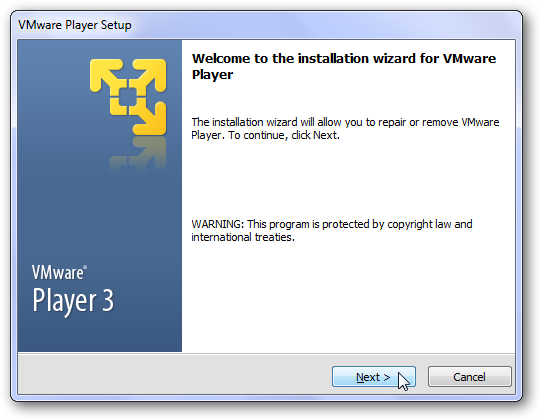
Now, download and install VMware player.
The download is free, but requires registration.
You may see some prompts about installing drivers; simply approve them.
We didn’t see them on our latest test, but have in the past.
When you are finished installing VMware Player, you will have to kickstart your machine.
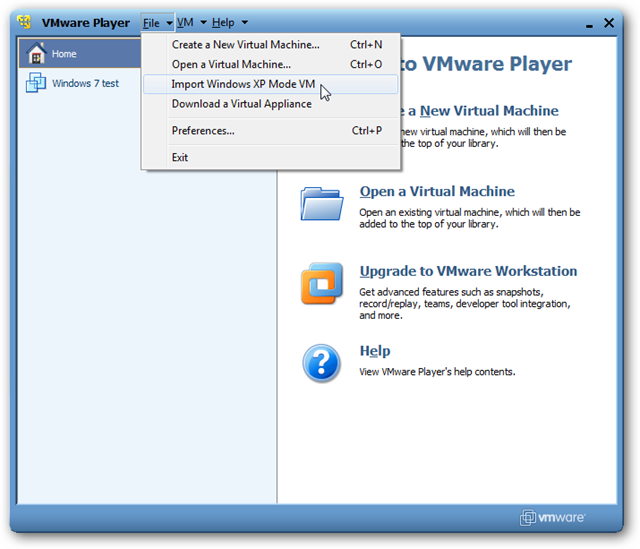
Add XP Mode to VMware PlayerNow that your box is rebooted, run VMware Player.
We can import XP Mode by clicking File, then click “Import Windows XP Mode VM.”
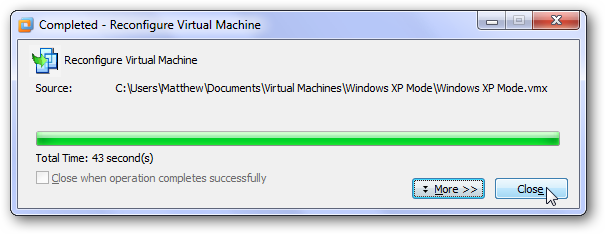
VMware Player will simply start importing your XP Mode.
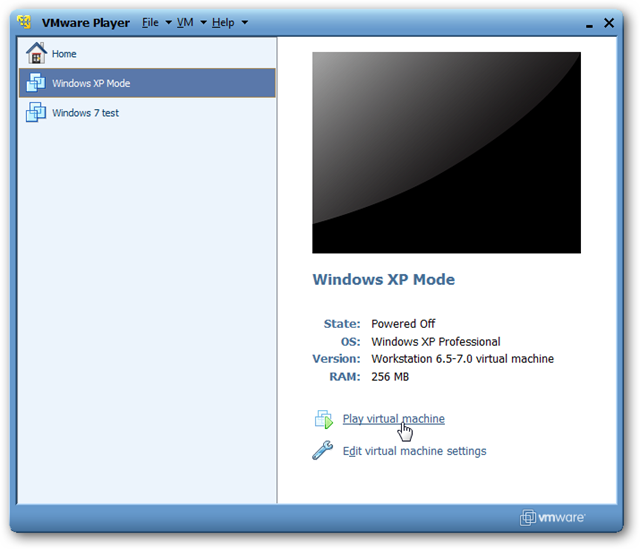
When this is done, you should see a new virtual machine in VMware Player called XP Mode!
Click “Play Virtual Machine” to run XP Mode.
![sshot-2010-02-16-[19-14-34]](https://static1.howtogeekimages.com/wordpress/wp-content/uploads/2010/02/sshot20100216191434.png)
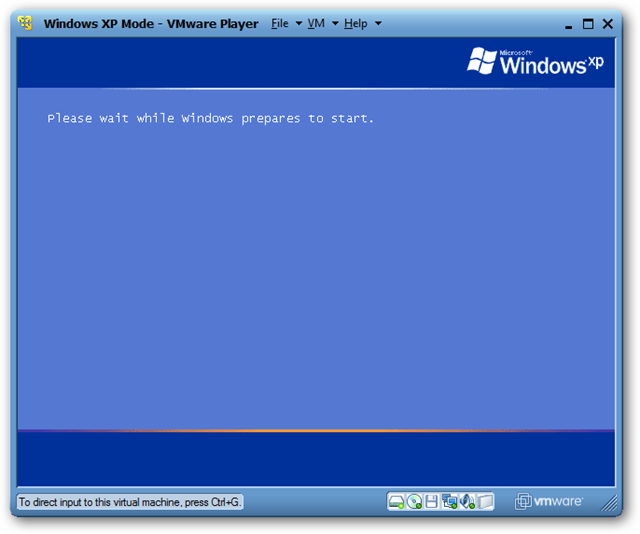
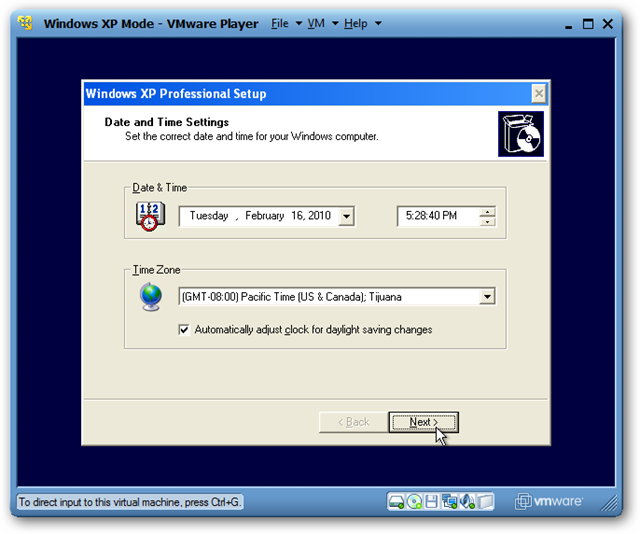
XP will run through it’s first-run setup process.
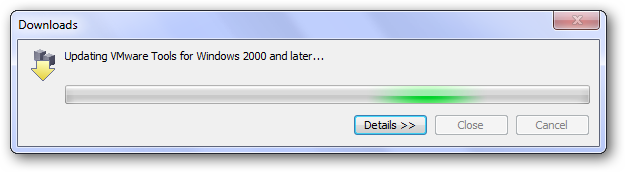
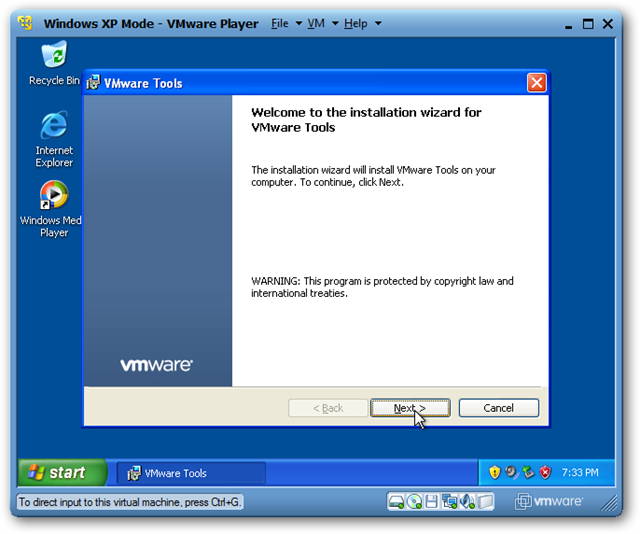
While it is loading, you may be prompted to install or update VMware Tools.
The tools will automatically download and install, though you may have to approve an UAC prompt.
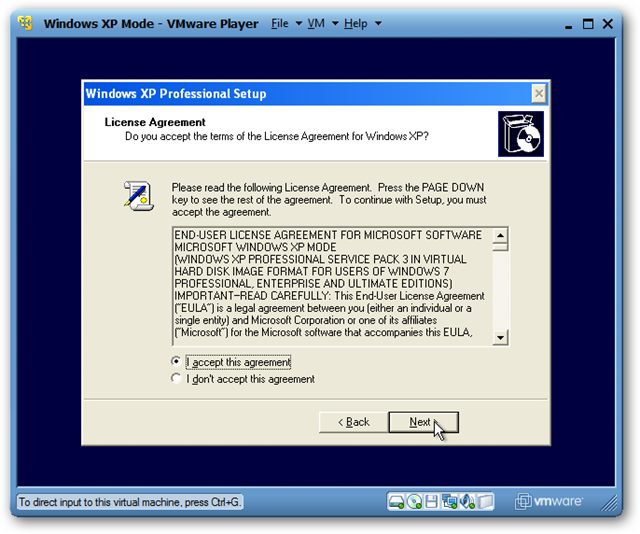
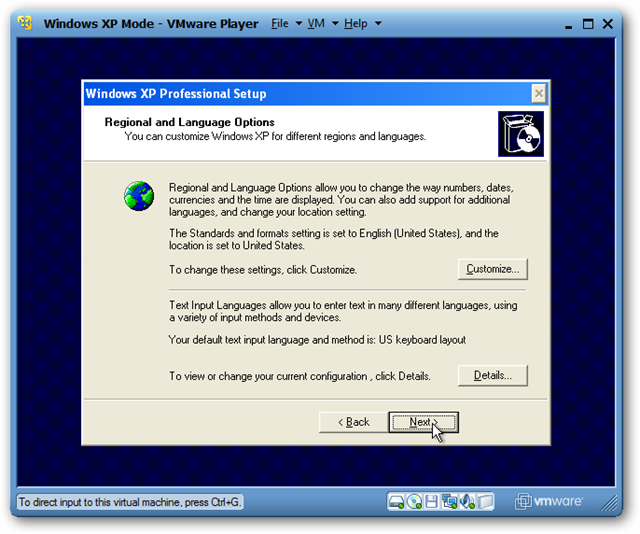
Now you’re free to proceed with your XP setup.
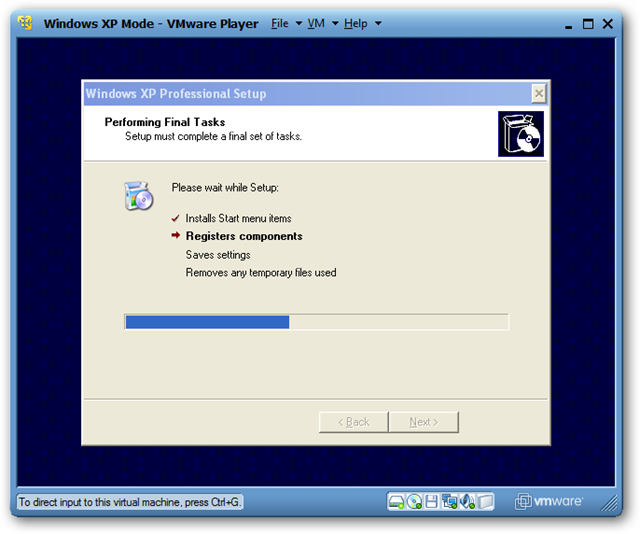
XP will now finalize your changes, and then reboot.
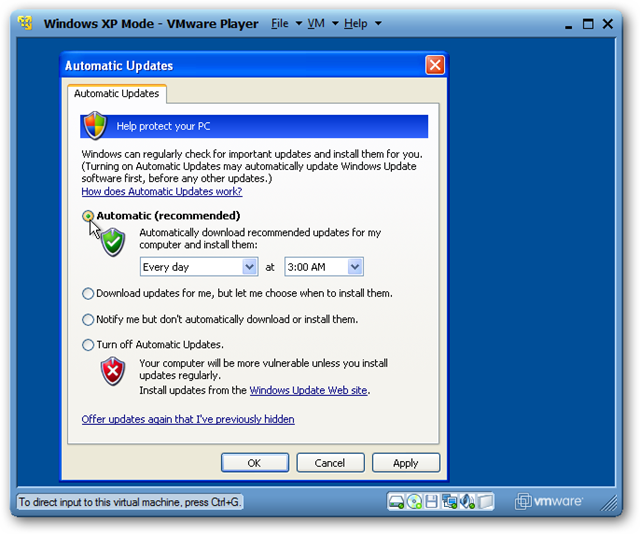
When XP Mode restarts, choose your prefs for updates.
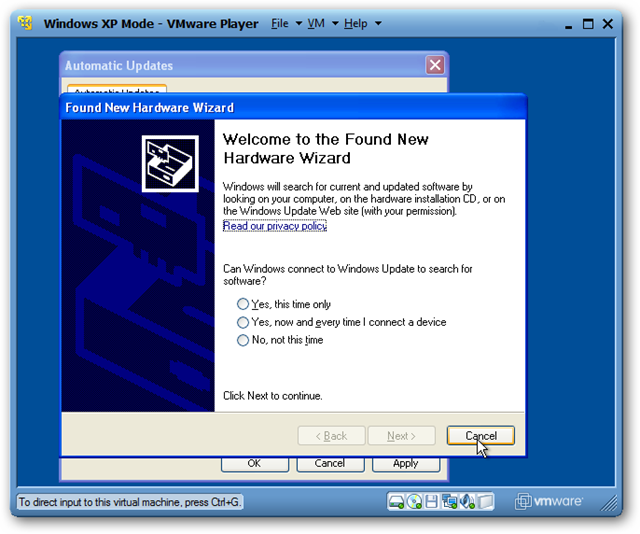
Windows may ask to search for drivers.
Simply press cancel, as VMware Tools will contain everything we need.
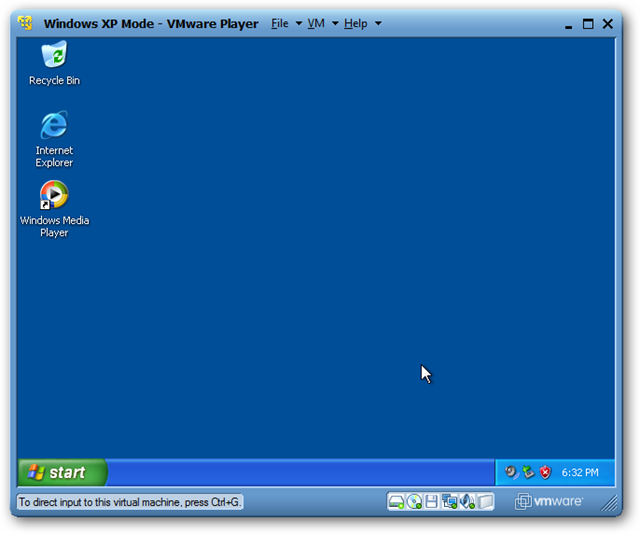
After a short delay, you should see your XP desktop in VMware Player!
There’s one last thing that needs to be installed – VMware Tools.
Now VMWare is setup and we’re ready to start integrating it with Windows 7.
Let’s set this up in VMware.
Copy and paste from Windows 7 to XP Mode in VMware is activated by default.
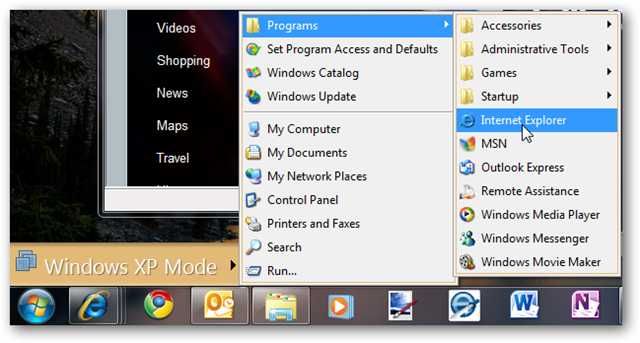
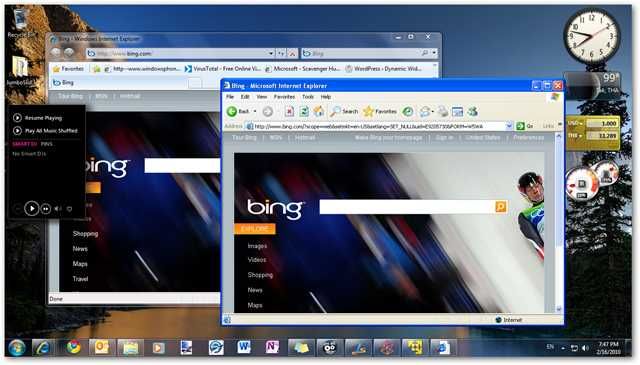
you might easily access any program or file in XP mode through a dedicated XP Mode Start Menu.
Click there to access a full start menu from XP Mode right in Windows 7.

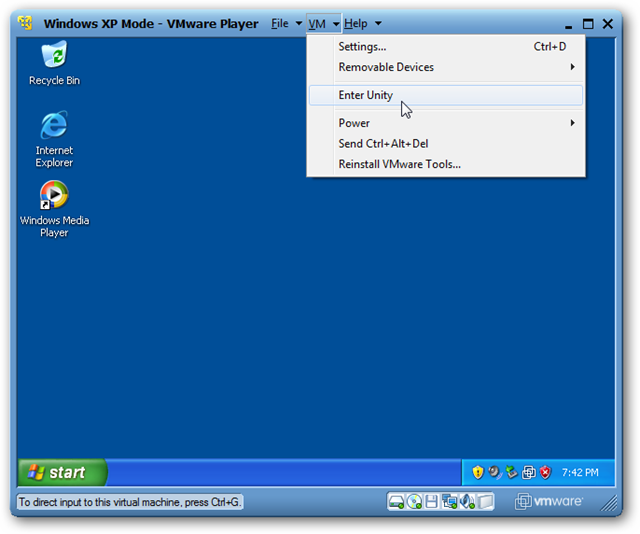
By default, the virtualized windows will have a border and the VMware logo on their edge.
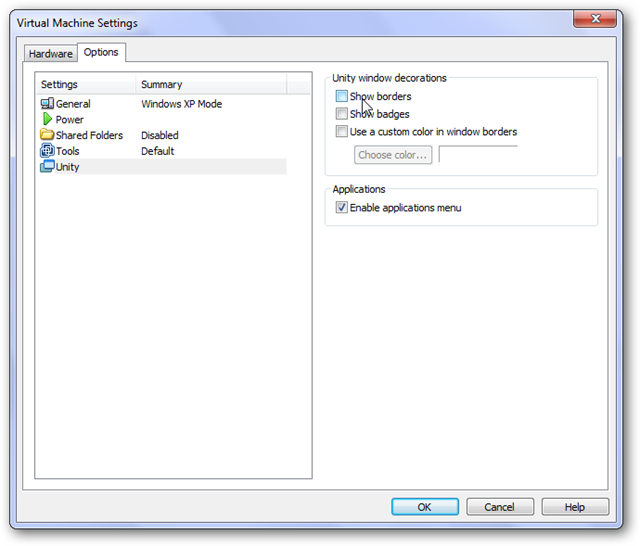
To remove this logo, click VM in the VMware player window, then options.
tap on the Options tab, and choose Unity on the left.
Now uncheck the boxes that say “Show borders” and “Show badges.”
Without having the VMWare borders and badges give everything a more authentic XP Mode look and feel.
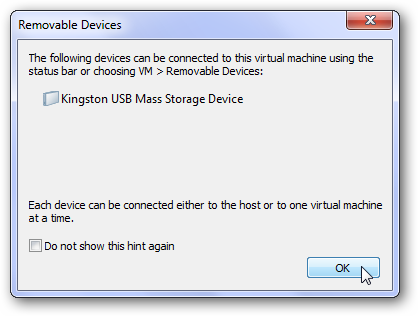
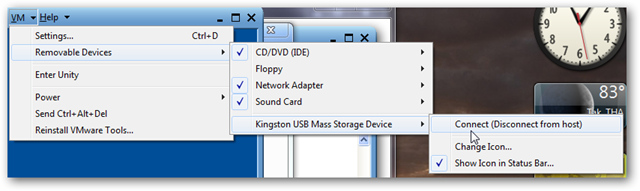
you might even use removable devices, such as flash drives, in XP Mode in VMware Player.
Simply click VM, then Removable Devices.
Select your rig name, and click Connect.
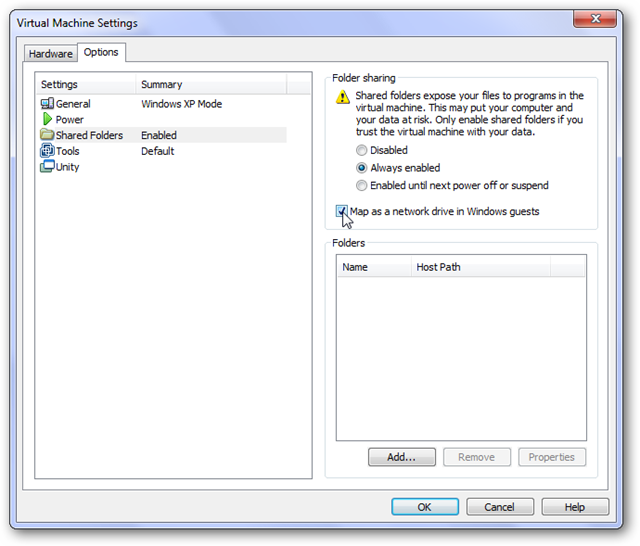
Click VM, then tweaks.
hit the Options tab, and then choose Shared Folders on the left.
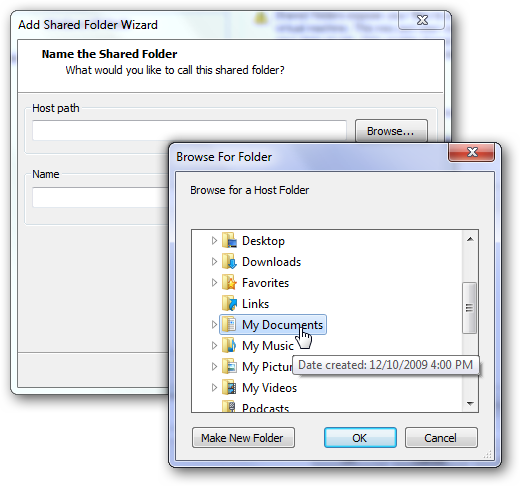
Now click Add at the bottom of that window.
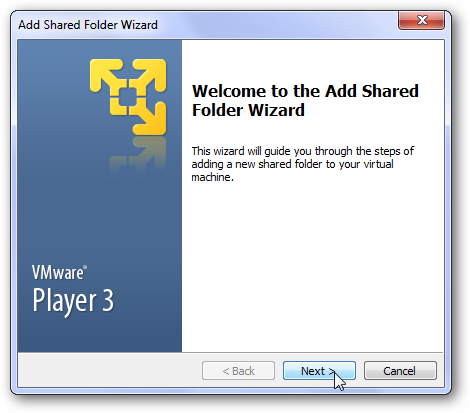
This will let us add a shared folder.

Let’s add the My Documents folder from Windows 7.
Click Browse, and then select your My Documents folder.
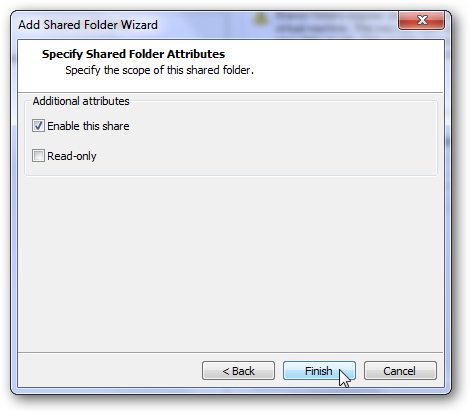
Click Ok, and then click Next.
check that the box is checked that says “Enable this share” and then click Finish.
you’ve got the option to now shut the parameters window as well.
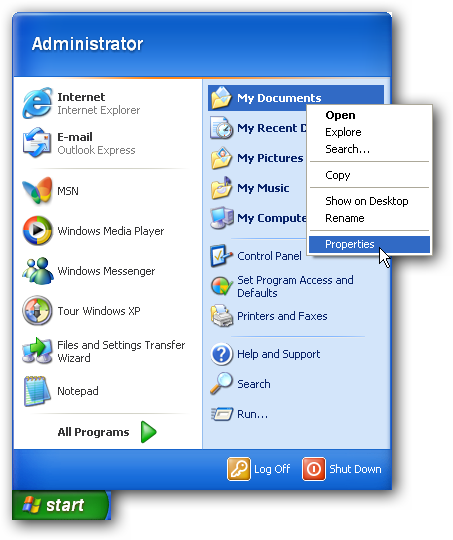
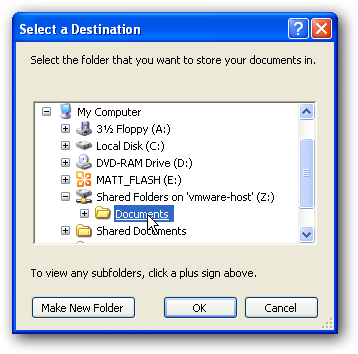
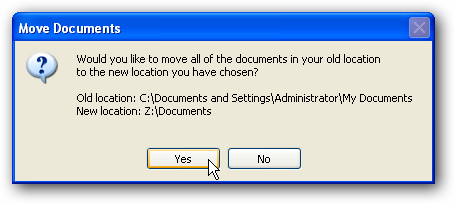
Back in XP Mode, click Start, then right hit My Documents, and select Properties.
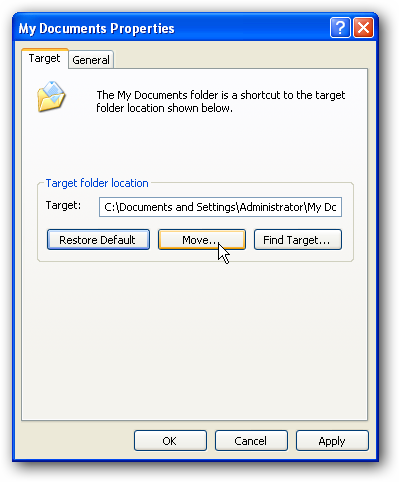
Click Move to find the new My Documents folder.
Now opt for folder we shared, Documents, and click Ok.
Click Ok in the main properties window.
![sshot-2010-02-16-[20-02-36]](https://static1.howtogeekimages.com/wordpress/wp-content/uploads/2010/02/sshot20100216200236.png)
![sshot-2010-02-16-[20-08-50]](https://static1.howtogeekimages.com/wordpress/wp-content/uploads/2010/02/sshot20100216200850.png)
![sshot-2010-02-16-[20-21-39]](https://static1.howtogeekimages.com/wordpress/wp-content/uploads/2010/02/sshot20100216202139.png)
![sshot-2010-02-16-[20-23-15]](https://static1.howtogeekimages.com/wordpress/wp-content/uploads/2010/02/sshot20100216202315.png)