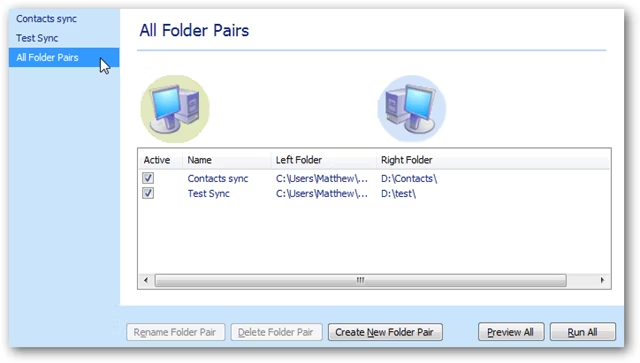
SyncToy is a great tool to help you keep your files and folders synced between drives and devices.
Windows includes an often overlooked scheduling tool that can automatically run many applications without any action on your part.
Let’s see how it’s possible for you to setup SyncToy to automatically sync with the Task Scheduler.
Automatically Run SyncToy
First, see to it you have SyncToy installed and have some syncs setup.
Here’s one of our articles with more info aboutSynchronizing Folders With SyncToy.
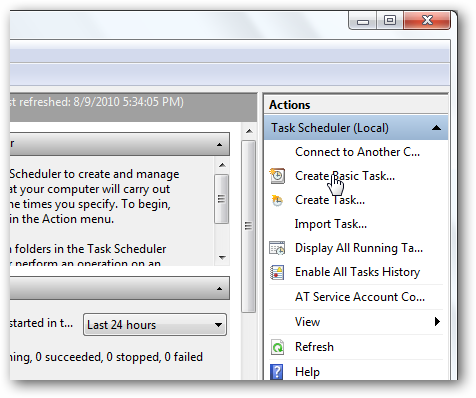
Now open Task Scheduler to get SyncToy automatically syncing.
![sshot-2010-08-09-[15-06-24]](https://static1.howtogeekimages.com/wordpress/wp-content/uploads/2010/08/sshot20100809150624.png)
pop in Task Scheduler in the Search box in the Start Menu and hit Enter.
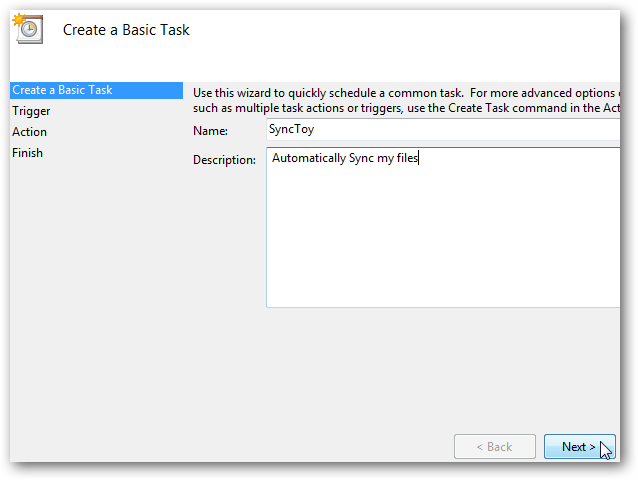
Once Task Scheduler opens, click Create Basic Task on the right sidebar.
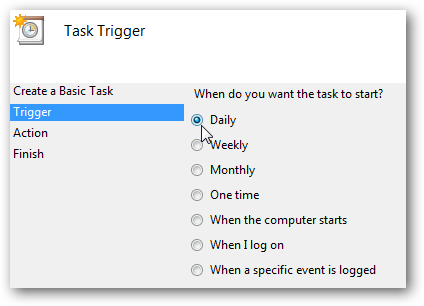
Choose how often you want to initiate the task.
Click Next to continue.
You’ll be asked to add additional parameters depending on the trigger you selected previously.
If you chose Daily, then the default options should work fine.
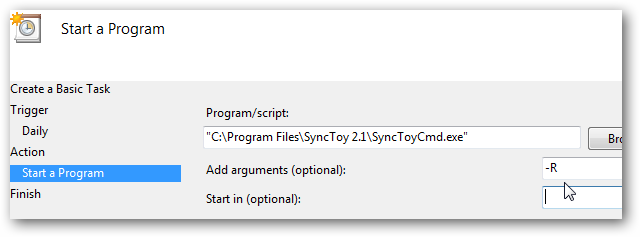
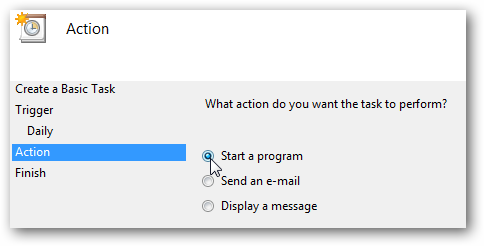
Now, you’ll be asked what you want the action to do…Click Start a program.
check that to enter the sync name inside quotes if it contains any spaces.
Once you’re finished, click Next to continue.
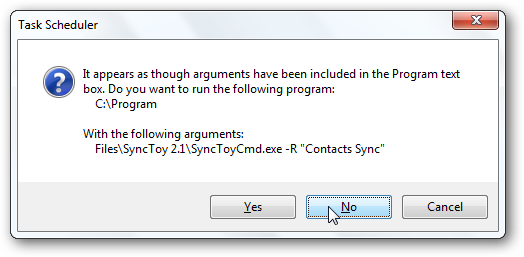
Click No to keep it like you entered, and Task Scheduler will add the quotes correctly for you.
You’re finally finished.
The Wizard will show you a summary of the sync parameters; click Finish to save the changes.

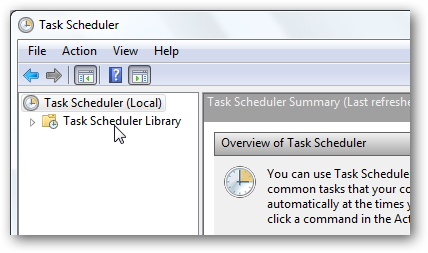
press the Task Scheduler Library on the left side to find your task.
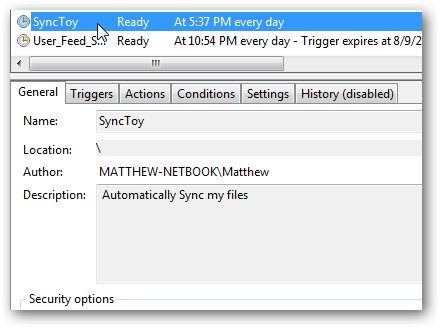
Scroll through the tasks listed, and find the one you created previously.
You’ll see an overview of its controls in the preview underneath.
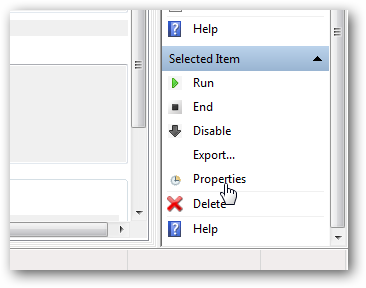
On the right sidebar, click Properties to change its options.
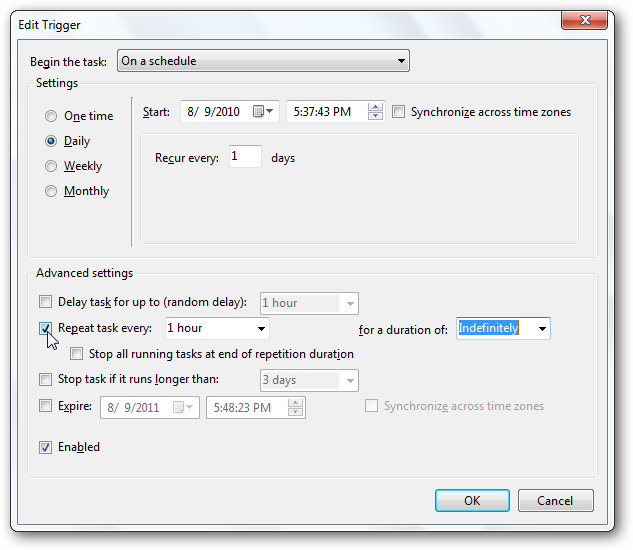
To change how frequently it syncs, tap the Triggers tab and double-tap on your time listed.
This dialog is much more flexible than the previous one used when creating the task.