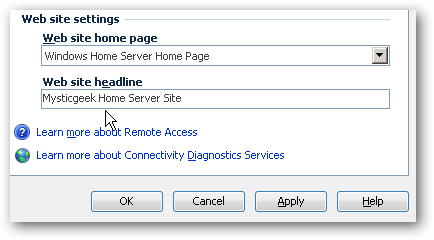
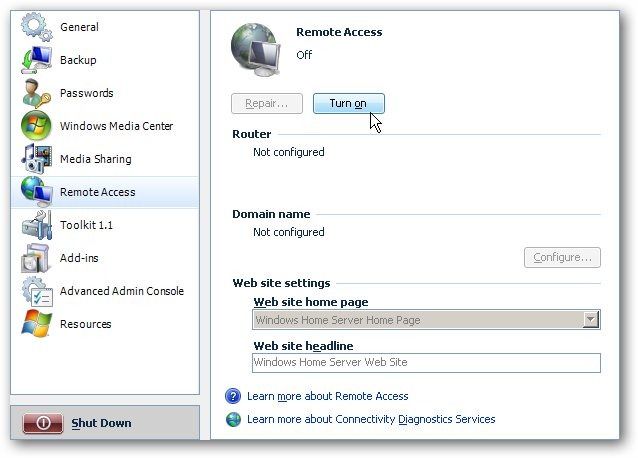
Next select Remote Access, it is off by default, just hit the button to turn it on.
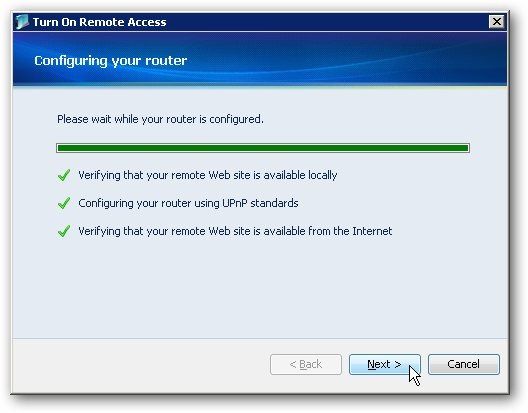
Wait while your router is configured for remote access, when its complete click Next.
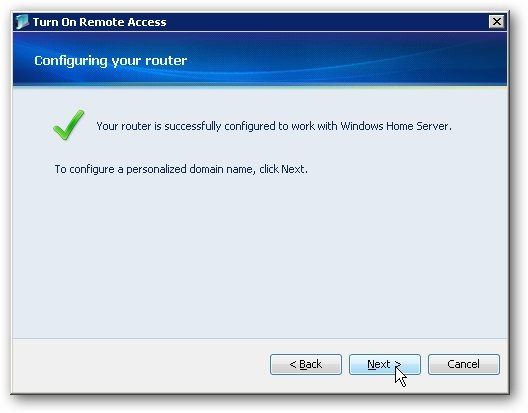
The router is successfully configured, and we can continue to the next process of configuring our domain name.
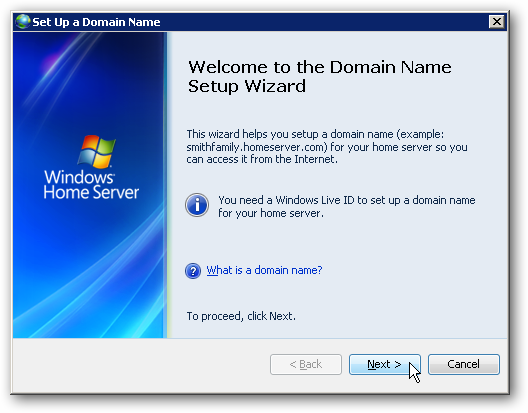
The Domain Name Setup Wizard will start.
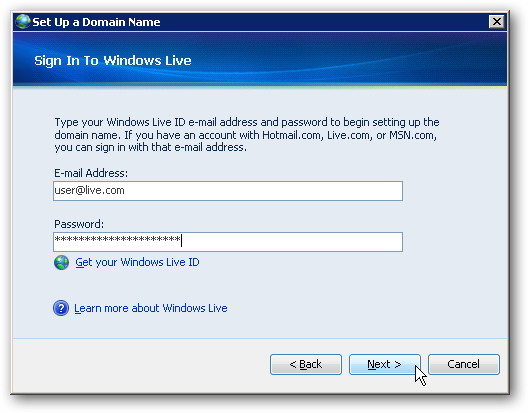
Notice you will need a Windows Live ID to set it up which is typically your hotmail address.
If you dont already have one, you could get onehere.
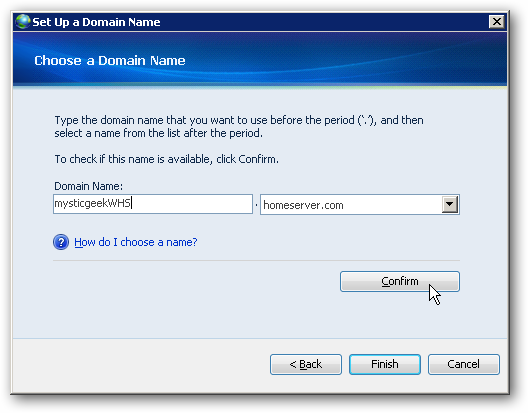
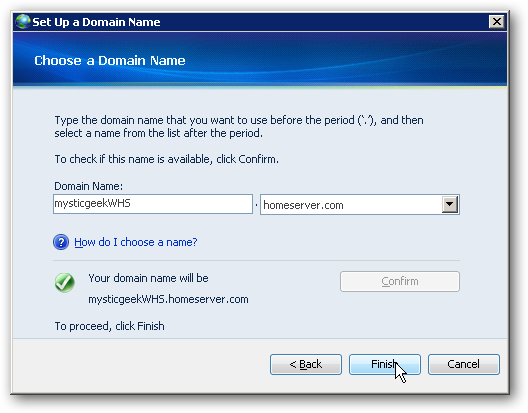
Now choose a name for the domain.
You should select something that is easy to remember and identifies your home server.
When you have the name figured out hit the Confirm button.
Note: it’s possible for you to only register one domain name per Live ID.
If the name isnt already taken, youll get a confirmation message indicating its god to go.
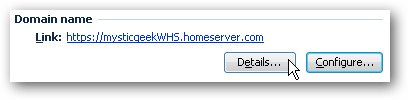
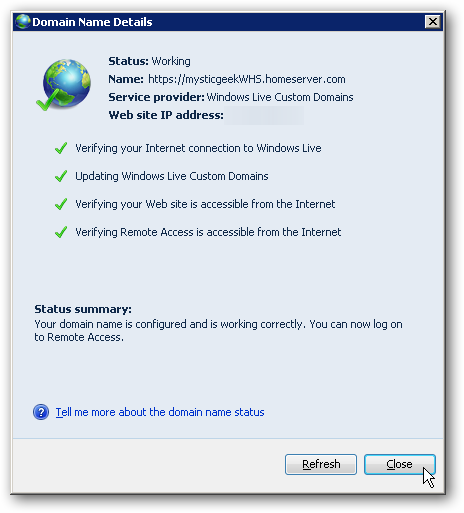
Which pulls up the domain detail information and you could refresh the data to verify everything is working correctly.
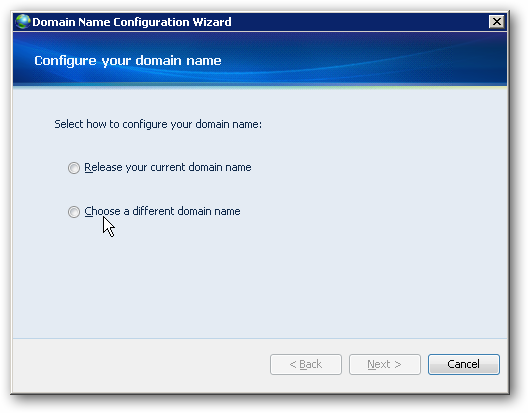
Or you’re able to tap the Configure button and then change or release your current domain name.
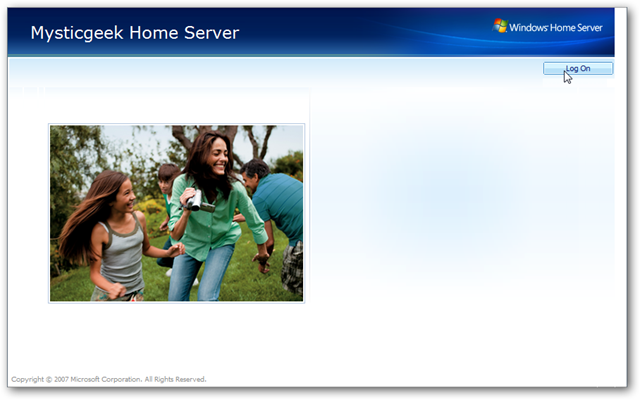
Simply pop in in the domain address you created in the previous steps.
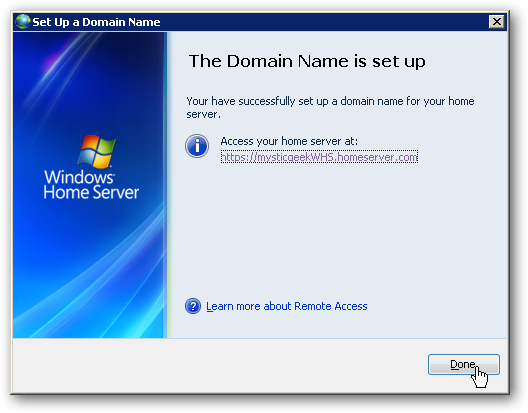
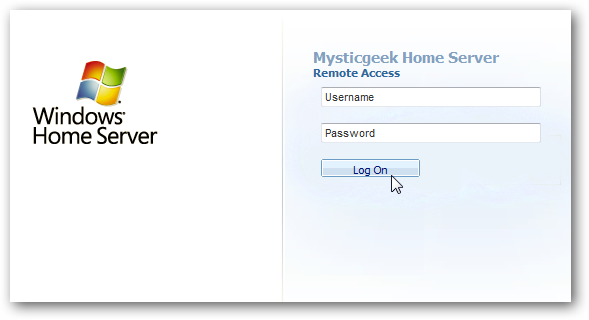
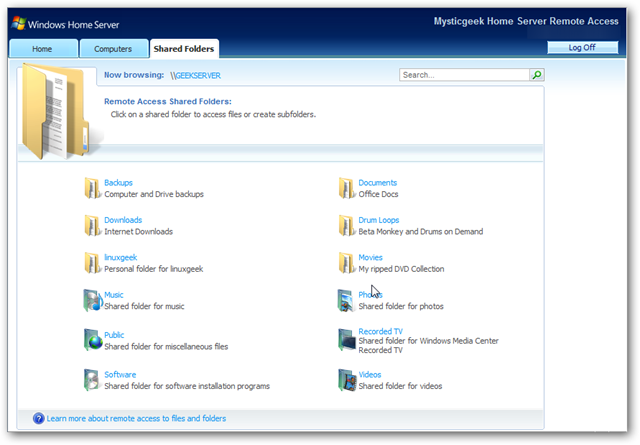
ConclusionNow that you have Remote Access setup, you should be able to access and manage your files easily.