Today we show you how to share a printer from either Vista or XP to Windows 7.
We previously showed you how toshare files and printers between Windows 7 and XP.
This guide will walk you through the process.
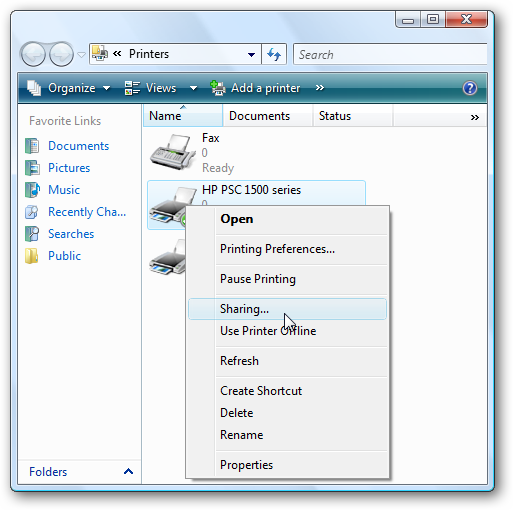
Right-opt for printer you want to share and select Sharing from the context menu.
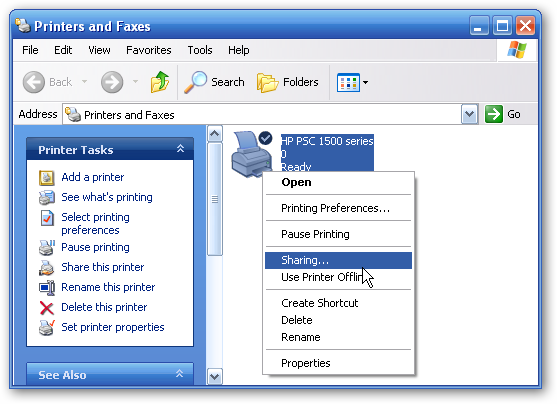
In the Printers and Faxes window right-punch the printer to share and select Sharing.
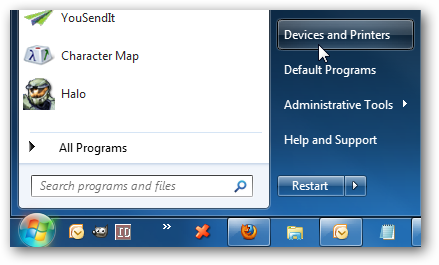
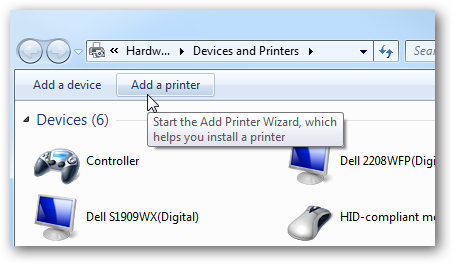
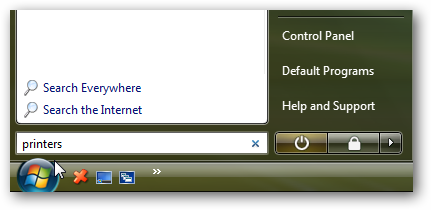
In Devices and Printers choose Add a printer.
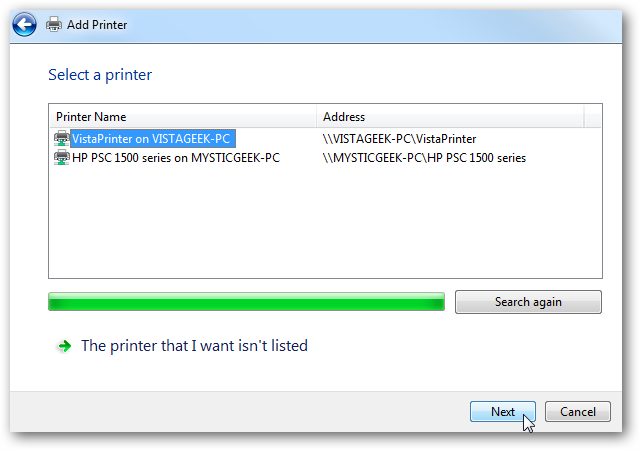
Next select Add a web link, wireless or Bluetooth printer.
Windows 7 will search for the printer on your data pipe and once its been found click Next.
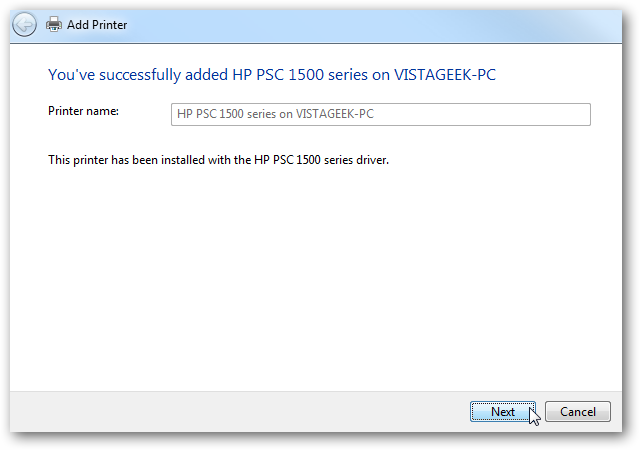
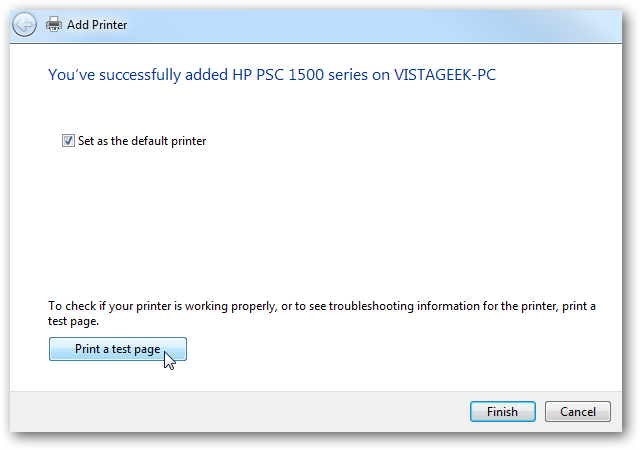
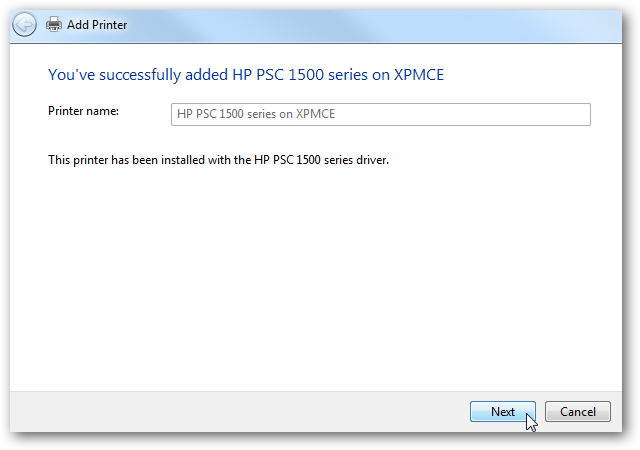
The printer has been successfully added…click Next.
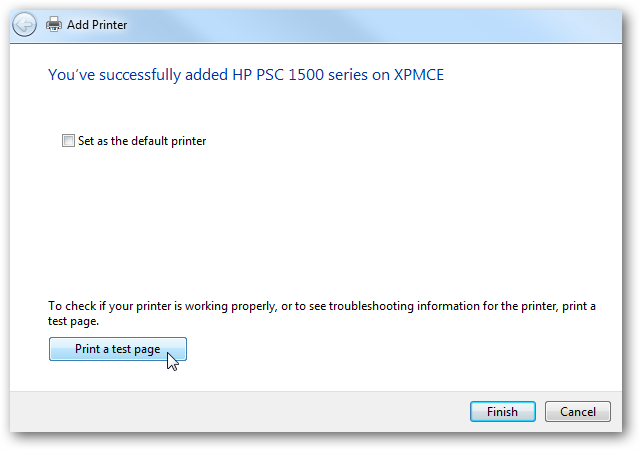
Now you could set it as the default printer and send a test page to verify everything works.
If everything is successful, close out of the add printer screens and you should be good to go.
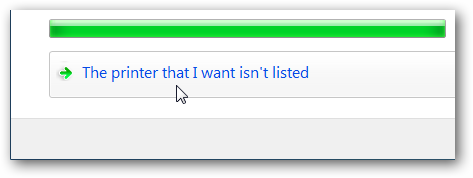
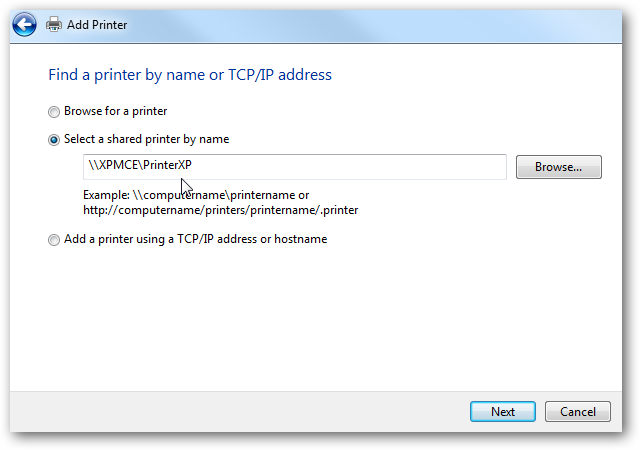
If you’re search pulls up nothing then tap on The printer that I want isn’t listed.
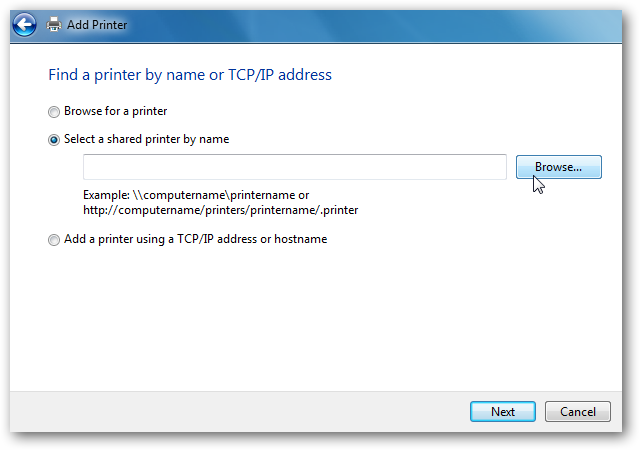
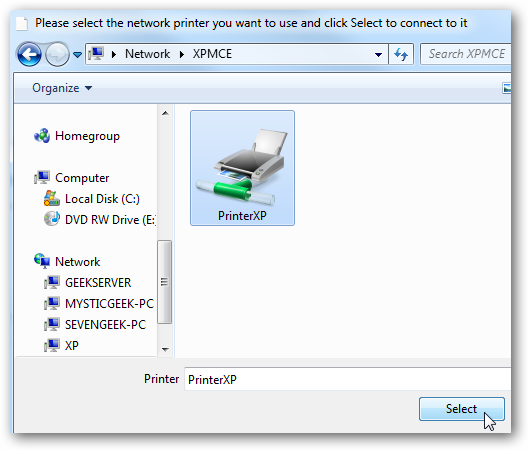
you could either jot down in the path to the printer or press Browse to find it.
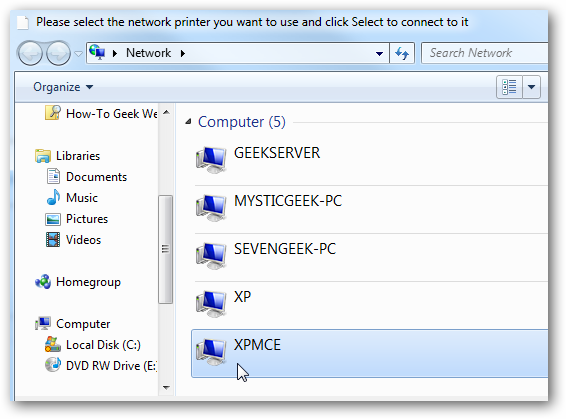
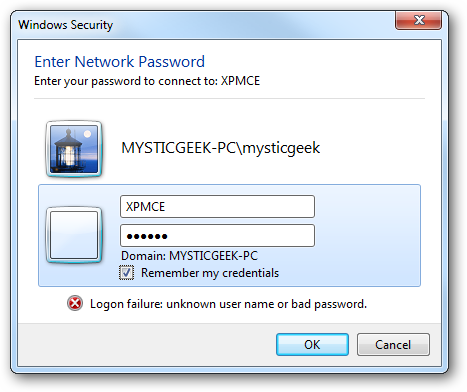
We want to be able to print to the XPMCE computer so we double-tap on that.
The path to the printer is put into the Select a shared printer by name field.
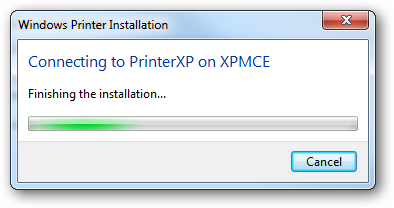
Wait while Windows connects to the printer and installs it…
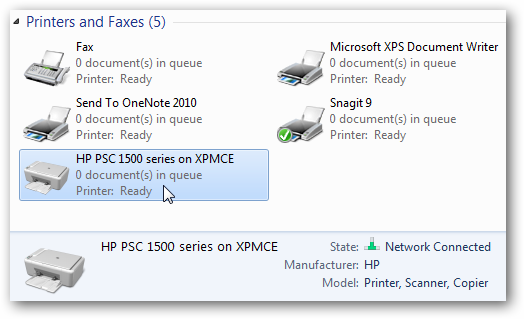
It’s successfully added…click Next.
Your results may vary depending on your bang out of printer, Windows version, and online grid setup.

This should get you started configuring the machines on your data pipe—hopefully with good results.