We are not advising you on how to write a successful CV!
If you have already typed your full resume, you could apply the following formatting prefs to your document.
However, depending on how you set it up, this might not work.
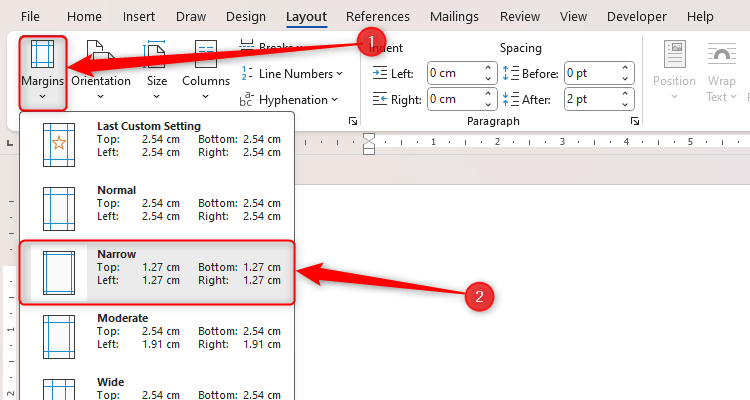
Instead, use Word’s in-built narrow margins.
In the Layout tab on the ribbon, click “Margins,” and choose “Narrow.”
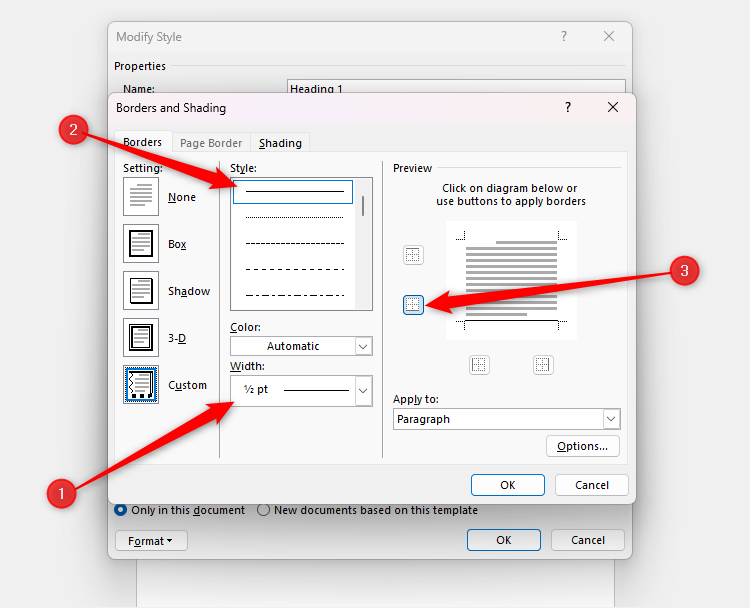
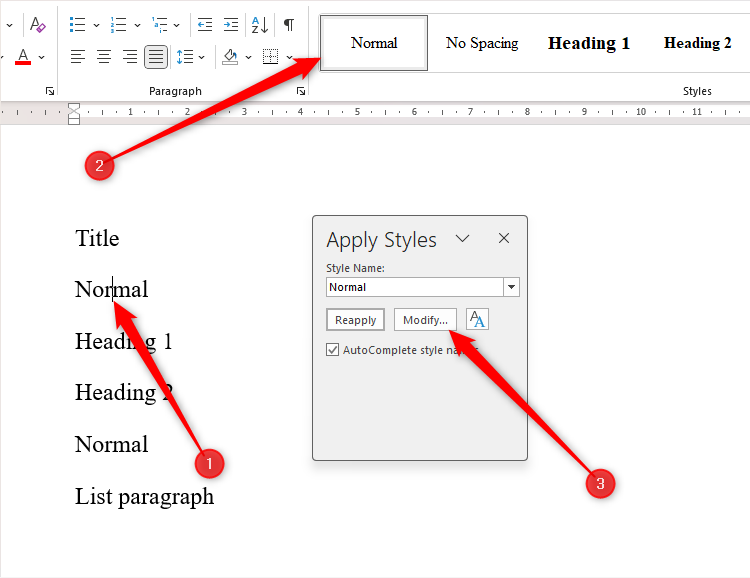
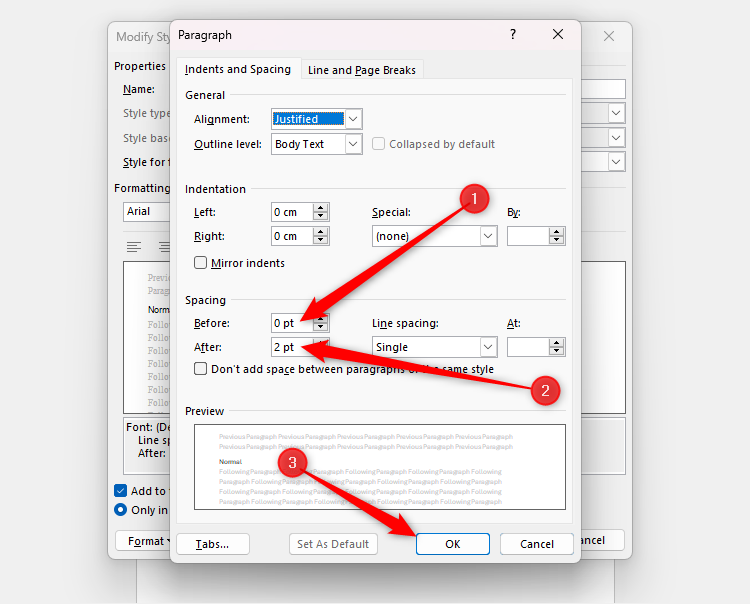
Then, press Ctrl+Shift+S, and click “Modify.”

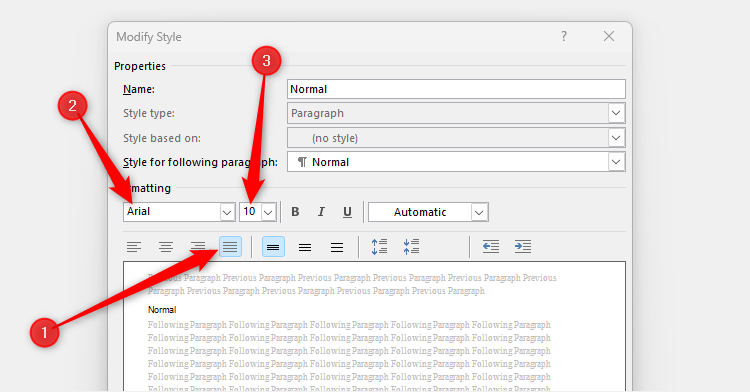
This will change the other styles to the same typeface, but do check as you go along.
Then, click “OK” twice to shut the dialog boxes.
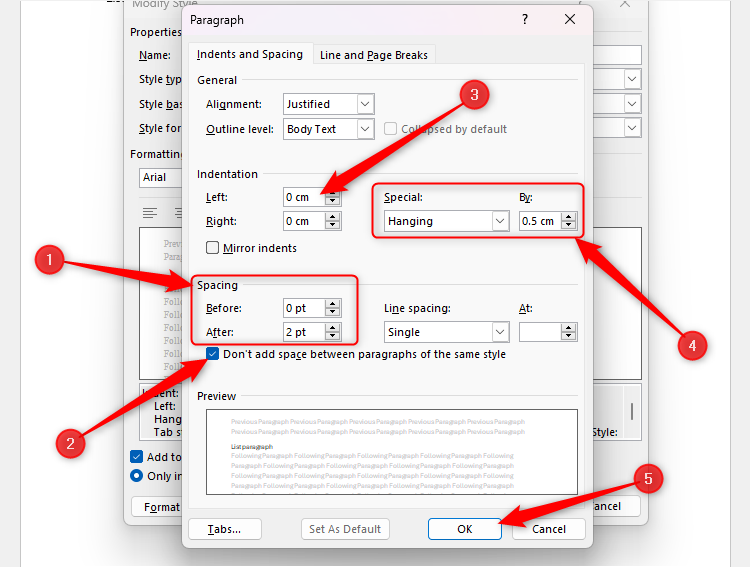
As soon as you modify a style, the text should change to align with your controls.
That style will then appear in the Style Gallery for later use.
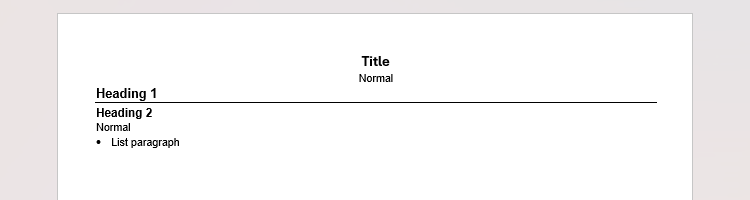
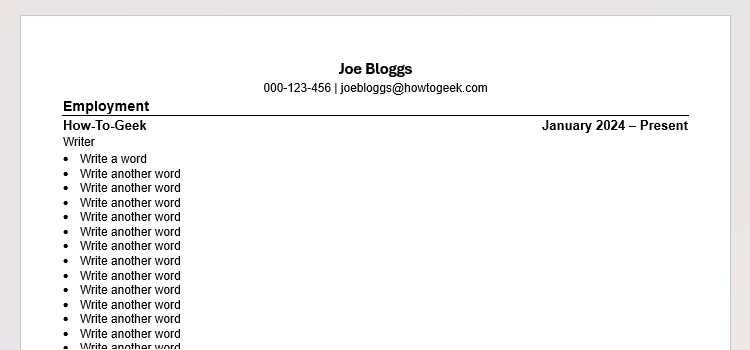
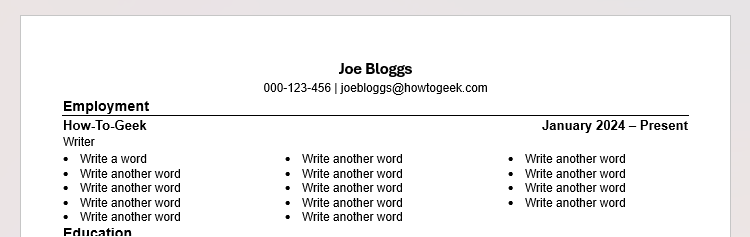
This is how your document should look at this point.
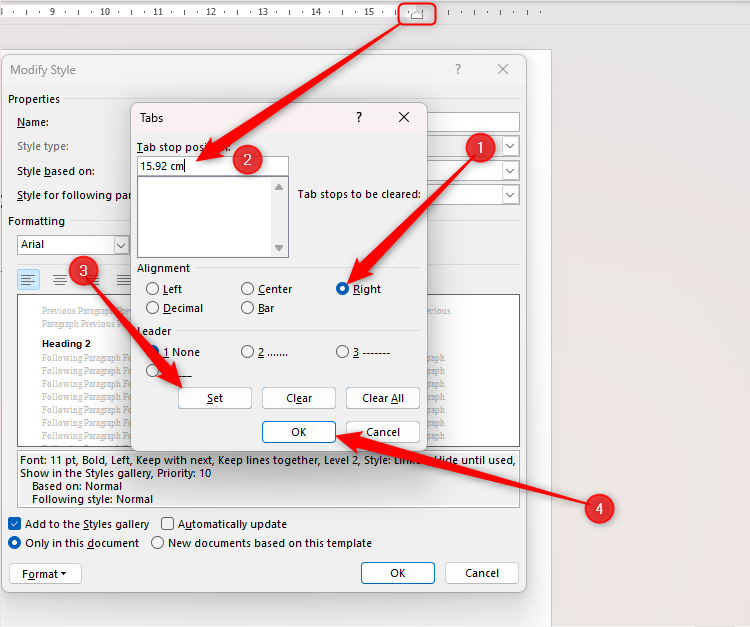
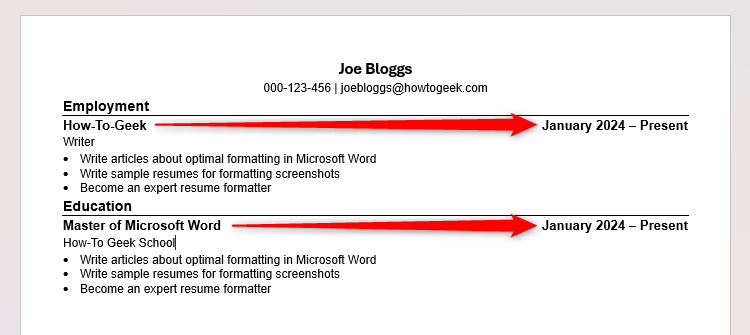
Use Right-Aligned Tab Stops
Remember adding a right-handtab stopin Heading 2?
Now, do the same after the final word of the list.
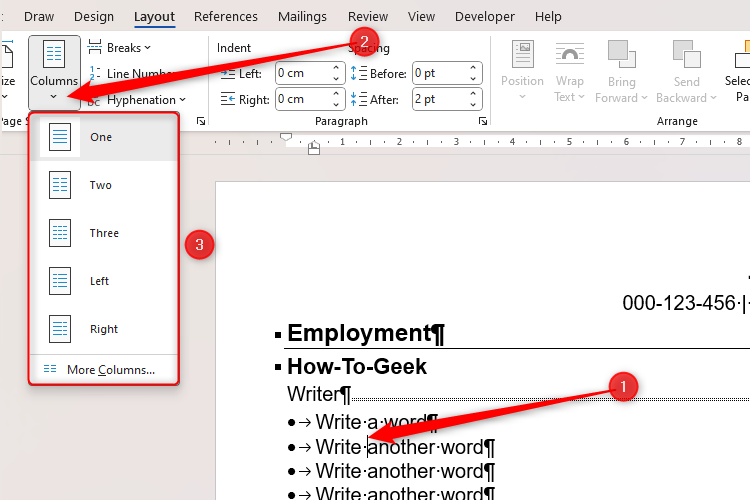
Click "" to turn off the Show/Hide option, and see your section nicely presented in columns.
More importantly, appreciate the space you’ve saved!
If you’ve discussed Excel skills in your resume, ensure you knowthese eight fundamental spreadsheet concepts.