These include workflow tools like Automator and Shortcuts and Apple’s basic image viewer Preview.
Any image file that will open in Preview can beresized with Preview.
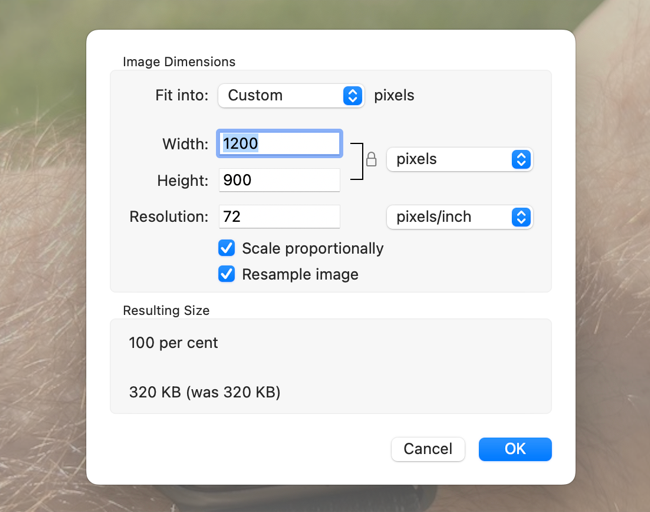
With your file open, click Tools > Adjust Size at the top of the screen.
Farknot Architect/Shutterstock.com
Once you’re done, hit Command+S to secure your file.
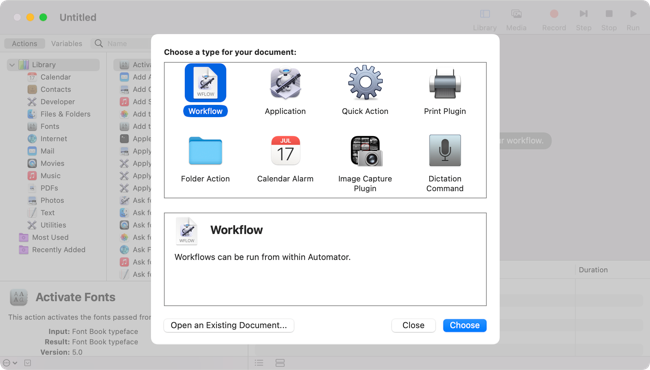
To do this, launch Automator and choose “Quick Action” when prompted.
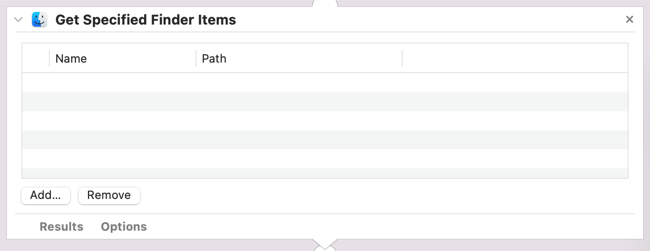
Now punch the “Photos” group and add the “Scale Images” action to your workflow.
(We chose to skip it in our workflow).
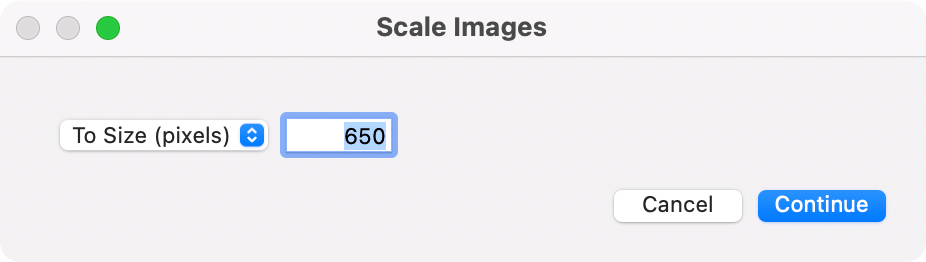
Now specify the size you want either by pixel or percentage.
If you pick pixels, keep in mind that applies to either axis.
Now hit Command+S to preserve your Quick Action.
you might select a lot of images and resize them all to a set size in virtually no time.
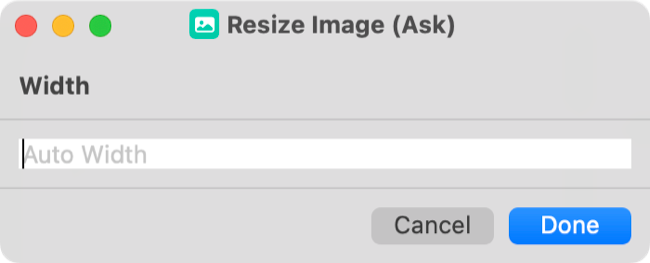
This will tell macOS to ask for your input at this stage in the workflow.

Now hit Command+S and give your workflow a name you’re happy with.
Resize Images Using Shortcuts
Like Automator, Shortcuts can automate a huge variety of repetitive actions.
you’re free to also download a ready-made action and make changes to it.
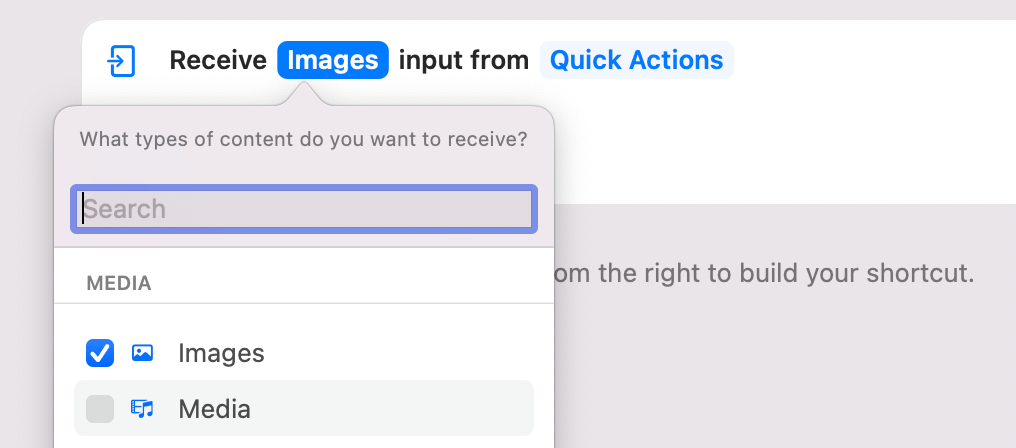
To build an image resizing workflow, open Shortcuts and create a new blank workflow.
If you leave “Services” checked and the action will appear in other apps like Safari too.
Now take a look at the main workflow area.

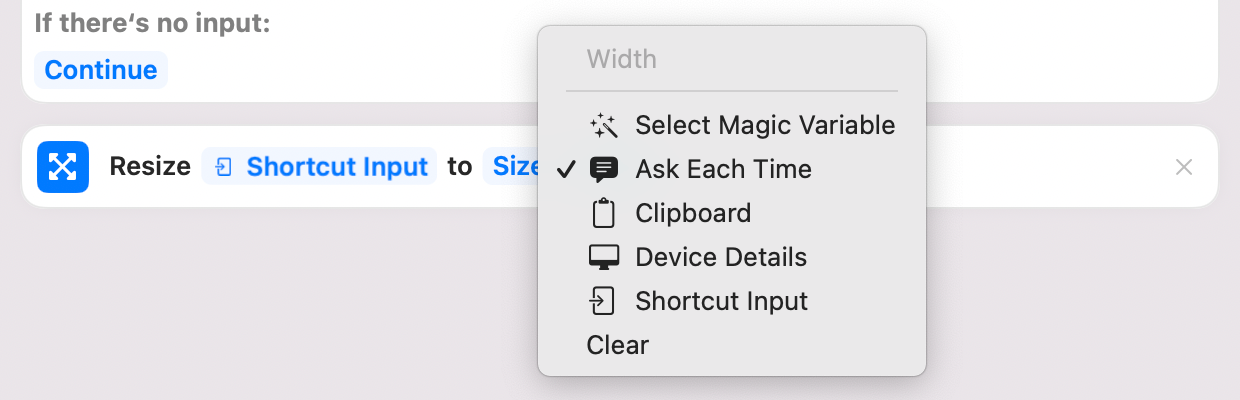
Search for “resize” and drag the “Resize Image” action into the workflow window.
Do the same for the height if you want.
The Shortcut will scale the other axis accordingly.
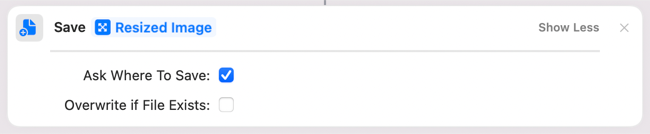
Lastly, search for “save” and drag the “Save File” action into the workflow window.
you might also change the associated icon and color if you want.
This works great for convertingHEIC images shot on an iPhoneto a full-sized JPEG with minimal fuss.
Open Automator and select Quick Action when prompted.
you’re free to also customize the icon and color if you want.
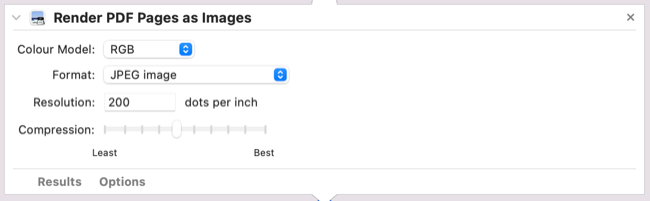
Specify the image pop in you’d like to use, we’re using JPEG here.
Now hit Command+S and secure your Quick Action with a suitable label.
Since we’re copying the file, your original image won’t be affected.
Give your workflow a suitable icon and a color if you want.
Specify the image punch in, resolution, and compression level to use.
To remove something that you don’t find helpful, uncheck it.
you might also reorder how your Quick Actions appear by clicking and dragging them.
Double-clicking an action will open it in Automator, so you’ve got the option to make changes.
Hopefully, the workflows above will help you create your own time-saving automations.
Shortcuts is another app that can help save you time.
Check out (and download)some of our favorite macOS Shortcuts workflows.
Related:8 Mac Shortcuts Actions You’ll Actually Use