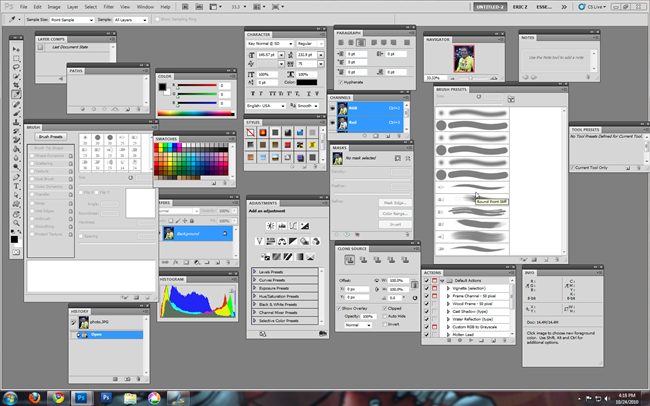
Have a quick look through the default panels and learn more of what Photoshop can do in your hands.
Adjusting Panels
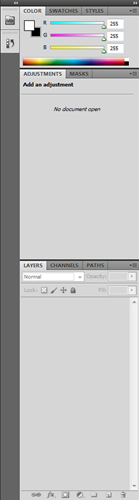
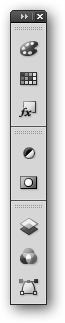
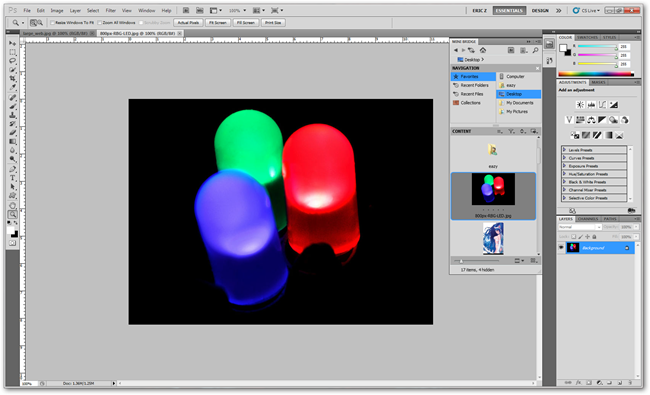
The default panels are snapped to the right side of your PS window.
Your default set of panels from “Essentials” will look like this.
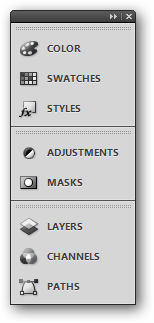
The panels can be condensed by clicking the
on the right of the panel.
They can further be condensed or expanded by clicking and dragging on the left side of the panels.
Exploring Default Panels
The “Essentials” workspace is also the default set of panels.
These will be what we’ll go over first.
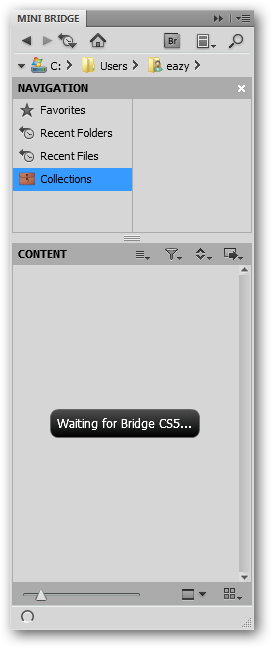
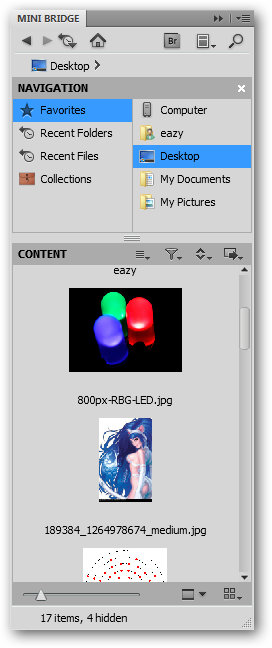
CS5 has integrated a smaller version of Bridge to allow more visual browsing of your images within your panels.
Bridge tends to be a bit on the pokey side, and uses more resources than you might expect.

Visual browsing within Photoshop, however, is helpful.
Bridge loads when you bring up the panel and ask to “Start Browsing.”
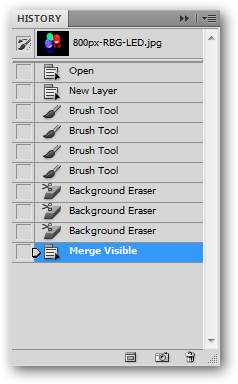
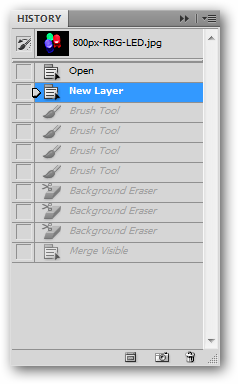
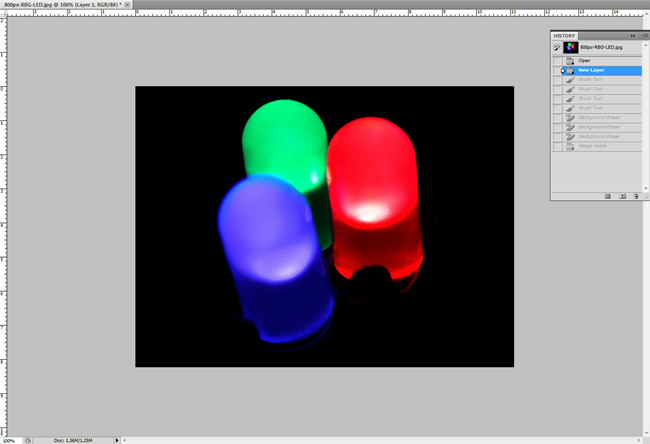
You have a great deal more control over your editing with these multiple levels of undo.
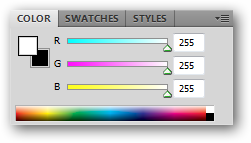
you could also smack the
to adjust options, and pick sliders from different color modes.
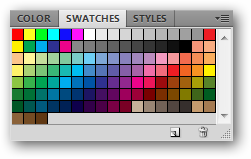
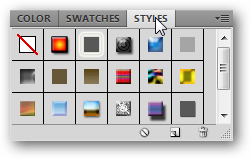
Swatches: A good resource for beginners and professionals alike, swatches are a panel of saved colors.
By default, CS5 has a saved palette of 122 colors for you to use.
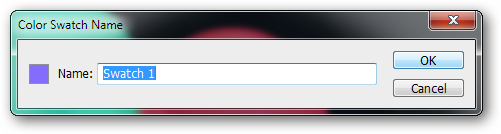
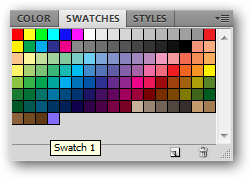
Whatever color you have selected will become available as a swatch.
Simply clicking any of the default styles will apply them quickly to your active layer.
you’re free to manually edit them, or nudge the
to remove all layer effects.

Many of the defaults may appear strange.
Others may have some limited use.
Many may leave you scratching your head.

They are not all useful.
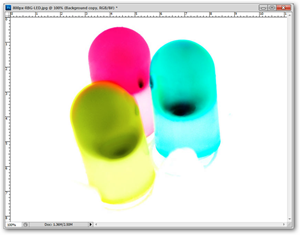
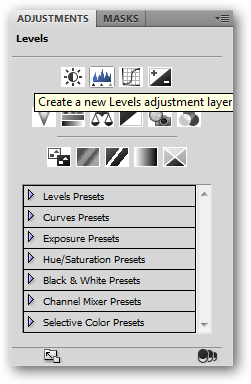
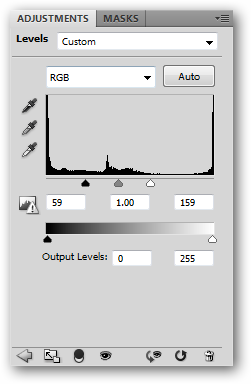
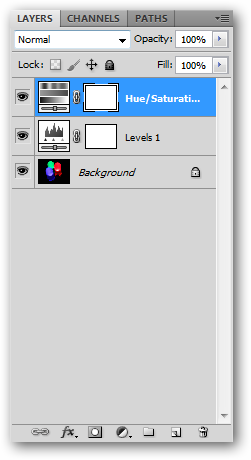
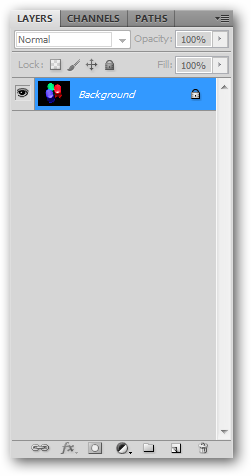
Adjustments: The adjustment panel creates layers that change and filter your image dynamically.
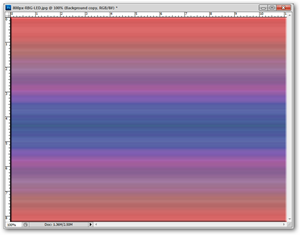
While you could apply Hue/Saturation, Contrast, or Levels to your photograph, it would be permanent.
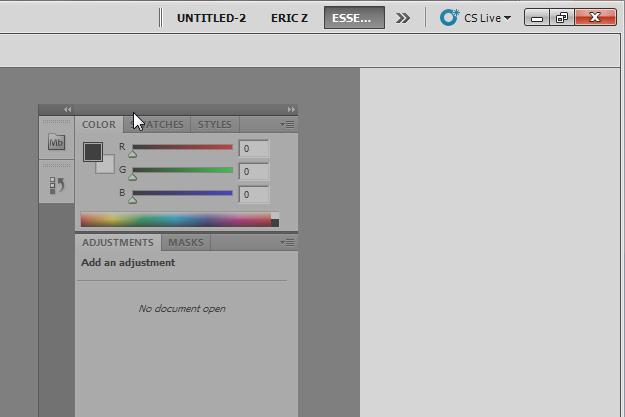
Adjustments creates new layers on top of your image, that can be adjusted inside this panel.
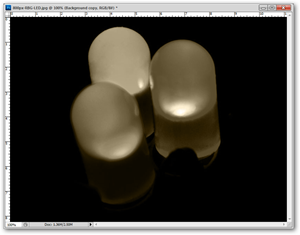
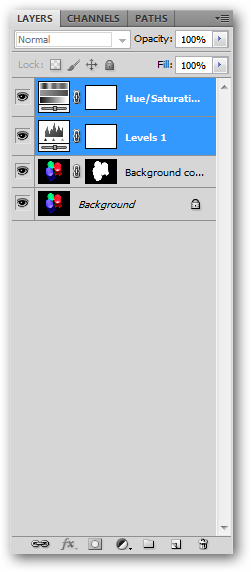
Clicking “Levels” automatically creates a new adjustment layer.
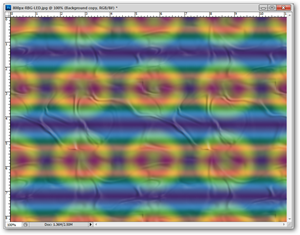
You are given the option to adjust the Levels sliders and change the contrast of my image.

These changes can be undone without using the history or the undo functions.
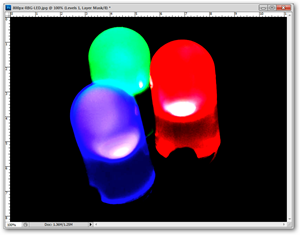
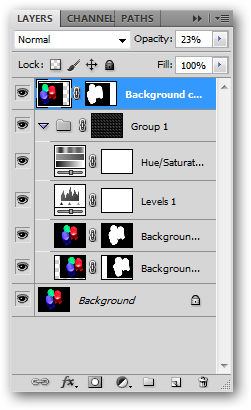
Notice how they appear as separate layers in the layers panel.
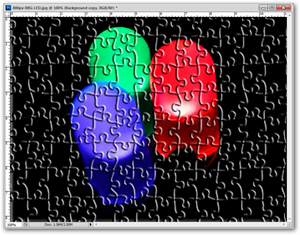
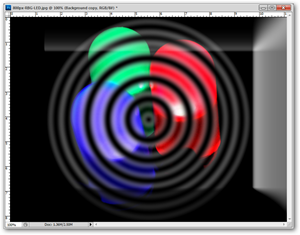
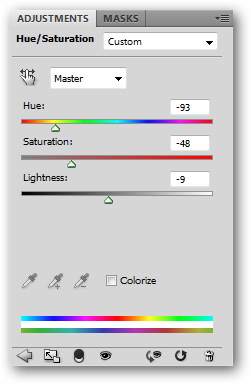
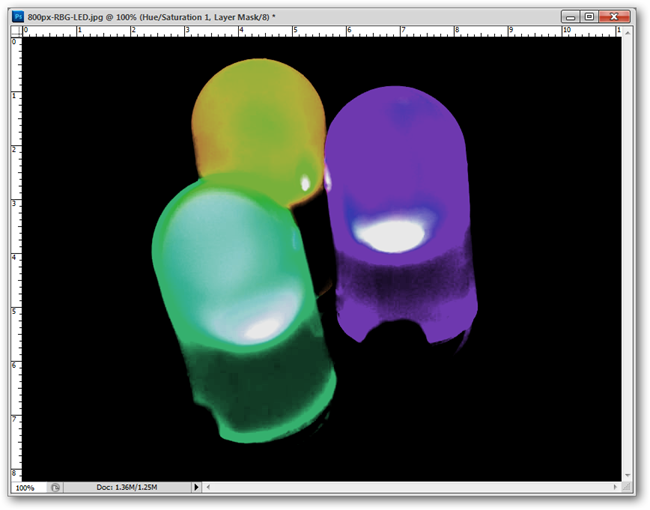
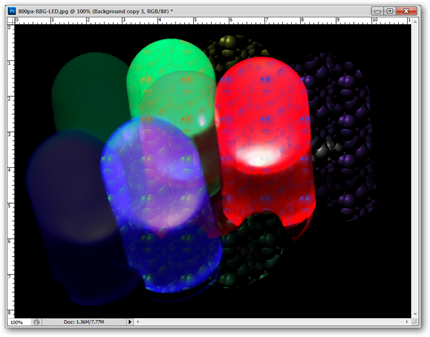
The example from earlier, now with the Hue/Saturation and Levels adjustments.

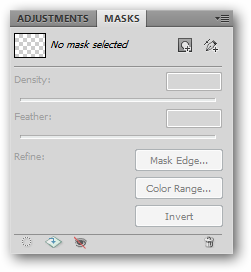
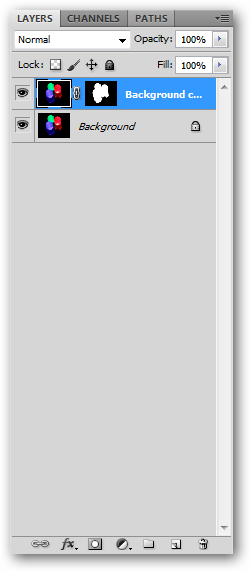
Masks: The masks palette is a method for blocking out parts of layers, reducing them to transparency.
New art can be created in layers without disturbing separate layers above or below.
Layers can be copied and masked, among other things.
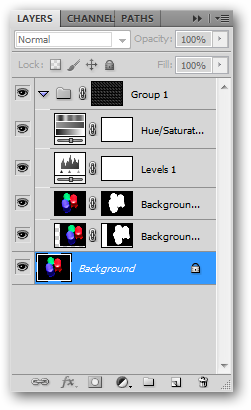
Adjustment layers are also created and managed in this panel.
Opacity and Blending Modes are also controlled here.
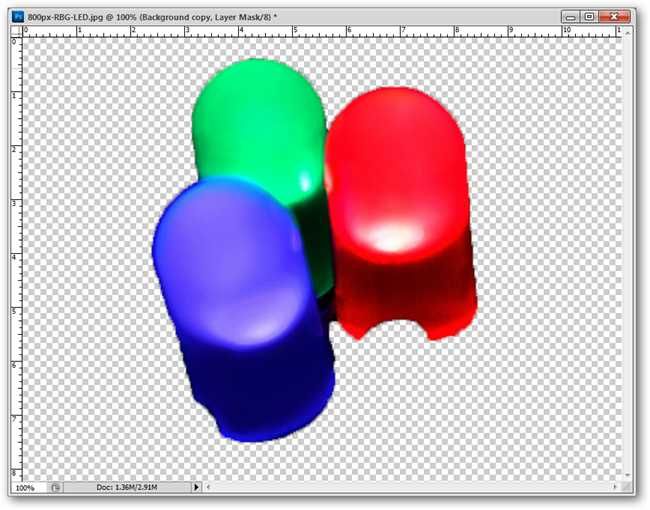
Image editing with layers can quickly create rich images, and makes editing easy.
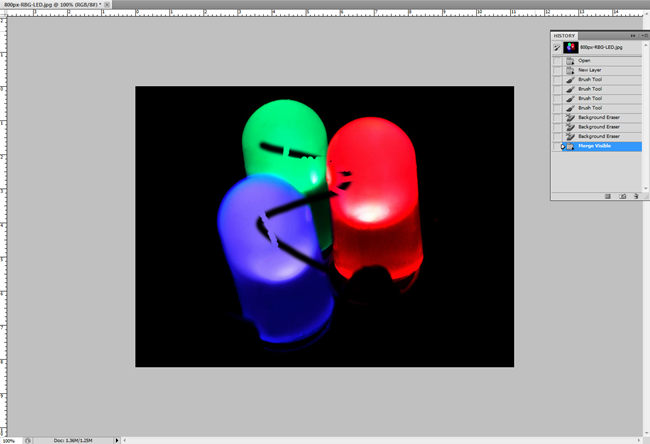
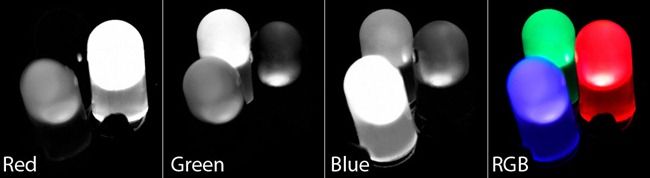
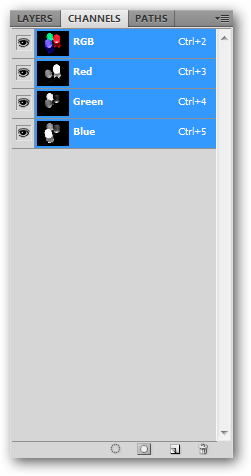
Channels: Digital images display colors in combinations of primary colors, each with values.
These primary colors are viewable separately your color channels.
If you care to play with channels, store your image and experiment.
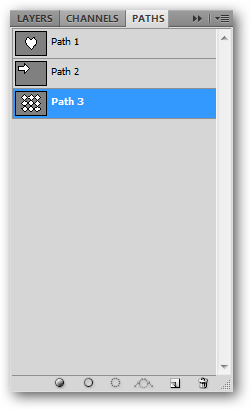
Paths: Another difficult area of Photoshop,paths are vector based primitivesoperating similar to the ones in Illustrator.
Photoshop tips left you confused?
Start at the Beginning!

Check out the previous installments of the How-To Geek Guide to Learning Photoshop.