As one of the hallmark features of Photoshop, Layers are the foundation of learning good photo editing techniques.
Your layer panel is one of the most important within Photoshop.
Whenever you use Photoshop, you’ll work spend a lot of time working in it.
For more on panels, look intoPart Two of the How to Geek Guide to learning Photoshop.
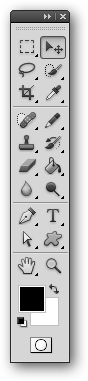
New layers can be created by clicking the
button in the Layers panel.
you’re able to also press
for a blank layer.
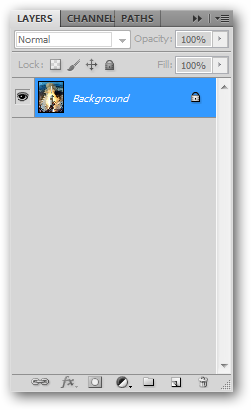
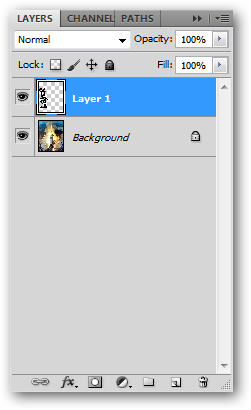
By default, a new layer is transparent.
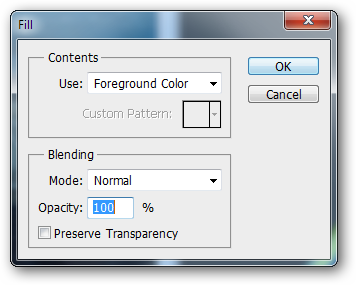
A simple Edit > Fill fills our selection with black.
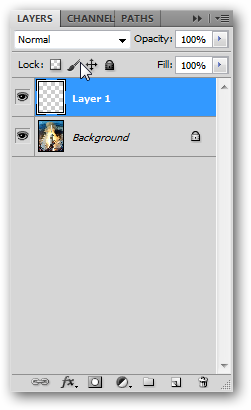
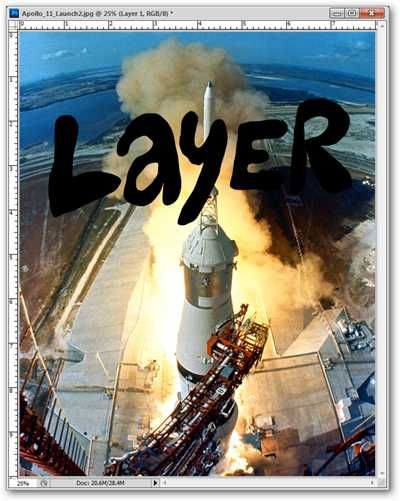
We’ve put it in a new layer, which will help us understand what a new layer is.
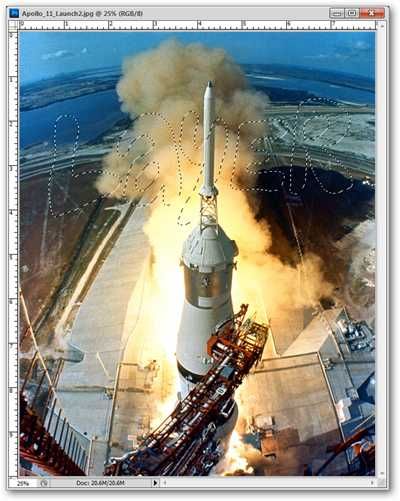
Our black fill exists in a new layer.
We no longer need our selection, so pressing
deselects it.
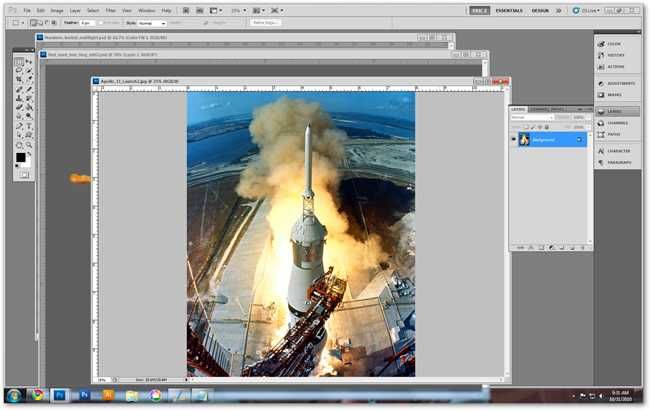
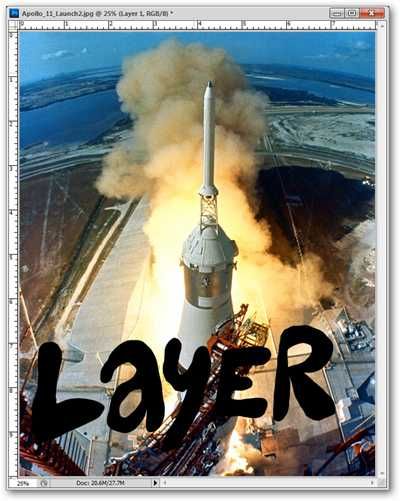
The image of the shuttle still exists beneath the new filled layer.
It can be moved to any position without destroying any part of the layer below it.
Individual layers can be moved, rotated, and transformed at your whim.
And again, since layers exist independent of each other, they do not have to affect each other.

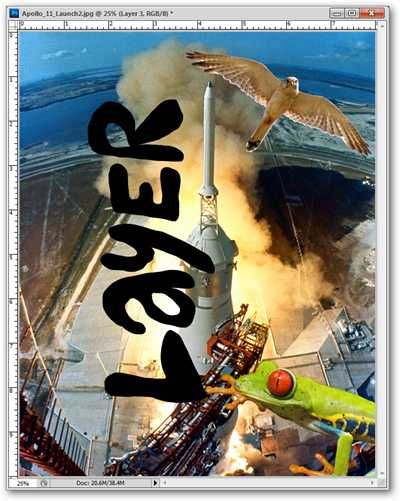
Returning toa few older How-Tos, we can very simply add objects that have hadtheir backgrounds removedto our image.
Photoshop will create a new layer in your target file with the dragged layer information in it.
This image has quickly become ridiculous.
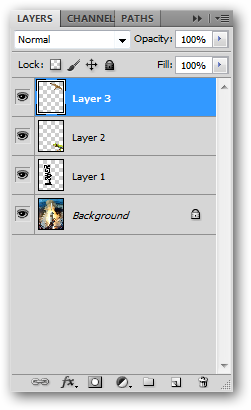
Clicking the
in the side of the layers panel will hide any layer you don’t care to see.
Shortcut key
will give you the jot down tool, which can create a different jot down of layer.
Live throw in is editable, and can be changed at any time without disturbing other layers.
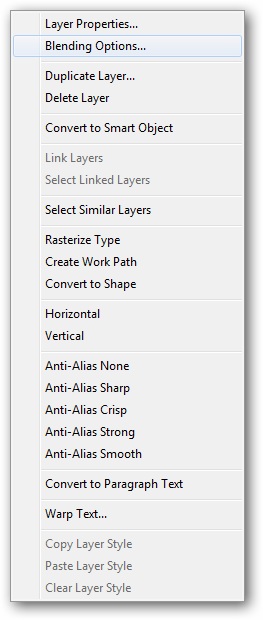
Layers also have “Blending Options,” as illustrated in the contextual menu here.
Right select any of the layers in your layers panel to open this menu.
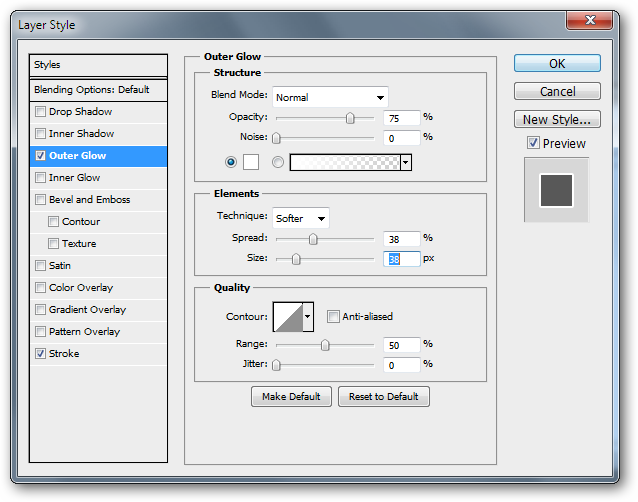
Blending Options takes us to the Layer Style dialog box.

Here, we can add shadows and glows, all editable at any time through this same menu.
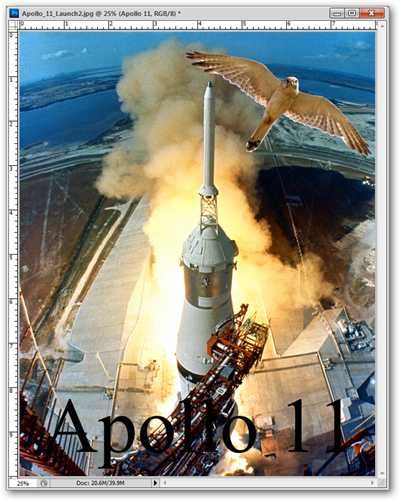
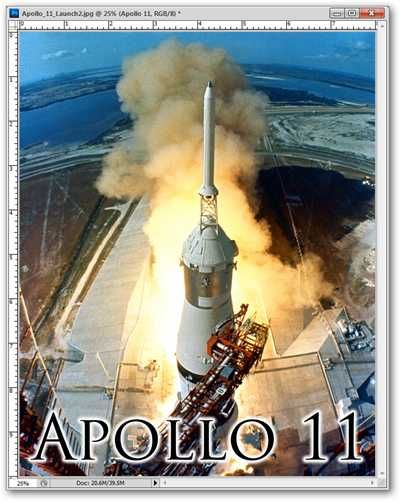
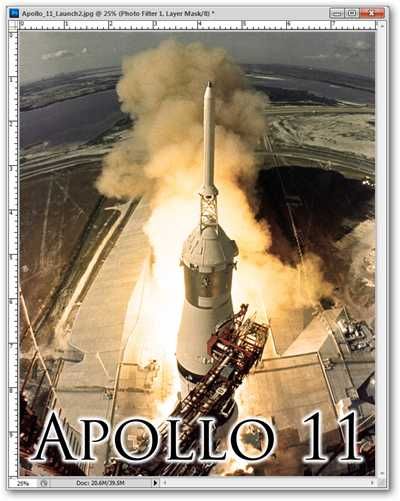
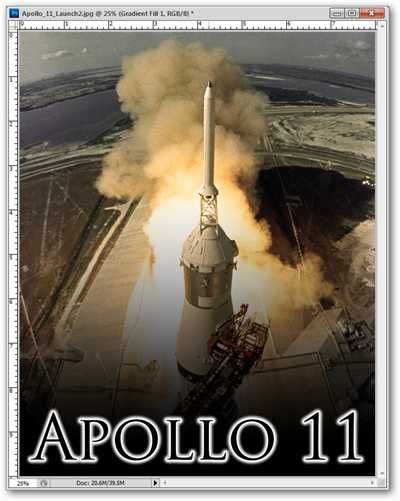
After adding a stroke to the text layer, other effects can also be added.
A soft, white glow can make the text more legible against the complicated background.

Even with these layer effects, these layers are still editable.
The text can easily be set in a different font, with all layer effects staying active.
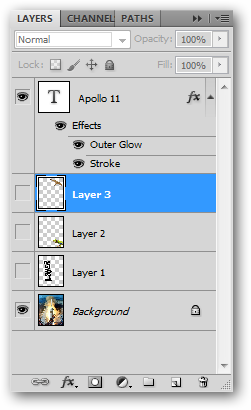
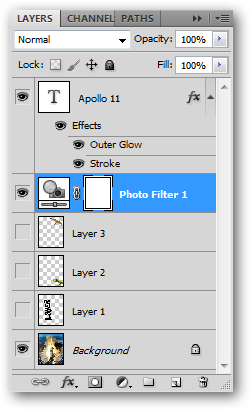
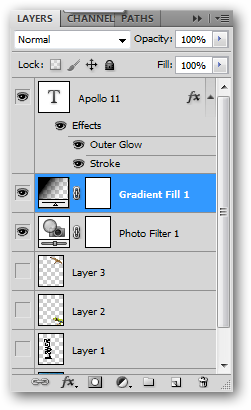
The layer effects look something like this in your layers panel.
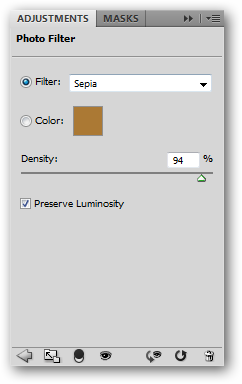
CS5 brings up this “Adjustments” panel.
I create a “Photo Filter” adjustment layer to give my image a sepia tone effect.
Adjustment layers also have a position in your layers panel and only affect the layers below.
In other words, you could move your adjustment layers to affect the layers below it.
I have my text above my Sepia Adjustment Layer, keeping it from turning sepia toned.
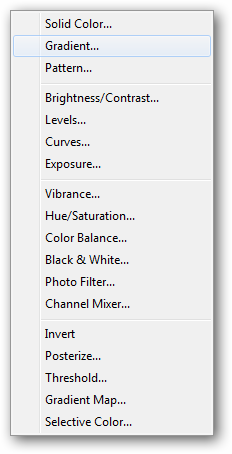
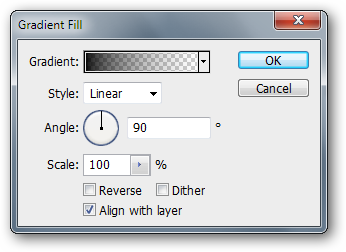
There are many options for Adjustment Layers, including the “Gradient” adjustment layer.

Gradients are great as adjustment layers, as they can easily be re-edited and adjusted.
You’ll have numerous options for types of gradients, colors, angles, etc.
Adjustment layers can be hidden or edited by double clicking them in the layers panel.
Photoshop tips left you confused?
Start at the Beginning!
Check out the previous installments of the How-To Geek Guide to Learning Photoshop.
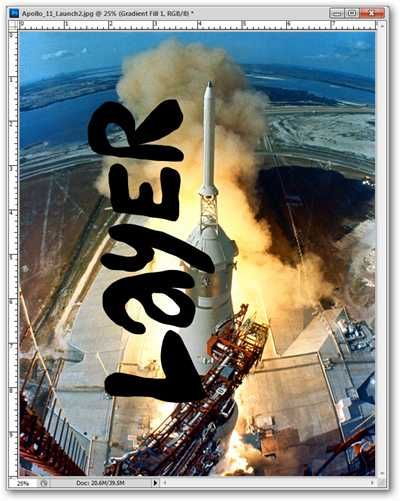
Image credits: Apollo 11 image created by NASA, in public domain.
Information about other images available on theiroriginaltutorials.