Quick Links
Photoshop has a huge menu system with options even advanced users may ignore.
This is Part 4 of amultipart seriesonlearning Photoshop.
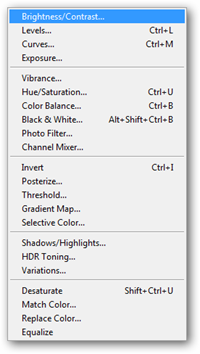
The Top Menu
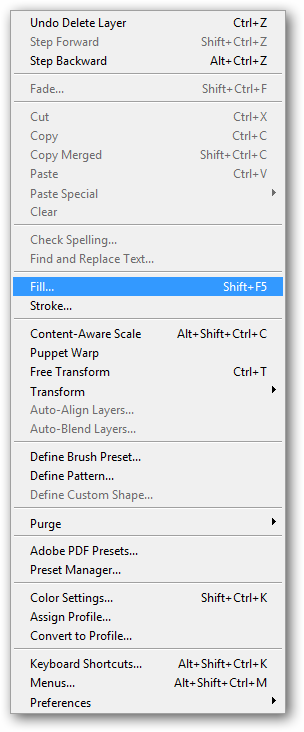
Your menus are laid out as illustrated above.
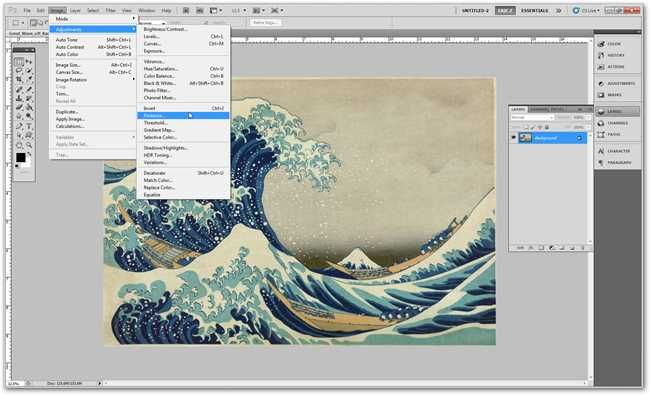
Let’s take a quick look through these and explain the less obvious menu items.
Here are some highlights.
Browse in Bridge:Bridge is a program that comes bundled with Photoshop for visual browsing.

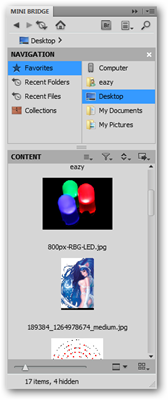
Browse in Mini Bridge:Mini Bridge is a version of Bridge that lives in Photoshop.
Easy to use, but loads slowly.
Part 2, Panelstouched briefly on Mini Bridge.
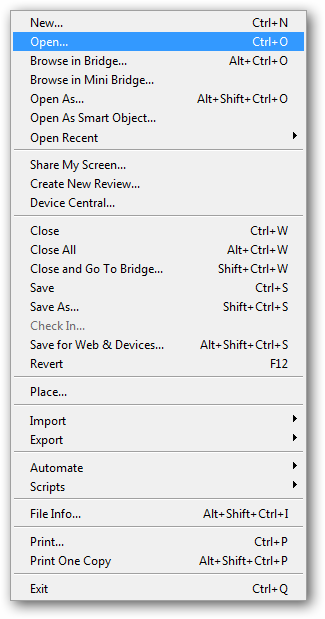
Open As: A problematic menu item, Open As seems broken and glitchy.
Any readers that care to comment on this, let me know of your successes or failures.
I think it is broken in CS5 as of yet.
Open as Smart Object: Create a smart object from any file simply by opening it.
You may want to learna bit about Smart Objectsfirst, however.
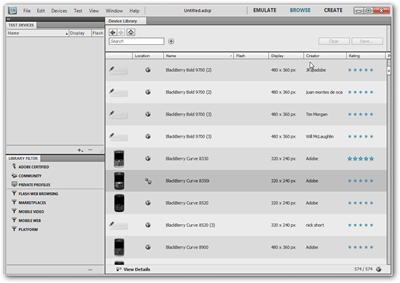
unit Central: Launches a separate program for developing applications for mobile smartphones and other similar devices.

Not terribly useful for beginner users.
Revert: Reloads your file from the point it was last saved.
You’ll lose all changes and your history.
However, this is still often useful.
Place: Insert a separate file into the one currently open.
Allows you to resize temporarily as a smart object.
They are both deserve articles of their own, on another day.
Step Forward and Backward movethrough your history palette, also covered inPart 2, Panels.
This is an another simple way to use the history besides the History Panel.

Fill: Often ignored, Fill is an excellent tool.
Like fill, it ignores existing content and simply strokes around your selection.
Photoshop will make it’s best guess how you want your image to look when you resize with this.
Keyboard shortcuts: A menu for editing and assigning a custom keyboard shortcut for every menu item in Photoshop.
Absolutely invaluable for any user.
Preferences: Many of the quirky problems you have with Photoshop have their controllable configs here.
More on the preferences menu and making PS behave better in a later article.
What are the most useful options here?
You should never use anything but RGB, unless you care to learn formatsand digital imaging.
There are a host of other options here, all worth exploring.
They are likely inspired by Photoshop Elements (and similar basic photo editors); good tools for beginners.
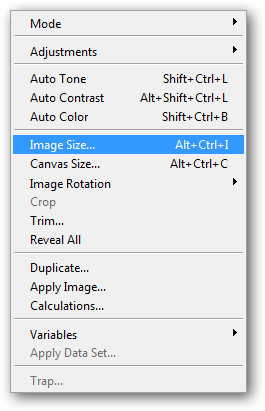
Image Rotation: Turn your image at 90or 180angles, or on “Arbitrary” ones like 21or -5.
Duplicate: Create a second open file identical to your file’s current state.
Your new file does not retain its history.
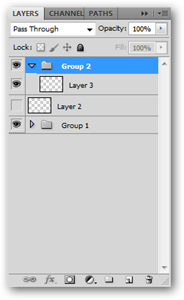
you might also “group” layers—similar to putting files in a folder in your OS.

This option creates the “folder” for layers to be stored in.
See Part 3 of the How-To Geek Guide to Learning Photoshop tolearn more about Adjustment layers.
Layer Mask/Vector Mask: Tools for “masking” or hiding part or all of active layers.
Do you knowthe difference between Vectors and Pixels?
They are the basic difference between these two types of masks.
Clipping Masks: This “clips” a layer or layers to the layer transparency below it.

Difficult to understand without experimentation.
Expect later articles on Clipping Masks, Layer Masks, and Vector Masks here at How-To Geek.
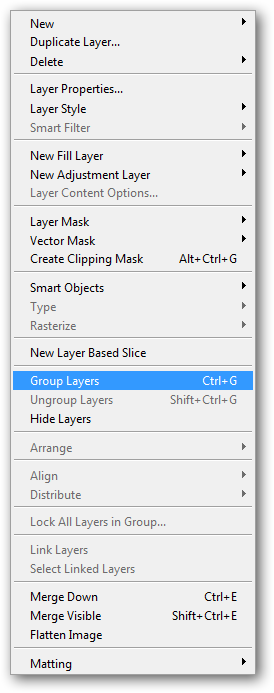
Group Layers/Hide Layers: Multiple layers can be selected in the layers panel, and grouped or hidden here.
Merge Down: Combine the current layer or group with the layer below it.
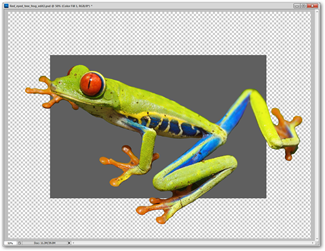
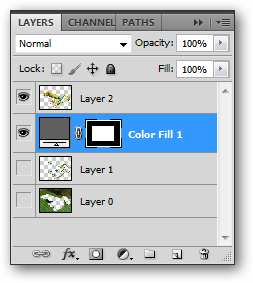
Merge Visible/Flatten Image: Combine all layers in your document.
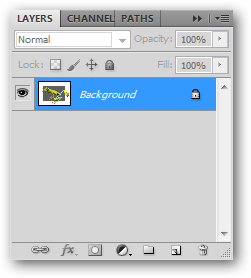
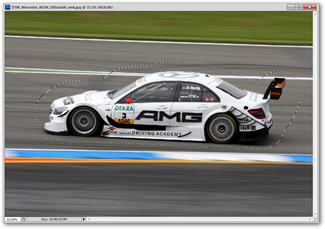
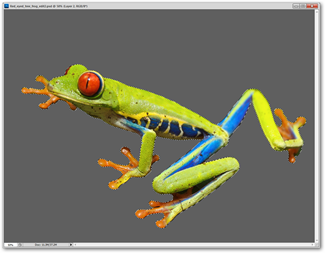
See the illustration below for an example.
Above: Original file with Layers Panel, showing the existing layers.
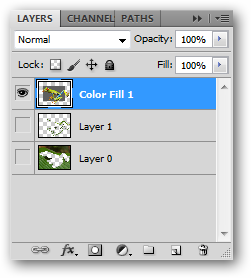
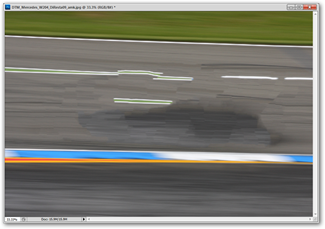
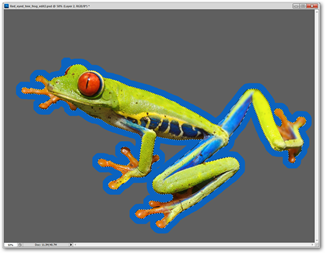
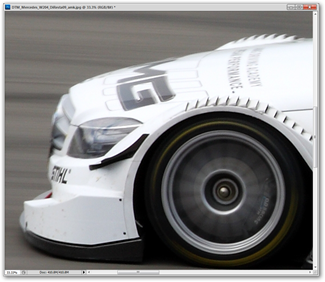
Above: File after “Merge Visible.”
Note the the layer transparency.
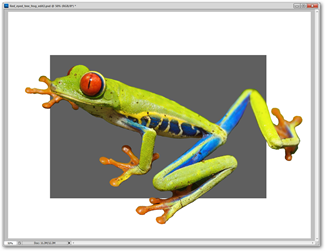
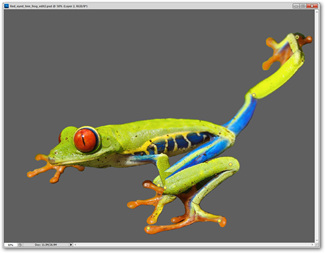
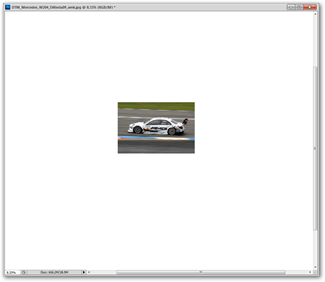
Above: File after “Flatten Image.”
Note the white background added where the image was transparent.
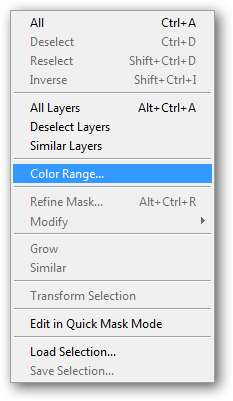
Select All, Deselect, and Reselect work directly with these.
Some are useful, many are not.
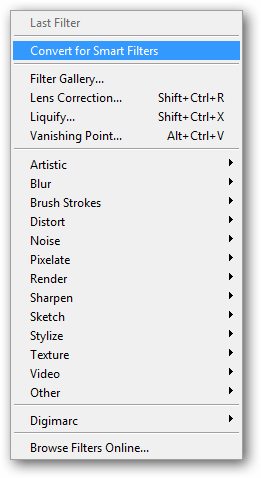
Filters are a big topic, and will require at least an entire article to themselves.
Until then, experiment with filters to find some that you enjoy.
you might also cycle through your open images at the bottom of the Window menu.
Photoshop tips left you confused?
Start at the Beginning!
Check out the previous installments of the How-To Geek Guide to Learning Photoshop.