Quick Links
Photoshop is named “Photoshop” for a reason; it’s for editing photographs.
This is part 5 of a multi-part series.
But, if you’re ready, we can cover four techniques that can help you create better memories.
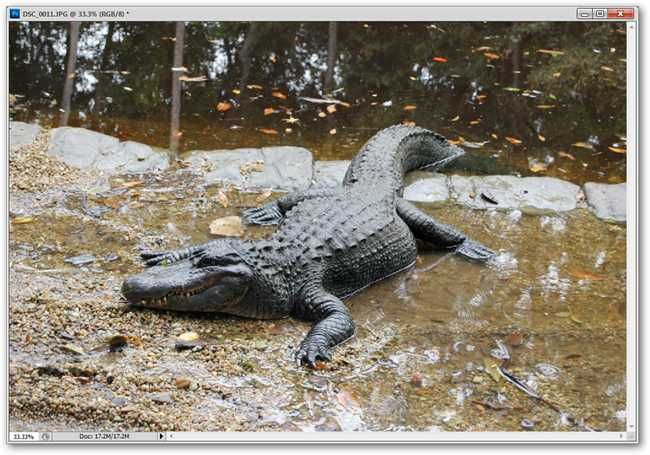
Press the
key to select your crop tool.
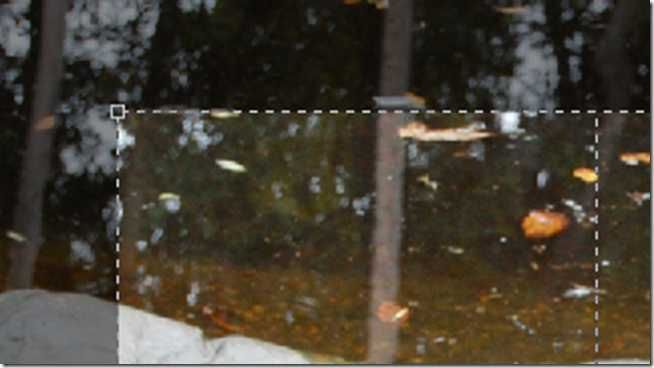
Use your mouse to click and drag, creating a box inside your photograph.
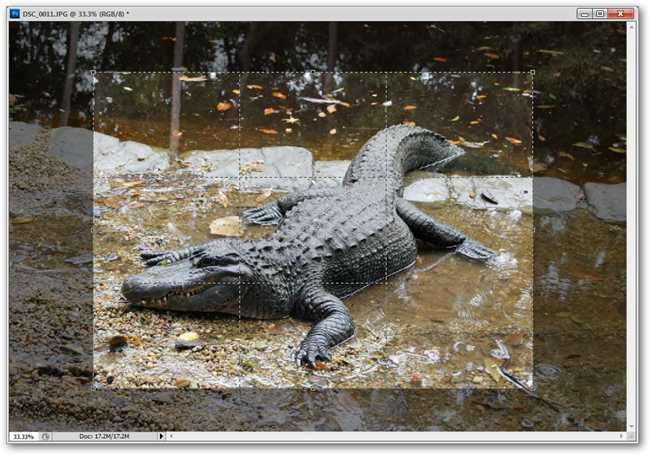
You’ll notice a tick-box in the corners of your crop-box.
you could move and resize your crop area to choose the precise area you wish to crop.
it’s possible for you to press the
key to release your crop.
you might undo with
and redo your crop at any time, if you feel so inclined.
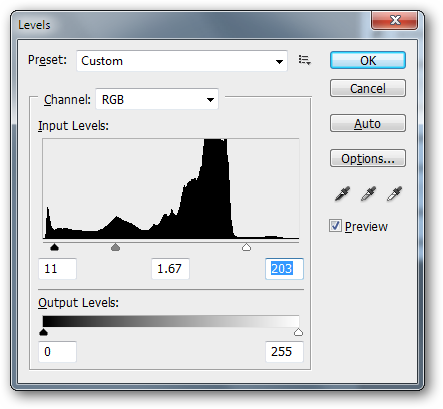
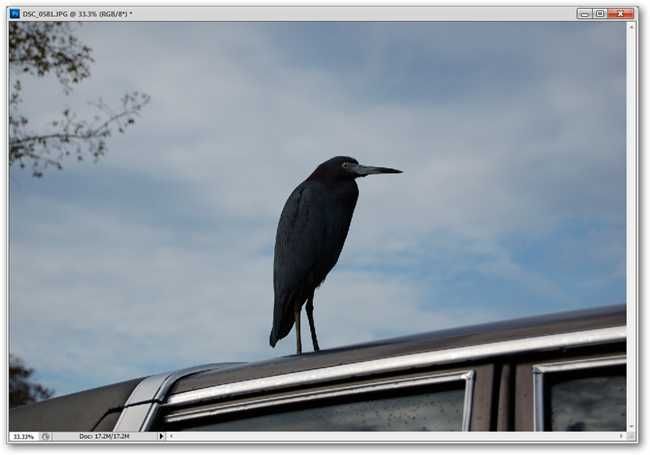
With your photograph open, simply press
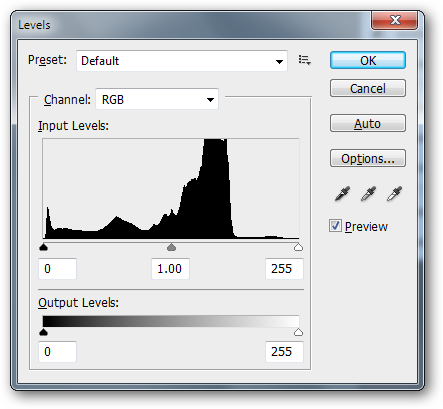
to open your levels dialog box.
By default, this is what it looks like.
Clicking OK will end the Levels and render them.

Immediately, we see more detail in the bird, and our sky is less overcast and gloomy.
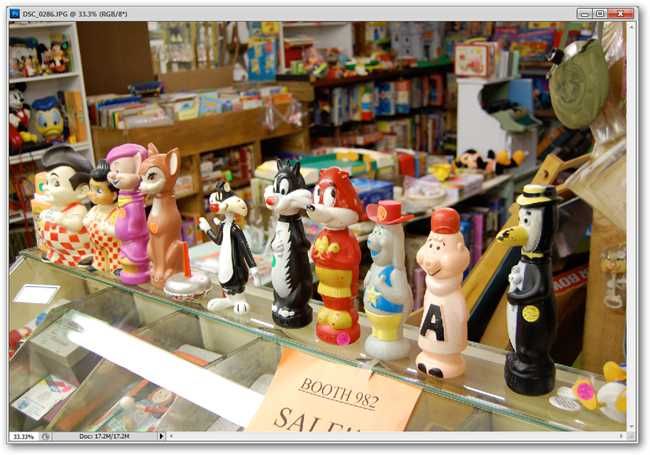
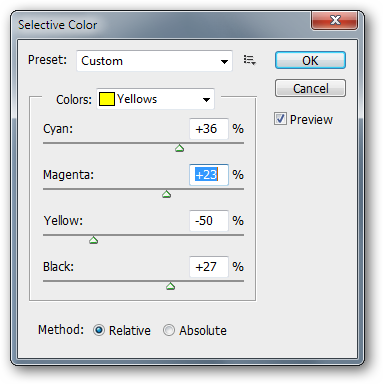
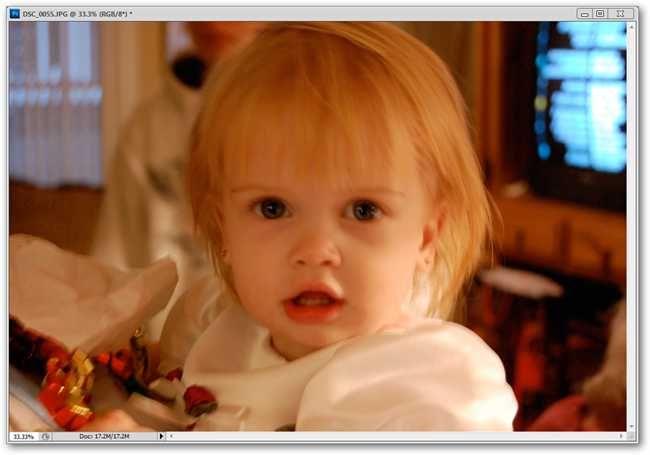
Here’s a simple way to remove reduce the color of an overwhelmingly yellow image.
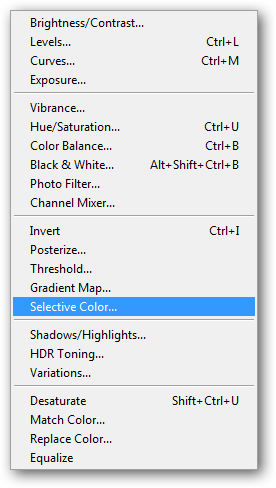
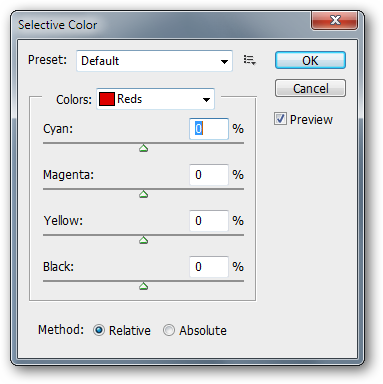
You’ll want to navigate to Image > Adjustments > Selective Color.
Selective Color is a tool that allows you to adjust your image through various primary colors.
This surprisingly easy trick can help sharpen shots and keep color intact.
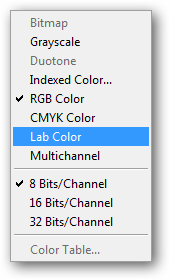
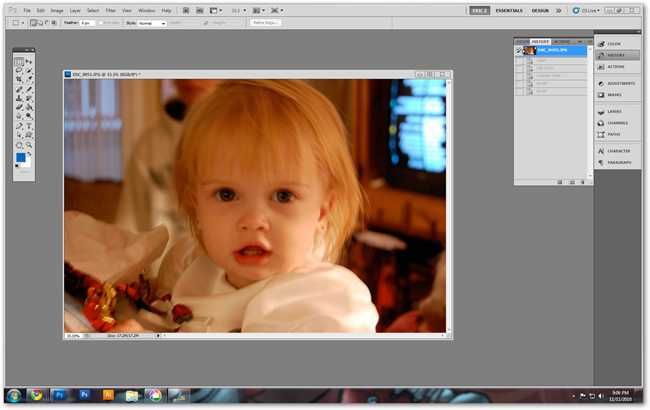
Lab color is an alternate color space, like RGB and CMYK.
It is unusual and most digital art files outside of the professional photography world will not use it.
Changing images to CMYK will give you a color shift—not so with Lab color.
Your RGB image remains identical without any sort of color shift.

On to the next step.
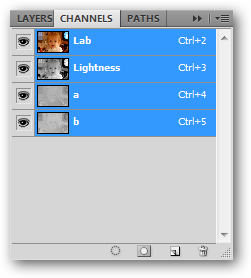
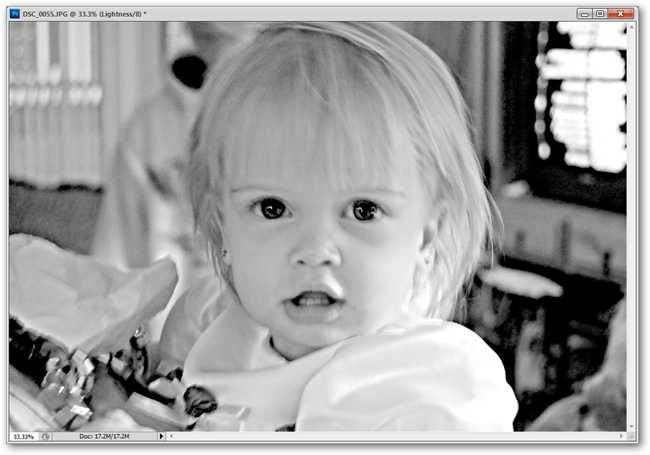
Flip to your Channels Panel.
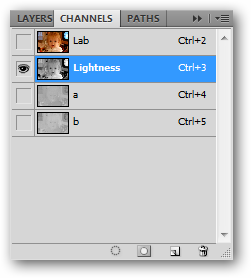
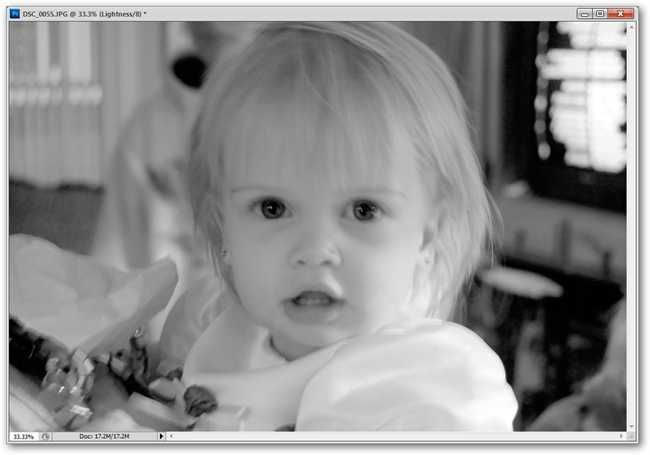
Pick the “Lightness” channel, which will look like a grayscale version of your image.

If your image doesn’t change to grayscale, give it another spin.
We need to work exclusively in this grayscale channel for this tip to work.
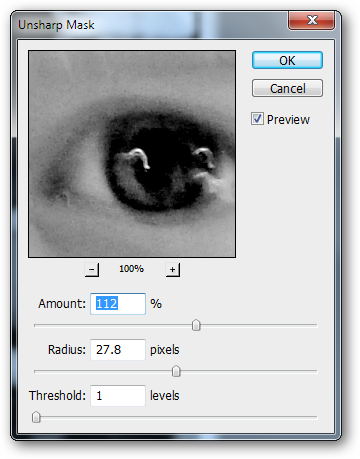
Navigate to Filters > Sharpen > Unsharp Mask.
Unsharp Mask can increase contrast and tighten edges Photoshop perceives in images.
The illustrated values are overdoing it somewhat—find values that work well with your own image.
Still in our Lightness channel,
renders our filter.
brings up the levels tool.
Our final result is a fair improvement over the soft-edged original.
Photoshop tips left you confused?

Start at the Beginning!
Check out the previous installments of the How-To Geek Guide to Learning Photoshop.
All images created by the author, hereby released underCreative Commons 3.0 Unported License.