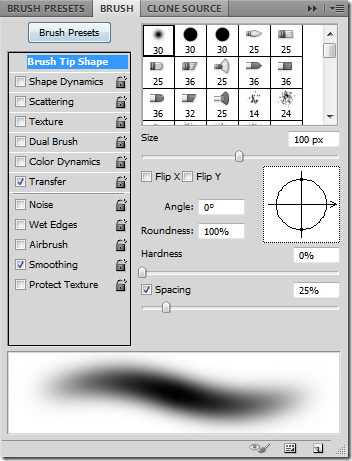
You’ll find that right clicking in your workspace opens yet ANOTHER options panel for the Brush tool.
Do I Need a Graphics Tablet?
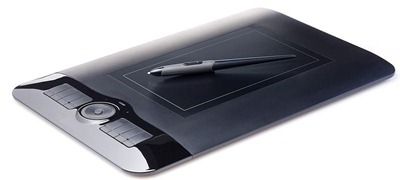
Many of Photoshop’s best brush features are not usable without a pressure sensitive tablet.
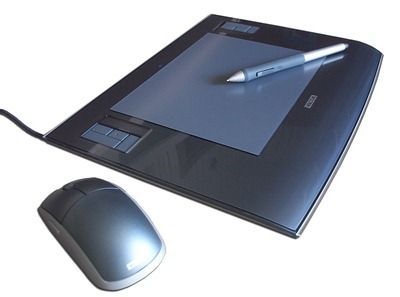
WACOM is the most common name in Graphics tablets, but is not the only company that creates them.
The tablet illustrated above is the Waltop Venus, from the Taiwanese company Waltop.
Buy (or don’t buy) a tablet according to your needs.
There are surprisingly excellent options available, even at the lower costs.
Learning the Brush Tool
to create a blank new file.
Walk through this experiment to get a better understanding of the brush tools available to you.

This is a decent setting for your experimental brushwork.
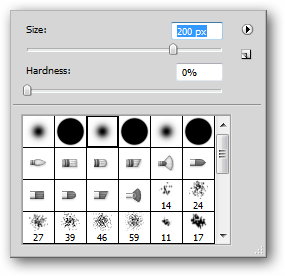
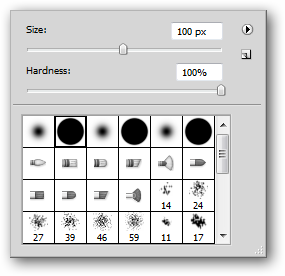
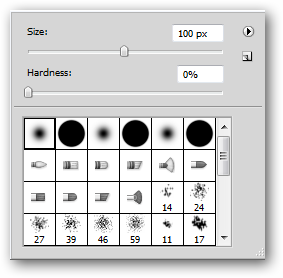
Right-click to bring up the contextual brush menu and grab the first standard brush, “Soft Round.”
you might adjust your size here with the top slider, if desired.

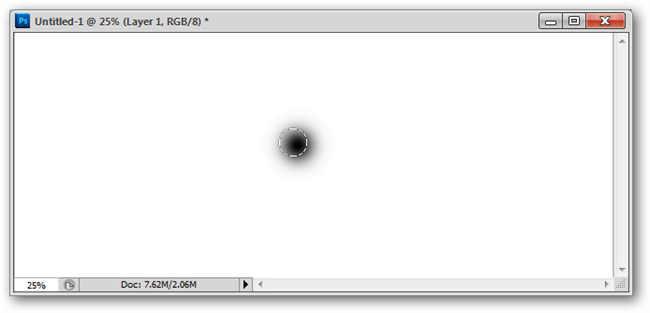
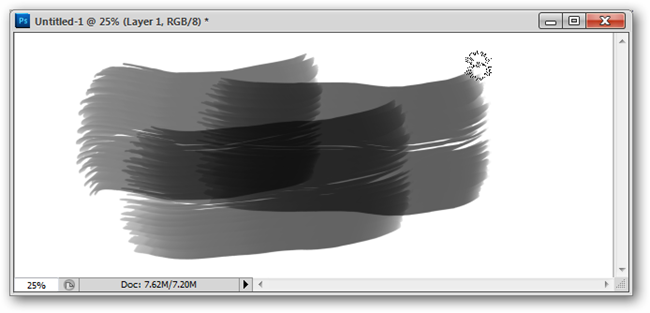
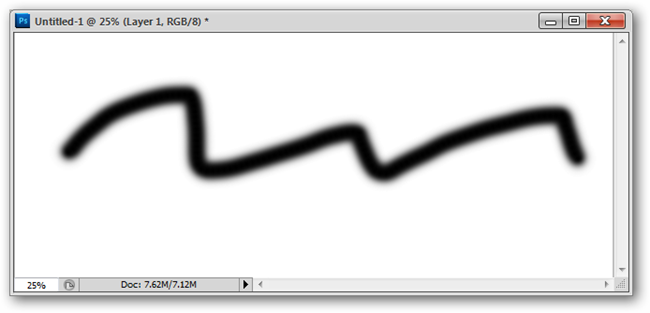
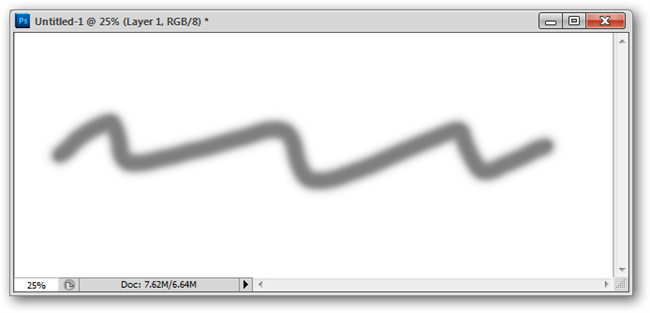
A black color stroke with this setting should look like this.
Look to your options panel and set your “Opacity” down to 50%, as shown above.
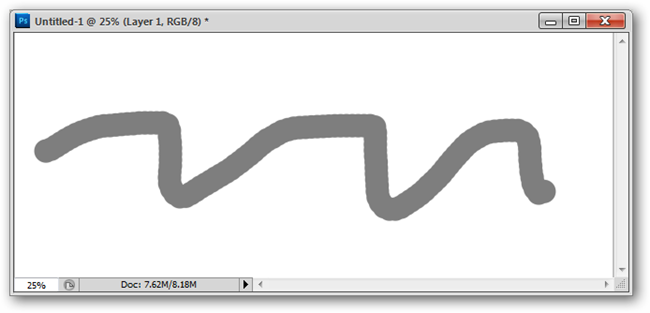
Keep your same opacity setting as before.
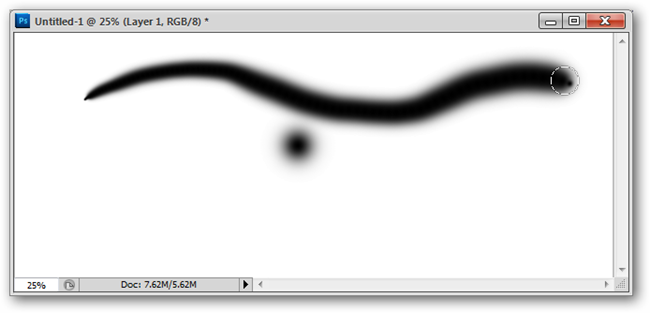
Notice the smooth line you’ve drawn.
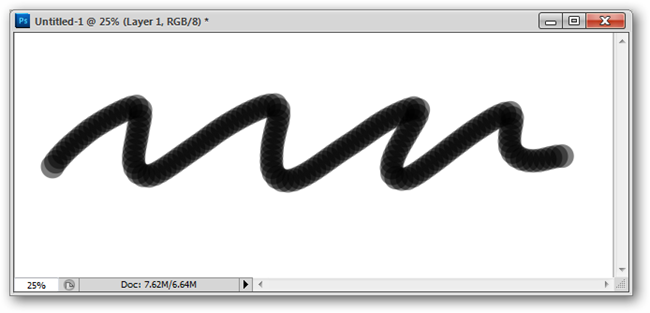
Similar to Opacity, is the setting for “Flow.”
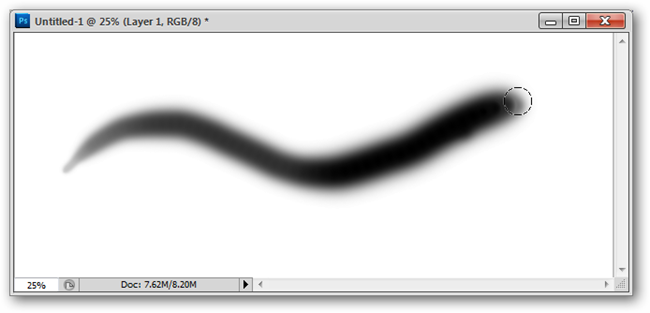
Return your opacity to 100% and set your “Flow” to 50%.
you’re able to see immediately the line drawn is different.
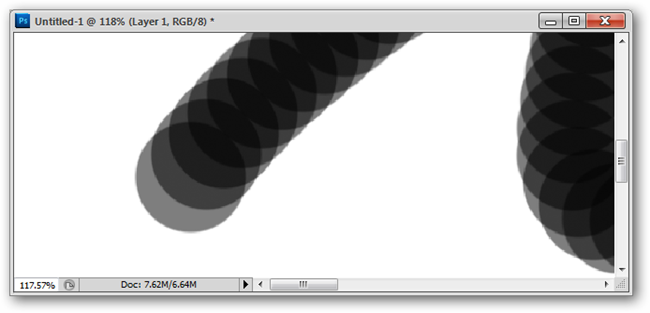
Zooming in shows us how this same brush is drawn differently, in this repeating pattern.
This is the major difference between the Opacity and Flow, and something that confuses even professional Photoshop painters.

“Airbrush Mode” is another fairly confusing option.
Nearly every version of CS Photoshop will have this airbrush icon in the options panel.
Click it on and we’ll learn the difference.
This is the correct brush setting to use for this demonstration.
You’ll need a “soft” brush with a wide tip at whatever size you care to use.
Click in your image and hold your mouse button down.
It will also spill out from inside your cursor area.
It can be helpful to know the difference, and to experiment with what works better for you.
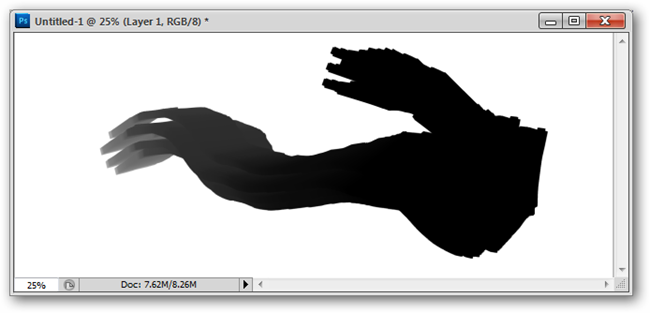
A brush stroke with increasing pressure creates this mark that starts small and grows.
It is uniformly dark through out.
Below the first row of “basic” brushes are sets that use pressure sensitivity in more interesting ways.
Some of them are strange and unusual, and react to your paintbrush strokes in weird ways.
This one reacted to the tilt of the stylus in relation to the tablet.
Others can create nice, naturalistic marks.
it’s possible for you to see the opacity setting layering nicely in these brush marks.
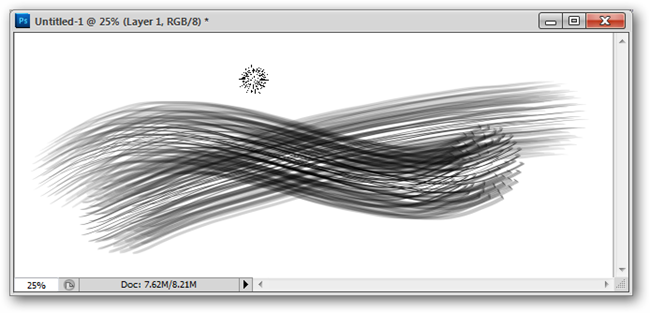
In addition to pressure sensitivity, some brushes can be set to follow the direction of the brush stroke.
Others come set standard with the “Scatter” options.
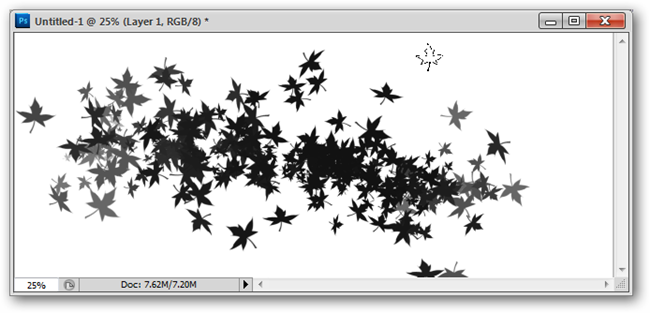
A single brush stroke created all of this effortlessly.

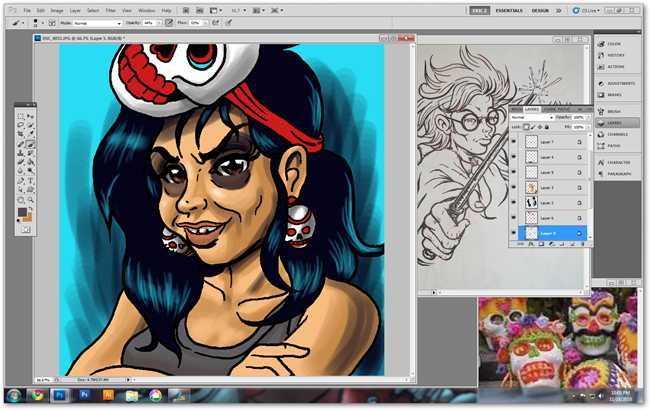
Here’s a quick look at how to use these brush techniques to create a quick image.
You should work at good print resolutions whenever possible.
300 pixels per inch is a fairly standard print resolution.
Work at whatever size suits you.
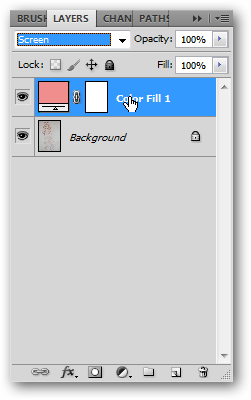
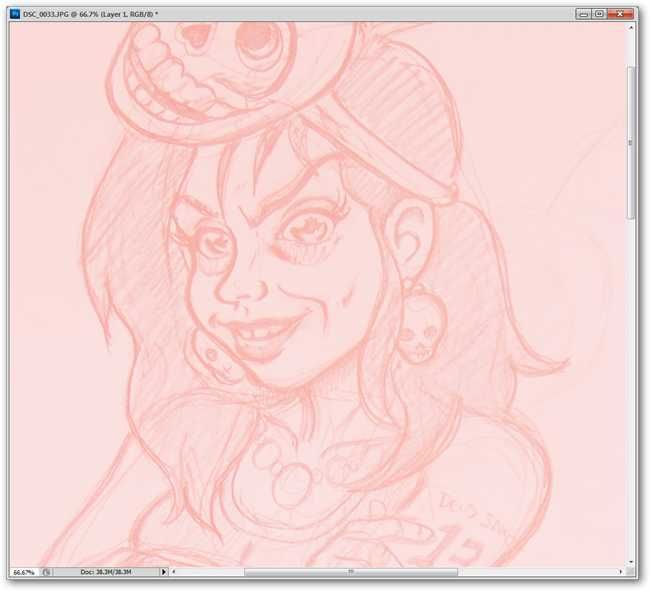
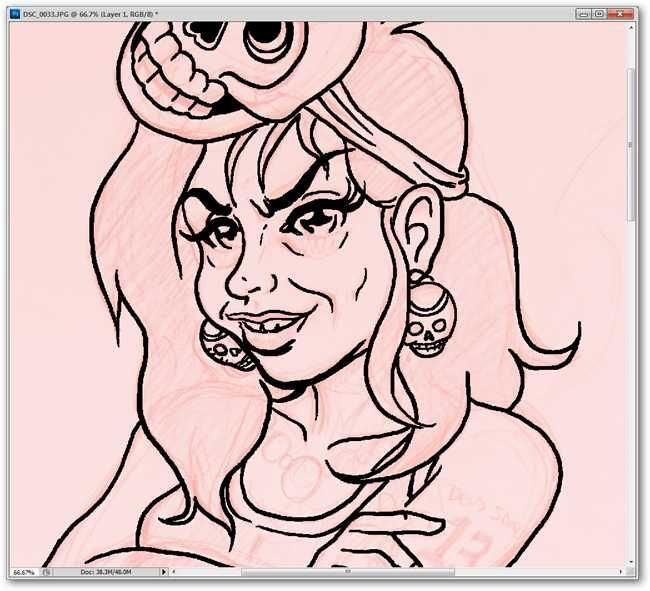
Create a solid color adjustment layer on top of your photograph.
Any color will do, although light ones work the best.

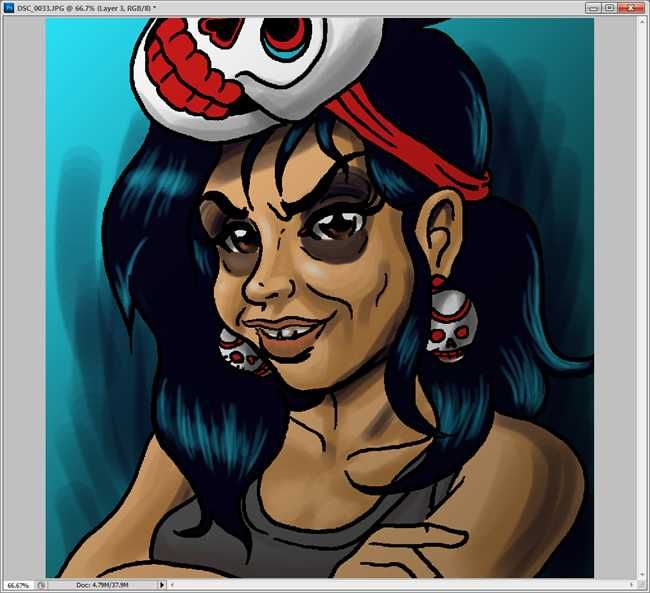
Your image is now toned down and ready to be digitally inked.
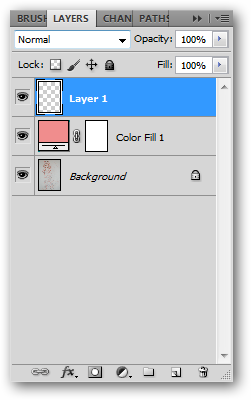
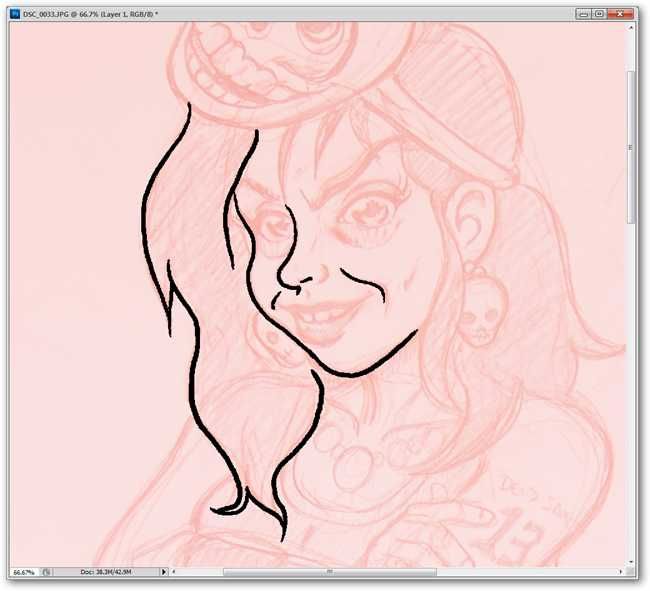
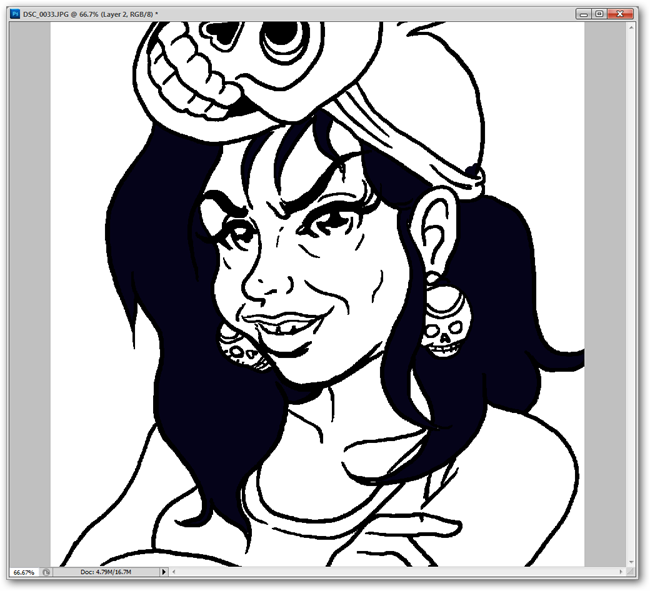
Create a new layer on top to draw your ink lines in.
opt for Brush tool or the Pencil tool to ink your image.

Pressure sensitivity makes inking quick and easy.
A single brush size easily draws all the various line thicknesses.
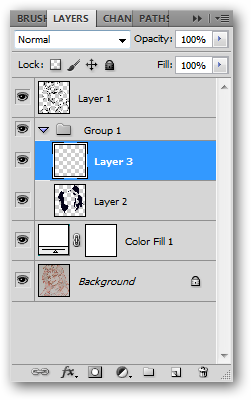
Be sure to create it underneath your digital ink layer.
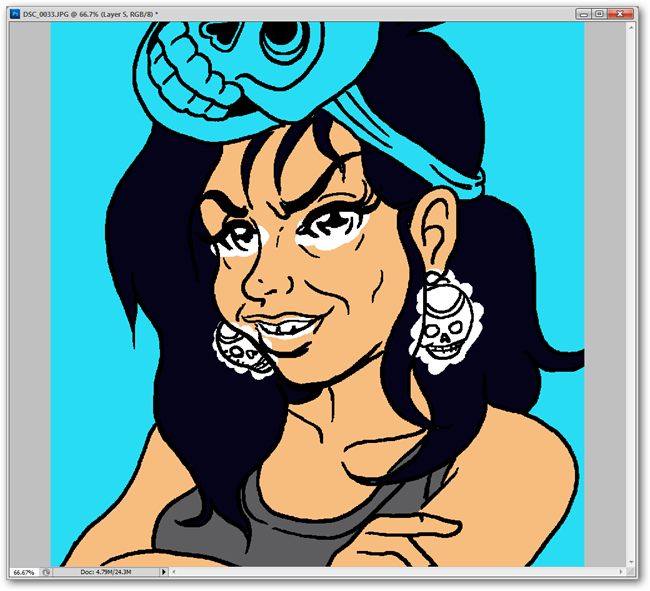
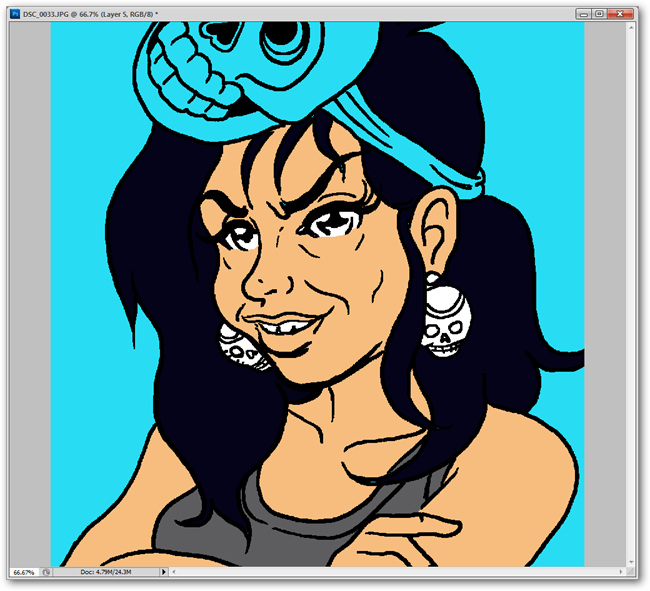
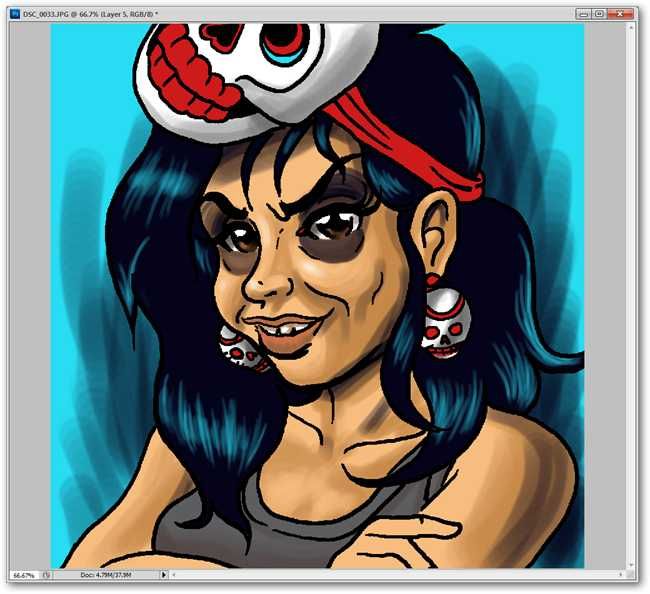
The bucket fill combined with the brush tool quickly fill areas of the image with colors or solid blacks.
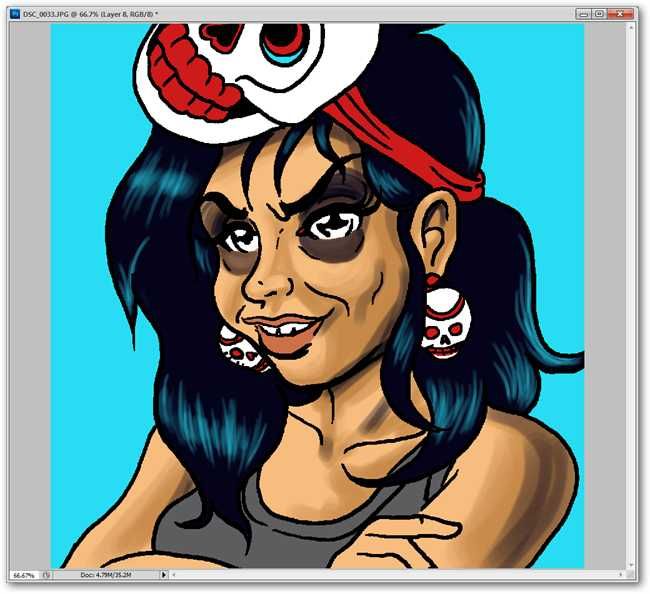
Add new layers for each new color or work in a single layer, depending on your preference.
Sloppy painting while working in layers is easy to work around.

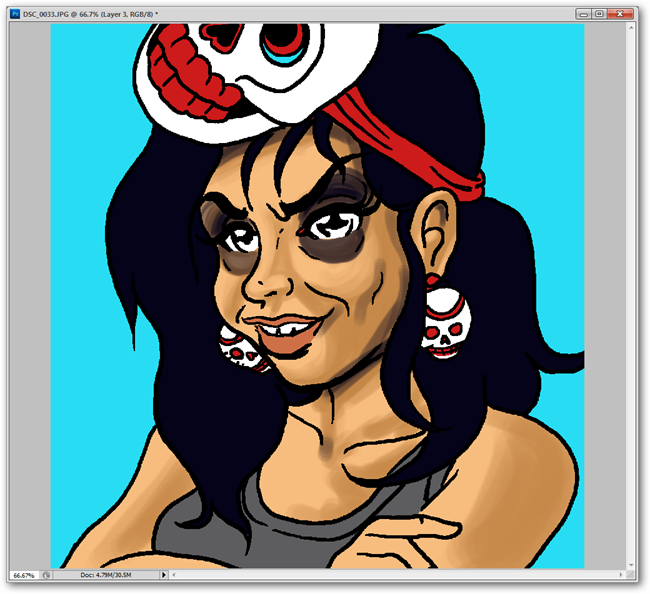
The entirety of this painting and inking was done in shortly over 20 minutes.
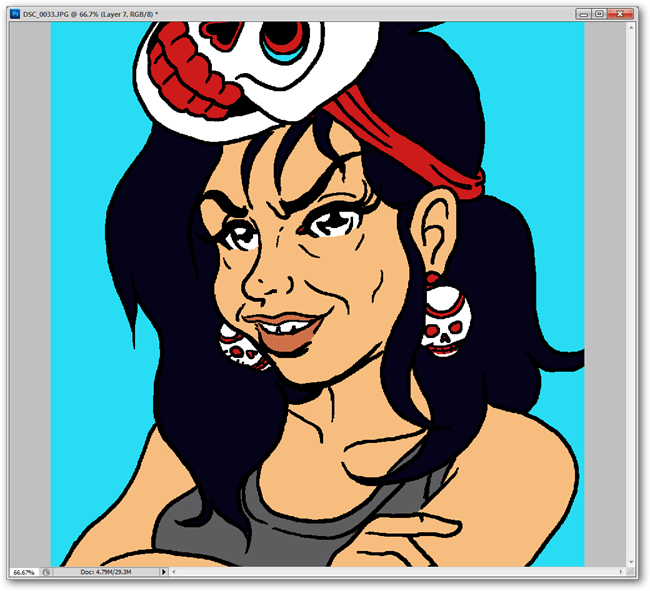
At this point, simply work as you see fit, adding shadows, then highlights.
Some quick brushwork can make the foreground and background feel more complete together.
Experiment with the brush tool for yourself, and find what works best for you.
Photoshop tips left you confused?
Start at the Beginning!
Check out the previous installments of the How-To Geek Guide to Learning Photoshop.
Image Credit: Painting, character and all artwork created by the author, protected by copyright.
yo request permission before any use.