Quick Links
Creating manual minutes in meetings can be a stressful and laborious task.
That’s true until you discover that you might automate the whole process.
Instead, use or create a template.
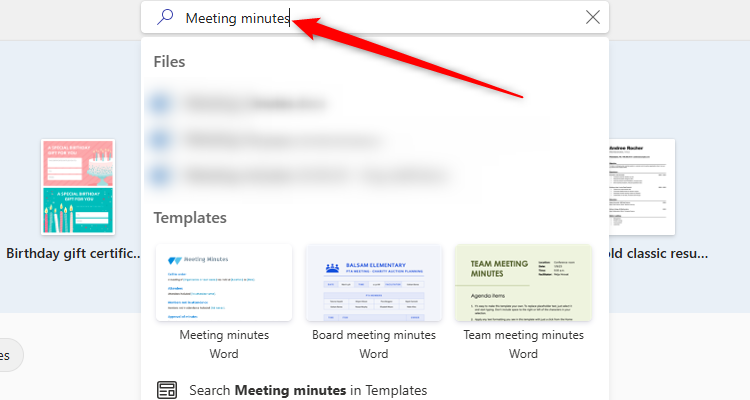
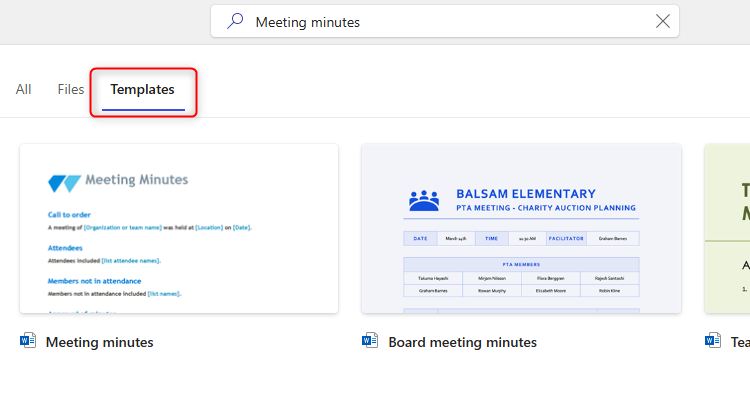
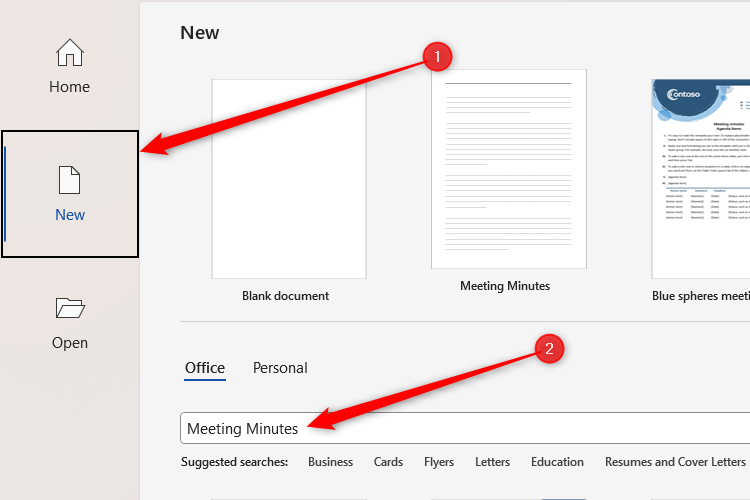
To access these inWord for the web, typeMeeting Minutesinto the search bar, and press Enter.
Then, poke the “Templates” tab to see the many options available.
Creating a new template can take time, so confirm you do this in advance of your first meeting.
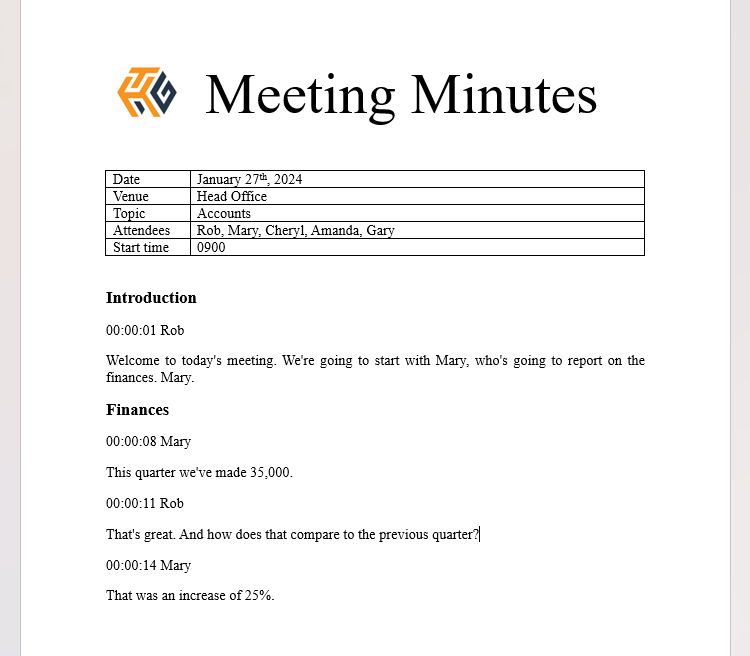
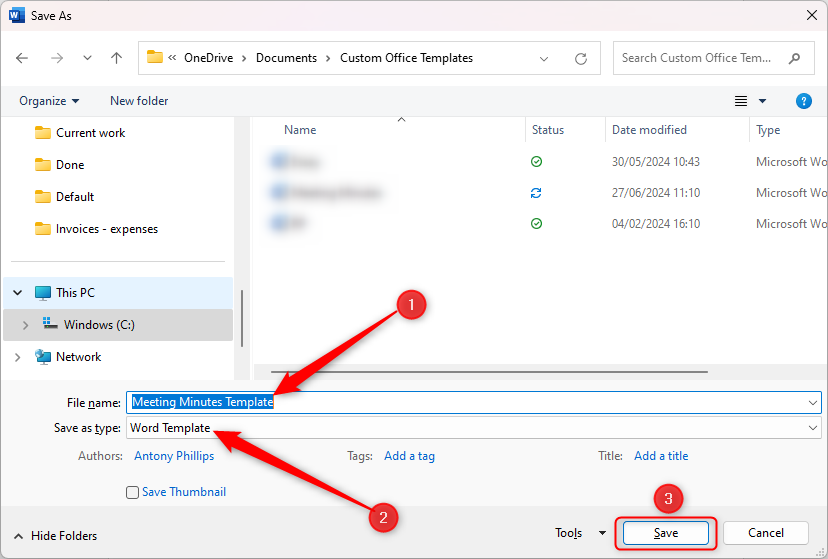
Open a blank Word document, and design your template according to your requirements.
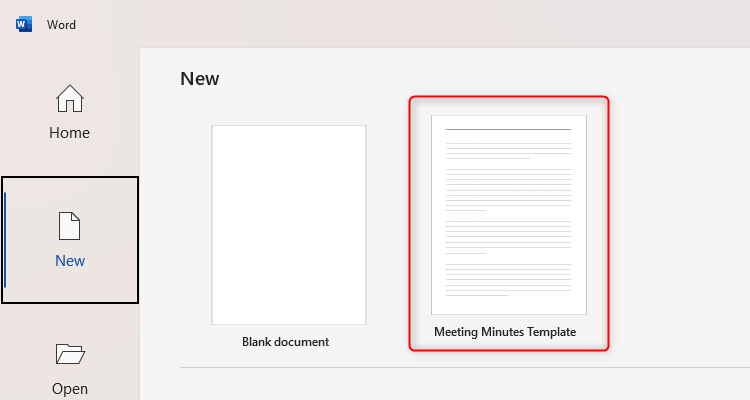
The template will now be available when you open a new Word document.
Let’s look at each of these options.
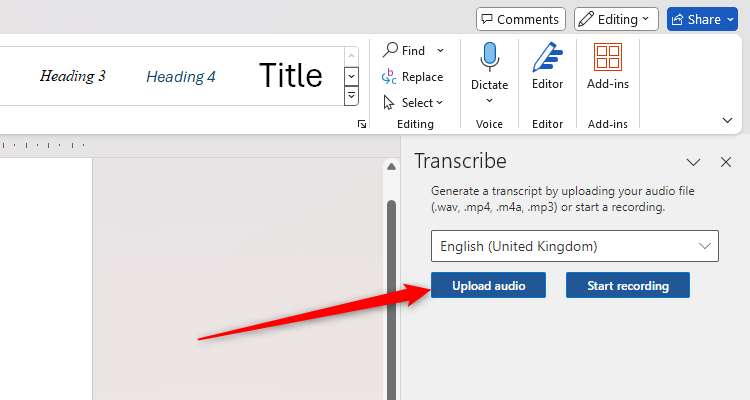
Uploading an Audio File
To do this, click “Upload Audio” in the Transcribe pane.
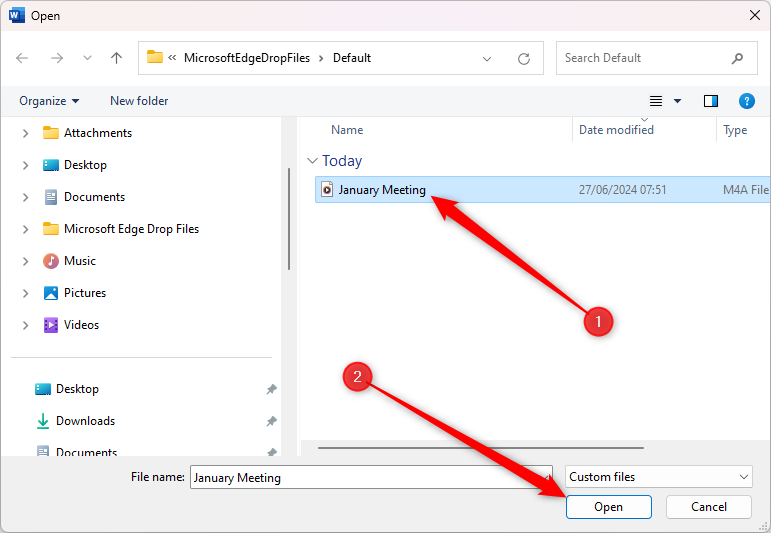
Locate the audio file and click “Open.”
However, this automation process saves significant time in your workflow.

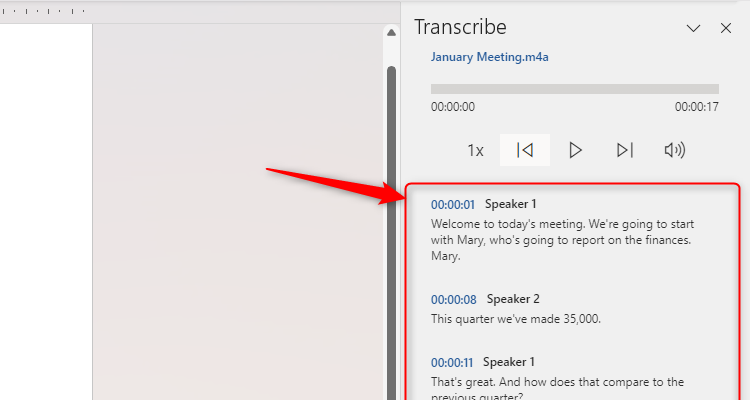
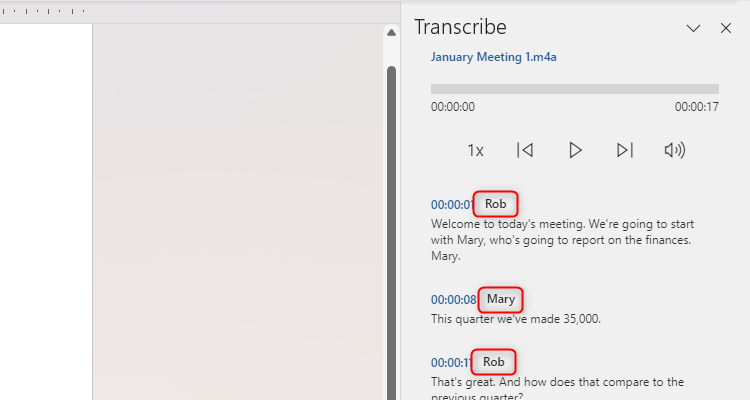
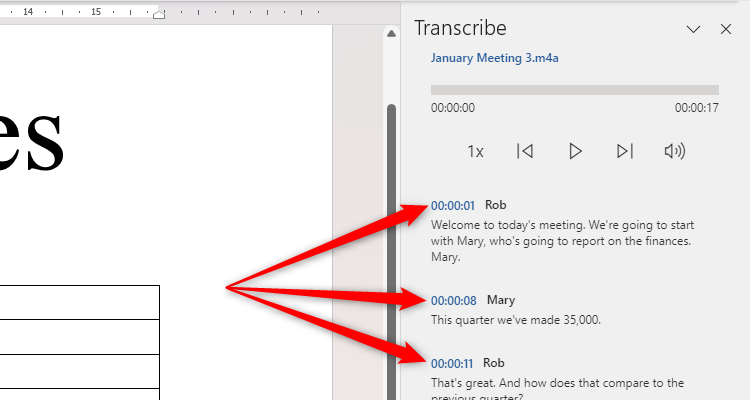
Once the process is complete, you will see the transcription in the Transcribe pane.
Take a moment to amend the speakers' names so it’s clear who said what.
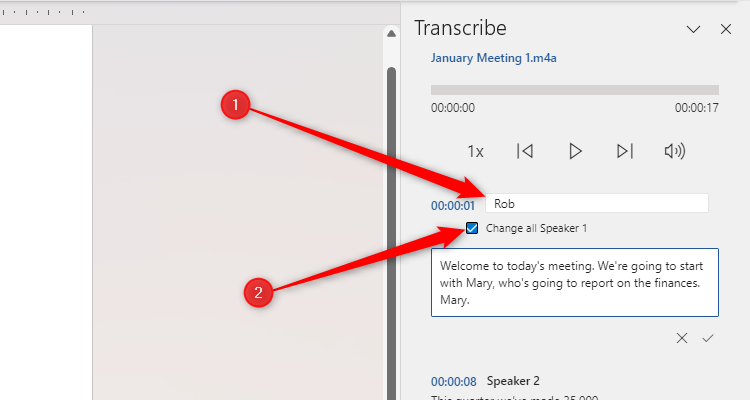
To do this, first smack the pencil icon next to one of the speakers.
you could also smack the pencil icon to amend the transcribed text within the Transcribe pane.
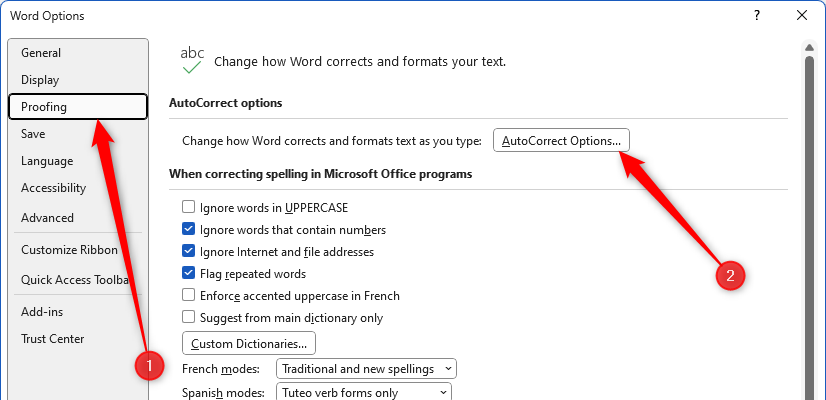
From there, click “AutoCorrect Options.”
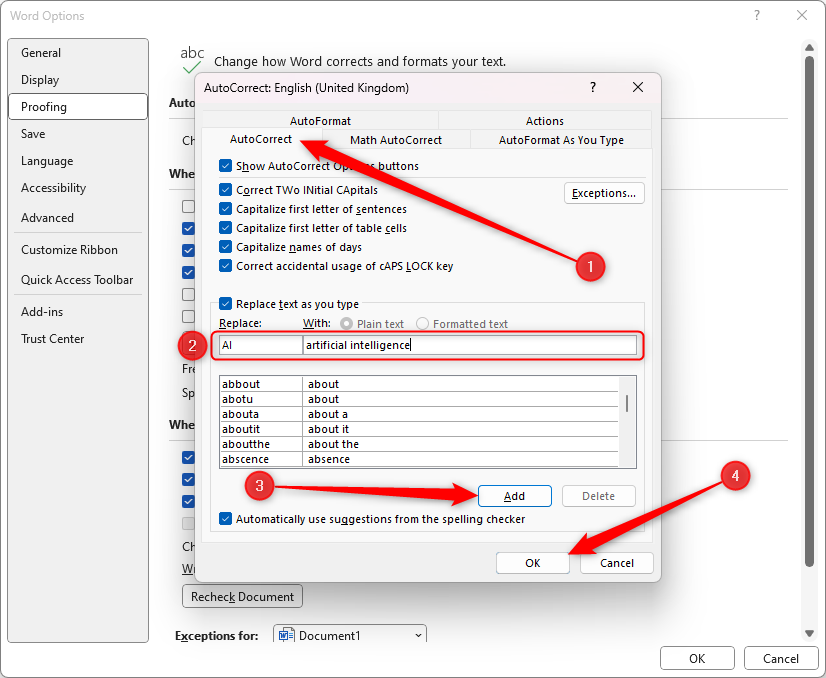
you could then use these shortcuts when typing or editing the meeting minutes before distribution.
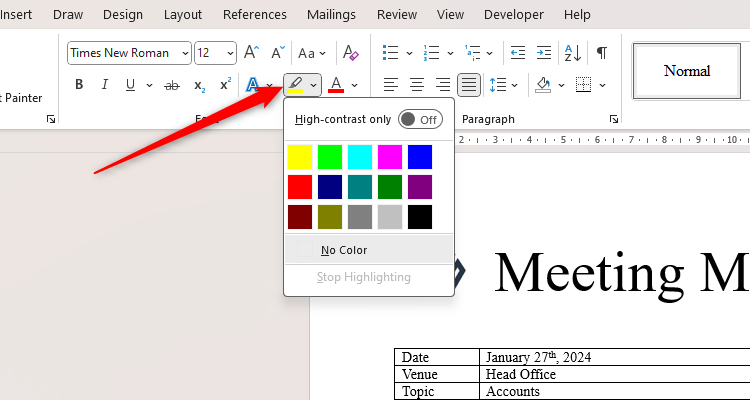
Finally, useWord’s highlighter toolto emphasize any important notes within the minutes.
I like to use yellow for action points and green for deadline dates.