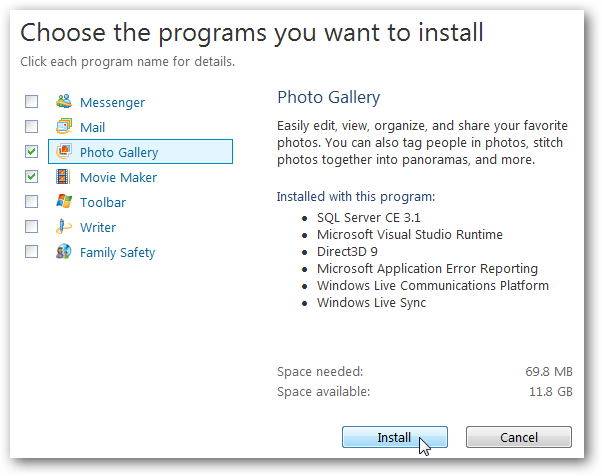
However, you don’t have to install any of the programs you may not want.
Take notice of the You’re almost done screen.
Before clicking Continue, be sure to uncheck the boxes to set your search provider and homepage.
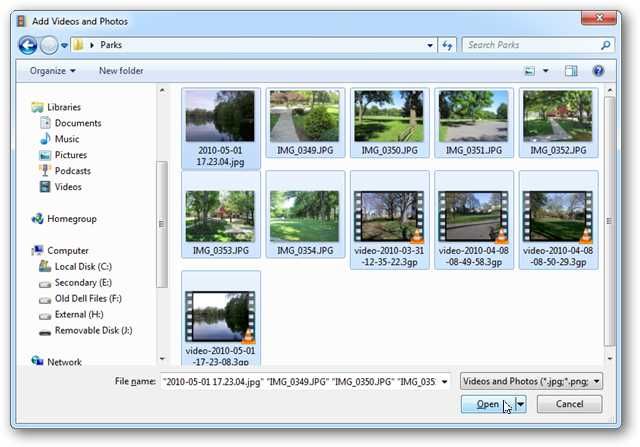
Adding Pictures and VideosOpen Windows Live Movie Maker.
you’re able to add videos or photos by simply dragging and dropping them onto the storyboard area.
Windows Live Movie Maker supports most video, image, and audio file types.
![sshot-2010-05-24-[23-32-01]](https://static1.howtogeekimages.com/wordpress/wp-content/uploads/2010/05/sshot20100524233201.png)
Select your files and add click Open to add them to Windows Live Movie Maker.
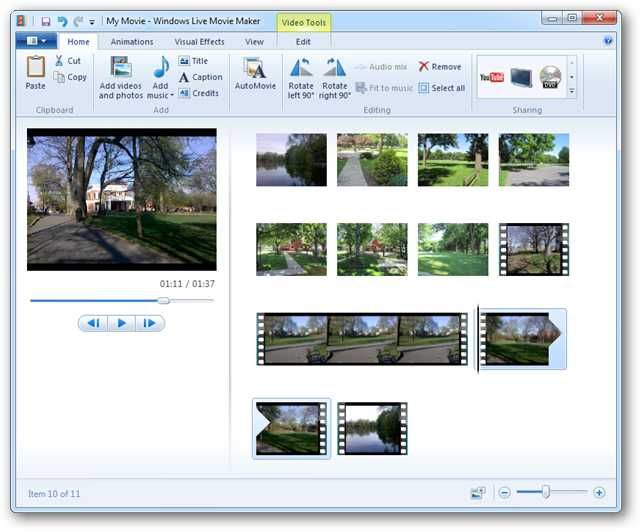
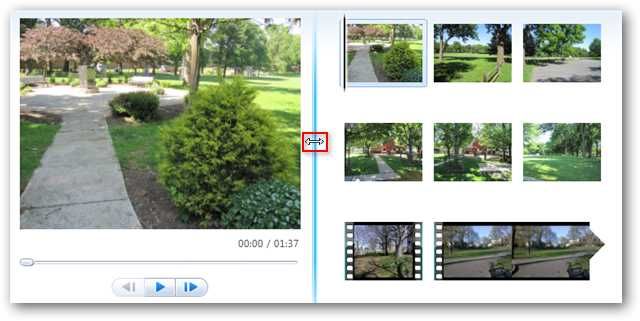
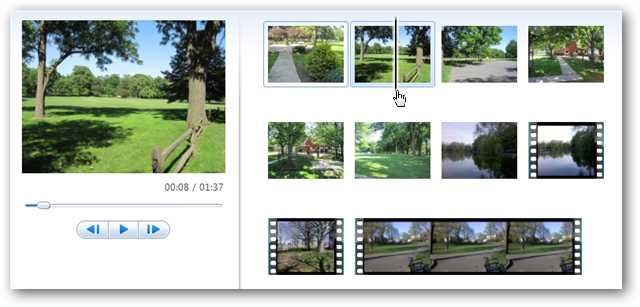
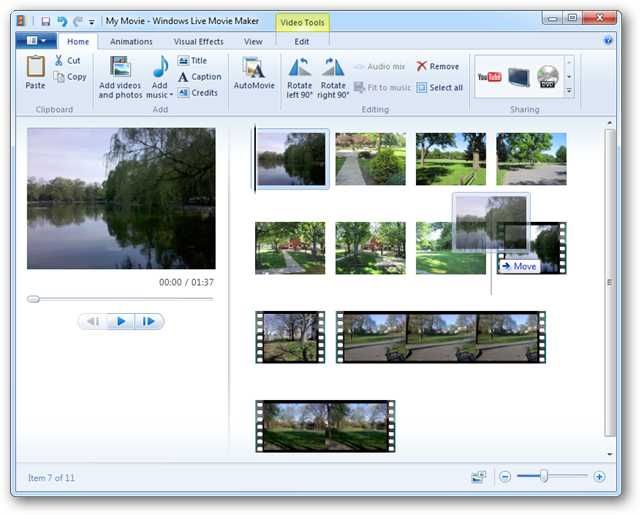
you could adjust the size of the two areas by clicking and dragging the dividing line in the middle.
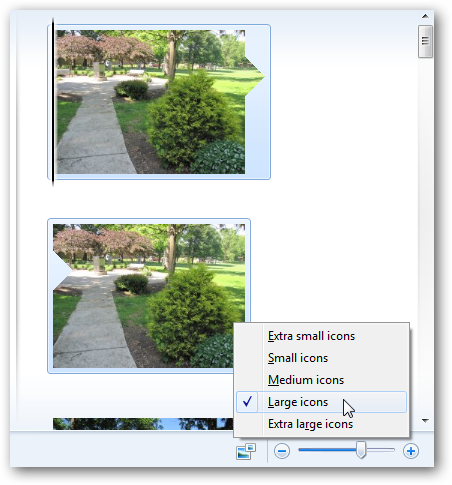
Make the clips on the storyboard bigger or smaller by clicking on the thumbnail size icon.
![sshot-2010-05-24-[23-35-28]](https://static1.howtogeekimages.com/wordpress/wp-content/uploads/2010/05/sshot20100524233528.png)
The slider at the lower right adjusts the zoom time scale.
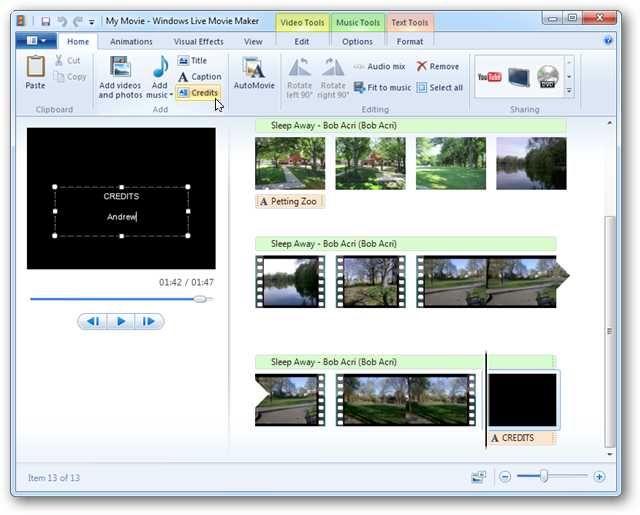
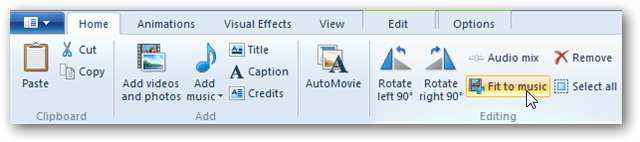
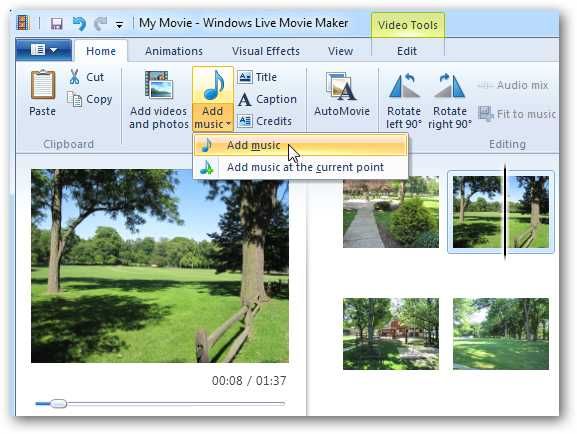
Adding MusicNothing brings a movie to life quite like music.
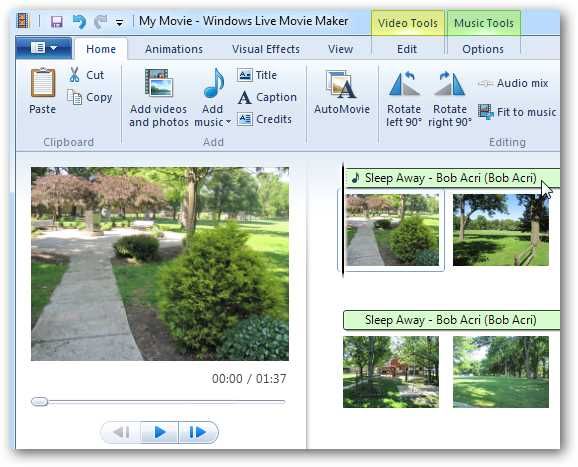
Selecting Add music will add your music to the beginning of the movie.
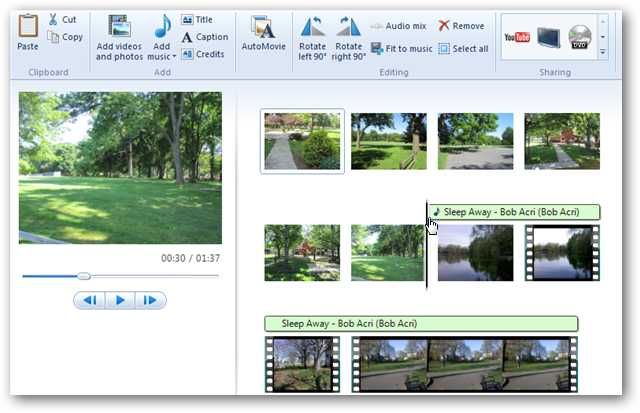
The music clip will appear above the video / photos clips on the storyboard.
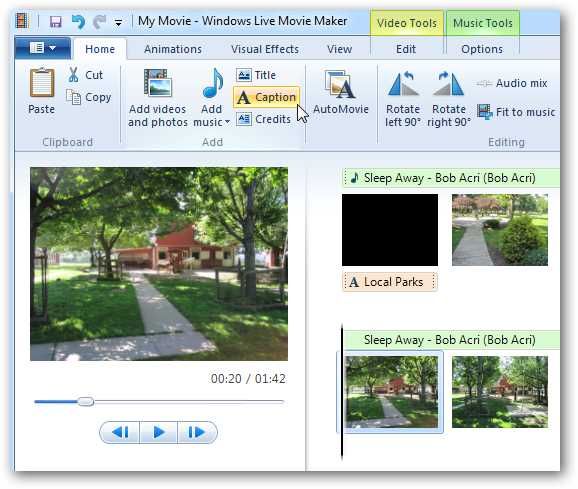
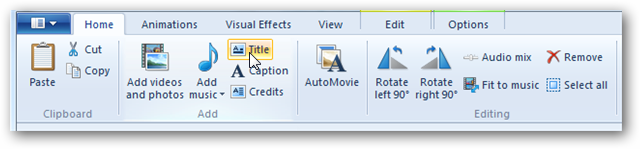
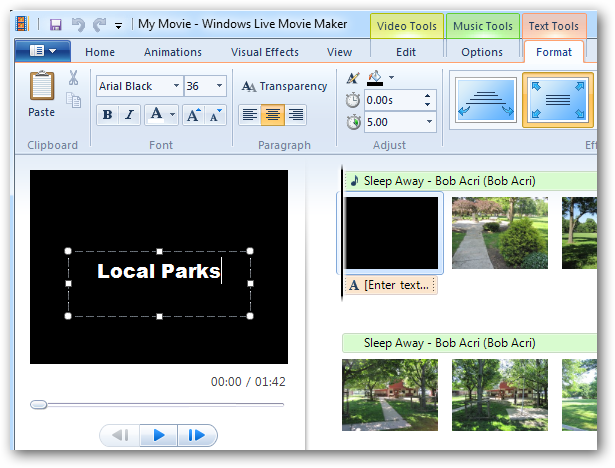
jot down your title directly into the text box on the preview screen.
The title will be placed at the location of the preview slider on the storyboard.
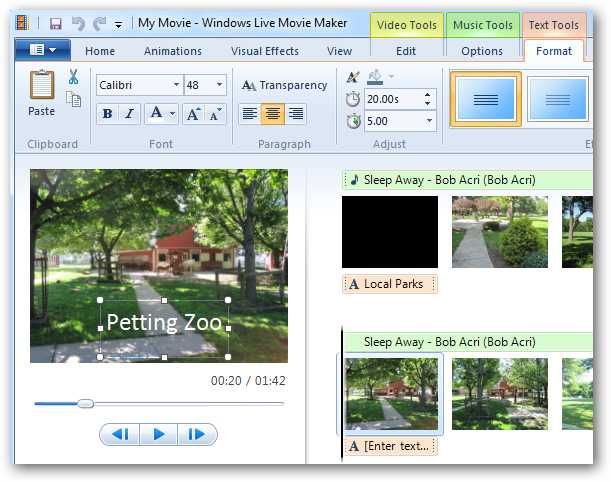
On the Format tab, there are a handful of text tweaks.
you’re able to change the font, color, size, alignment, and transparency.
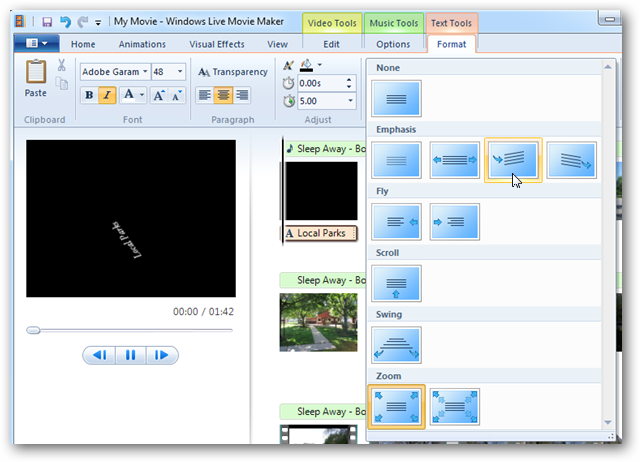
The Effects group on the Format tab allows you to select an effect for your title screen.
Click to apply any of the effects.
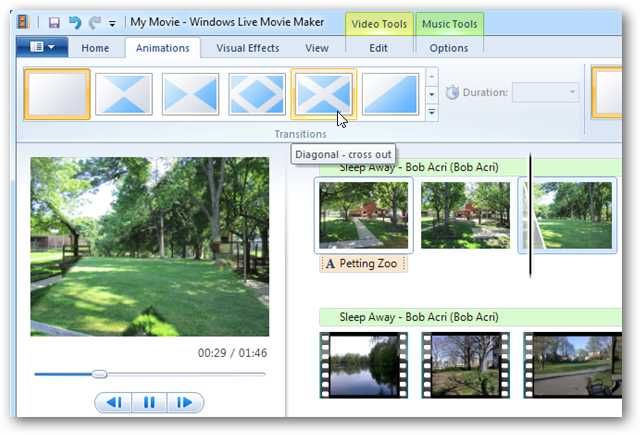
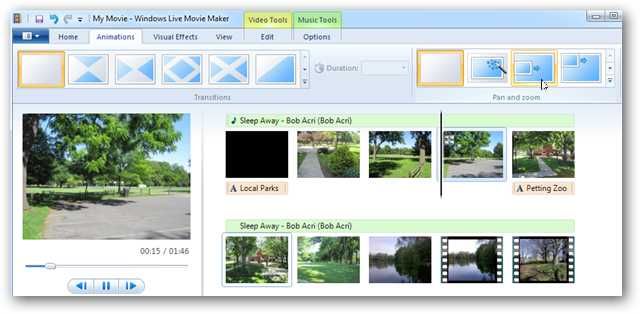
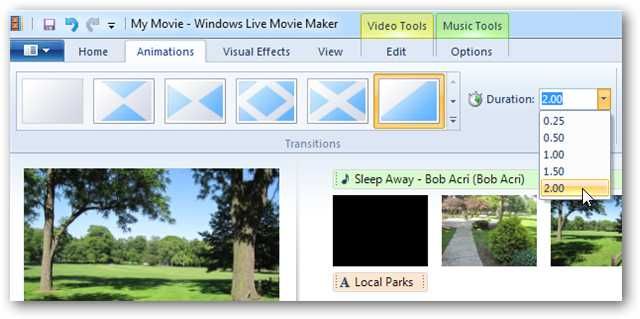
TransitionsGo to the Animation tab on the ribbon to apply transitions.
punch the transition to apply it to the clip.
Pan and zoom effects are also located on the Animations tab, but can be applied to photos only.
it’s possible for you to also poke the dropdown for additional transitions or effects.
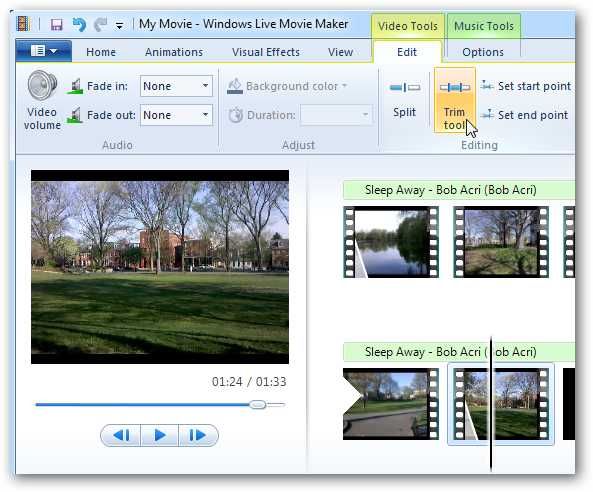
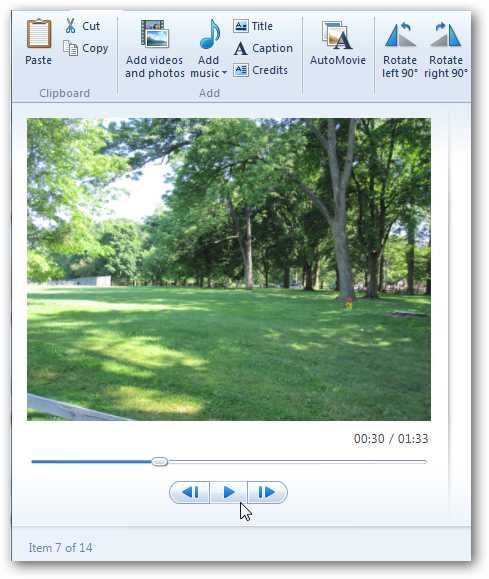
There are some very basic editing tools located on the Home tab.
The Rotate left and Rotate right button will adjust any clip that may be oriented incorrectly.
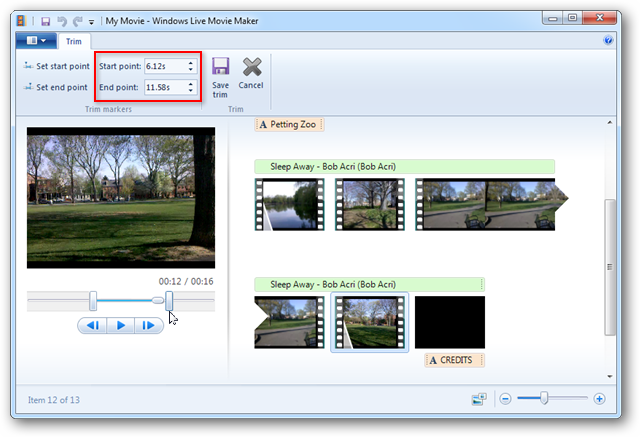
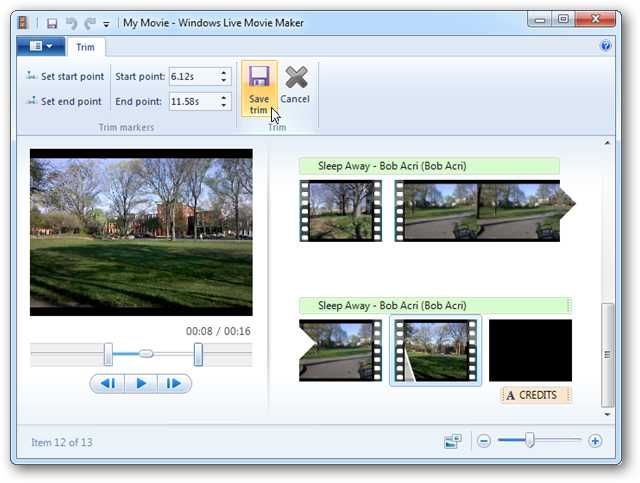
Next, click and drag the sliders in the preview windows to snag the are you wish to keep.
For example, the area outside the sliders is the area trimmed from the movie.
The area inside is the section that is kept in the movie.
you could also adjust the Start and End points manually on the ribbon.
When you are finished, click Save trim.
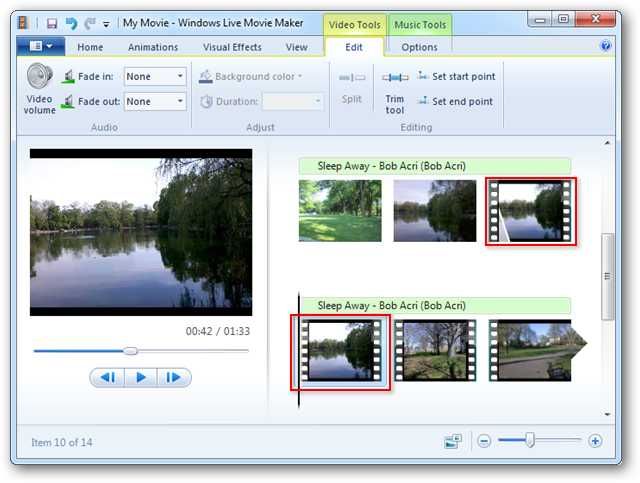
you could also split your video clips.
Your video will be split into separate sections.
Now you might apply different effects or move them to different locations on the storyboard.
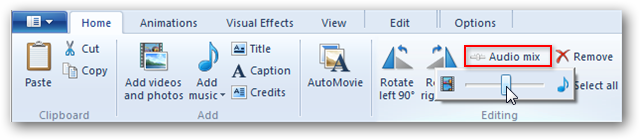
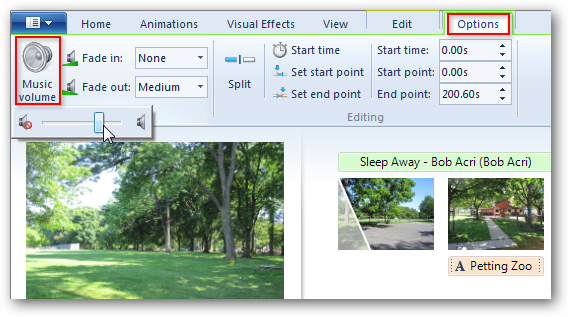
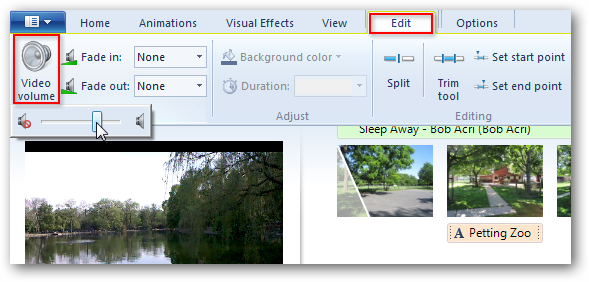
Editing Music ClipsSelect the music clip on the storyboard and then the Options tab on the ribbon.
you might adjust the music volume by moving the slider right and left.
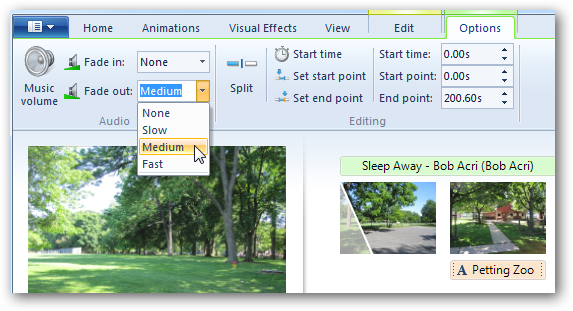
From the Fade in and Fade out dropdowns, select None, Slow, Medium, or Fast.
Move it all the way to the left to mute any background noise in your video clips.
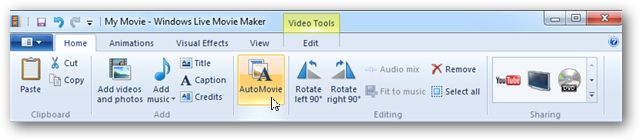
Just snag the AutoMovie button on the Home tab.
you’re free to go from zero to movie in literally a couple minutes.
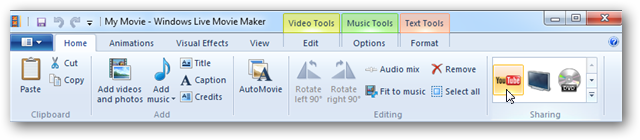
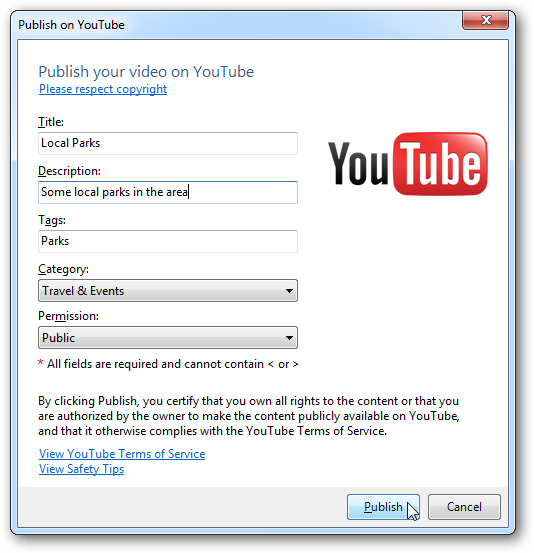
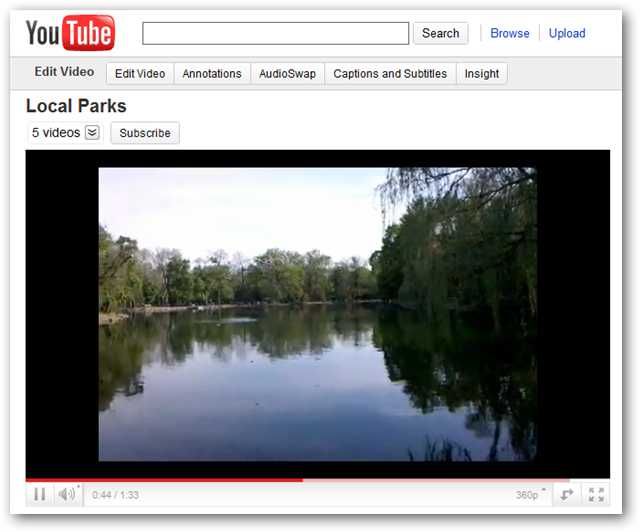
Uploading to YouTubeYou can share your video on YouTube directly from Windows Live Movie Maker.
choose the YouTube icon in the Sharing group on the Home tab.
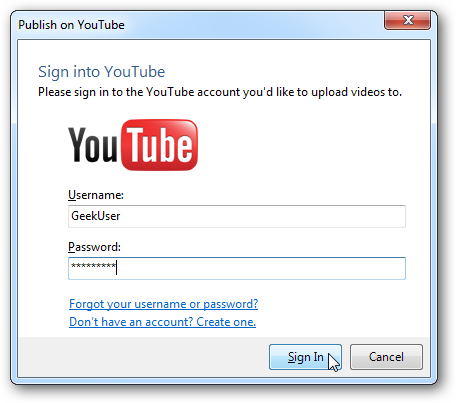
You’ll be prompted for your YouTube username and password.
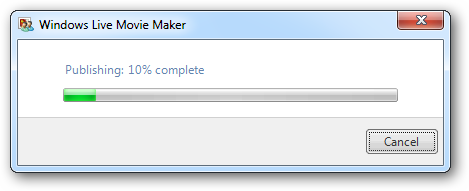
Fill in the details about your movie and click Publish.
The movie will be converted to WMV before being uploaded to YouTube.
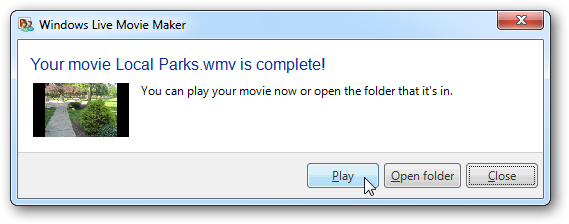
Saving your Movie as a Video FileSelect the icon at the top left, then select Save movie.
All of these parameters will output your movie as a WMV file.
(Unfortunately, the only option is to save a movie as a WMV file.)
The only difference is how they are encoded based on preset common parameters.
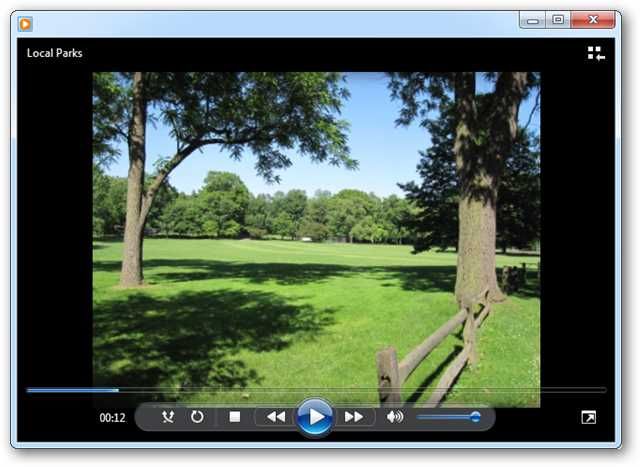
When your movie is finished, it’s time to relax and enjoy.