Beginner Photoshop users be warned—this How-To is aimed at intermediate-level and higher Photoshop users.
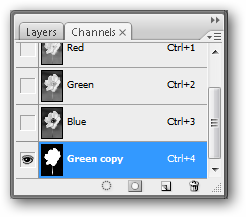
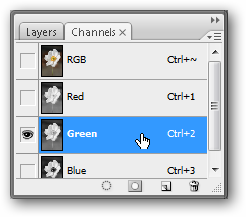
If not, there is little to do except find your Channels Palette and dive in.
It should be on screen by default when you open Photoshop.
If you’ve lost it, you could always reclaim it by going to Window > Channels.
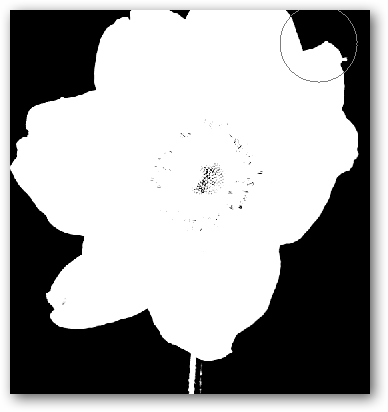
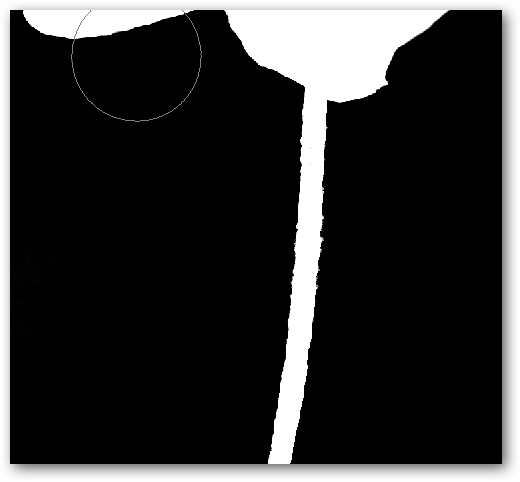
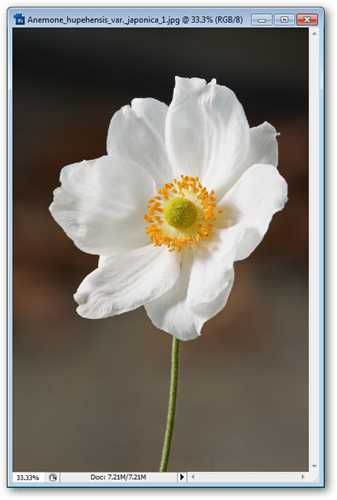
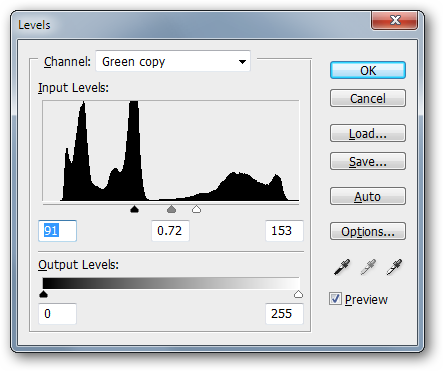
You want to find the channel that gives you the best contrast.
Your image should look the brightest, while your background should look the darkest.
Press
to bring up Levels.
Adjust them intensely, bringing your darks and lights close together.
Every image is going to work a little differently.
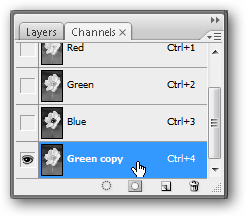
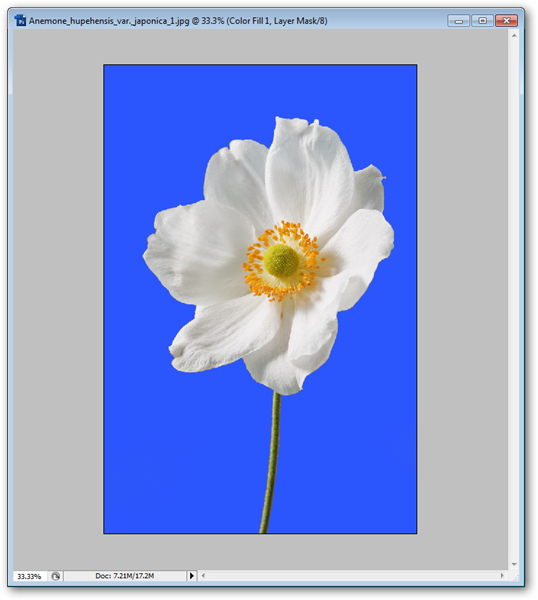
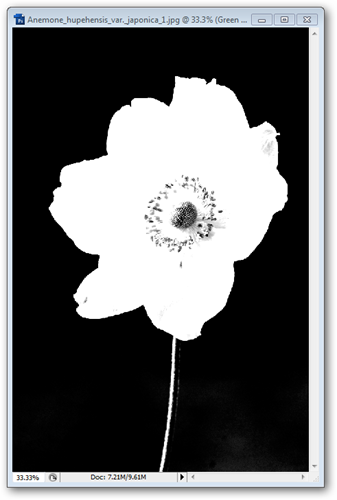
Our flower has lightened up, while our background has become solid dark.
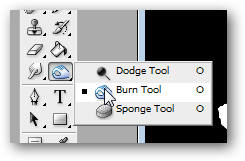
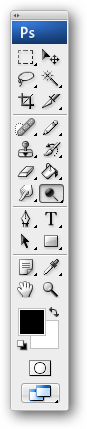
Start with the Dodge Tool, shown here.
On your Control Palette, you’ll need to set your options on your burn tool.

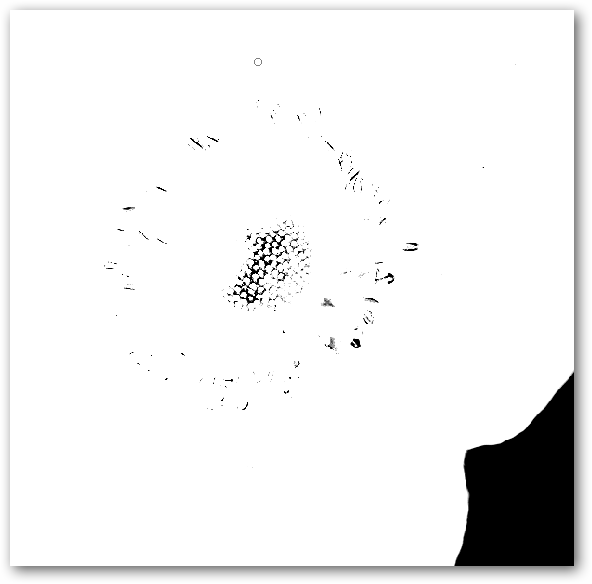
Using your mouse, paint over the gray parts of your image.
Most, if not all, of them should disappear.
You’ll want to avoid areas around the stem as we actually want to get them darker.
But we’ll work on that in a minute.
You should have some internal areas you want to clean up.
you could simply use the Eraser tool to quickly take them out.

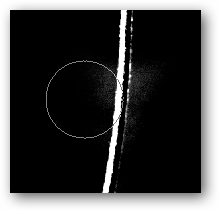
Pick your Burn Tool from the Contextual Menu.
To be useful in this situation, you have to set it to “Range: Shadows.”
Paint over any dark areas that aren’t 100% black.
Your whites will remain white.
and tap on your channel to pick the selection you just created.
Return to RGB by pressing
.
The Tilde key should be to the left of your
key if you’re using a USA keyboard.
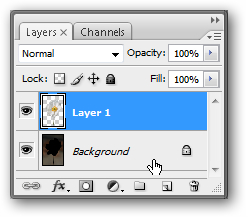
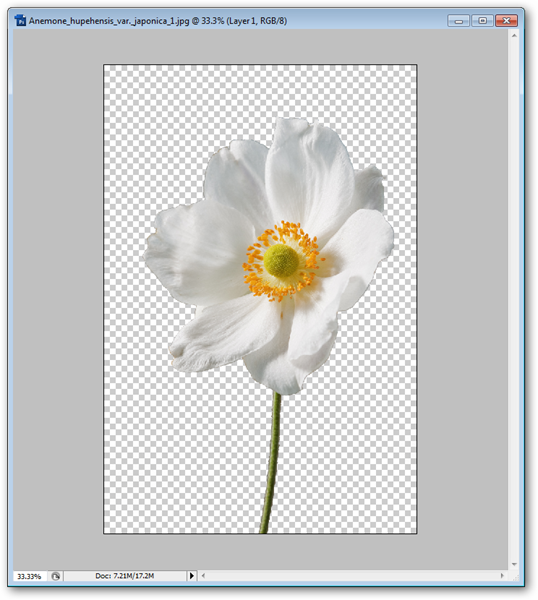
you might turn your “Background” layer off at this point and see the fruits of your labor.
If you could master this, congratulations!

You’ve dug your way through one of the darkest, most intimidating areas of Photoshop.
Image byNoodleSnacksviaWikipedia, released underGNU License.