This can be very useful to get a good look at a Linux distribution without a lot of hassle.
This has been set up into three sections with screenshots for each step in the process.
As you could see, the home folders for your HardDisks and Machines are located here.
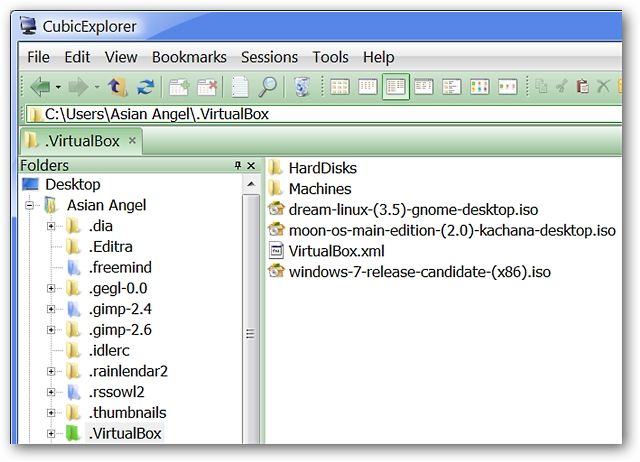
You may also choose to use a different home folder to store your iso files in.
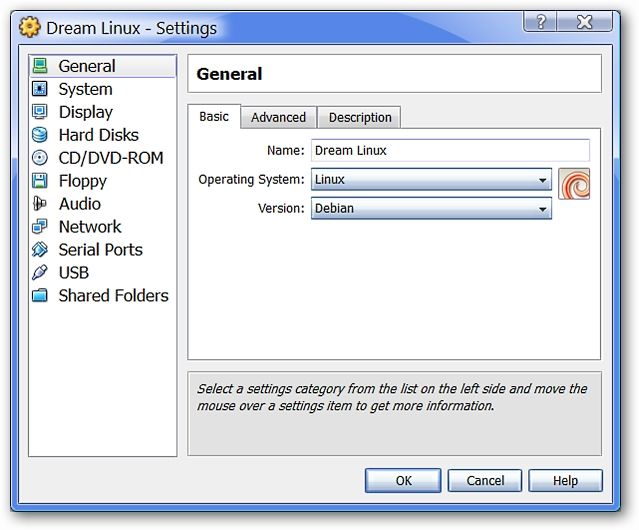
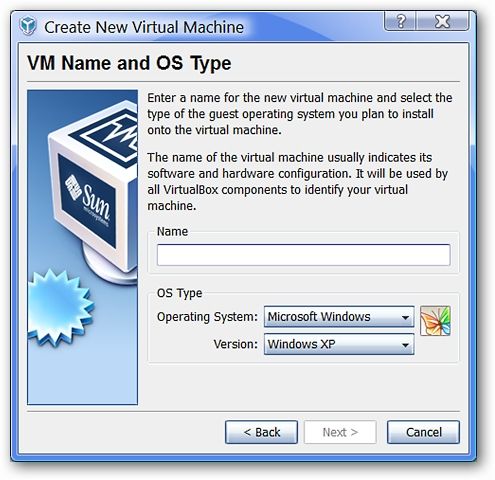
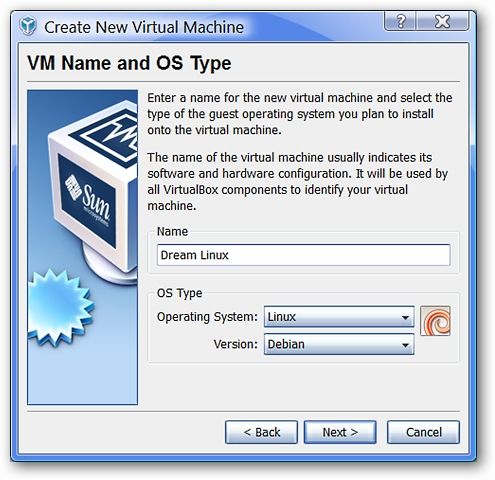
As you might see, the default parameters displayed are Microsoft Windows and Windows XP.
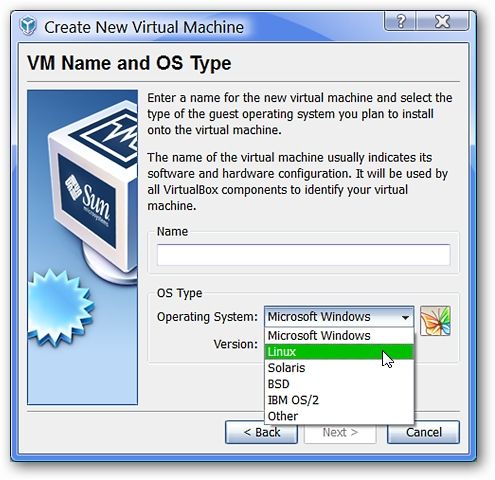
The first thing to do is grab the bang out of Operating System that you want to set up.
Since we are setting up a Linux distribution in our example, Linux has been selected.
Notice the variety of choices available.
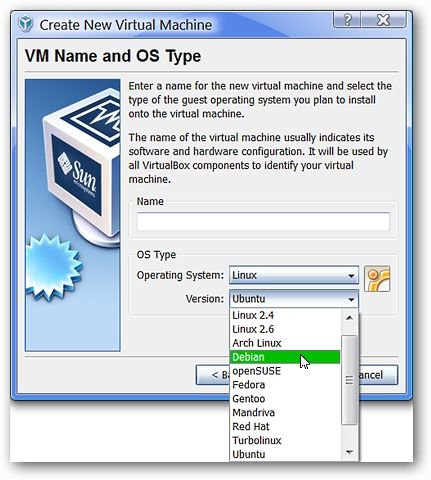
Since Dream Linux is based on Debian, that has been chosen.
Note: You may also choose to list your particular Linux distribution version as Other.
Next you’re free to be as creative as you want in naming your Virtual Machine.
Choose what works best for you.
Here we have chosen to name ours Dream Linux.
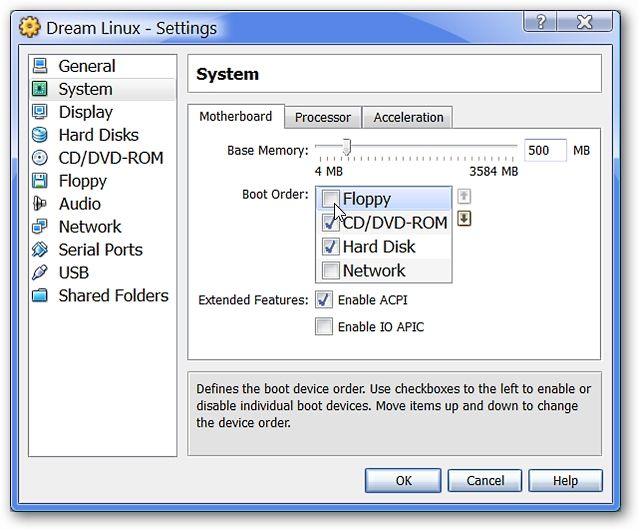
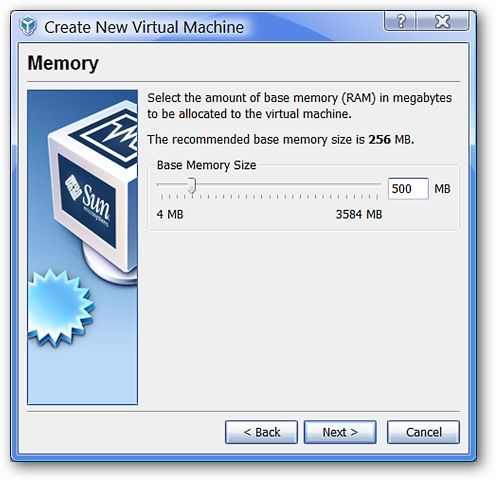
The default is 256 MB for Linux, but here it has been raised to 500 MB.
You are free to leave it set as the default of 256 MB or adjust to suit your preferences.
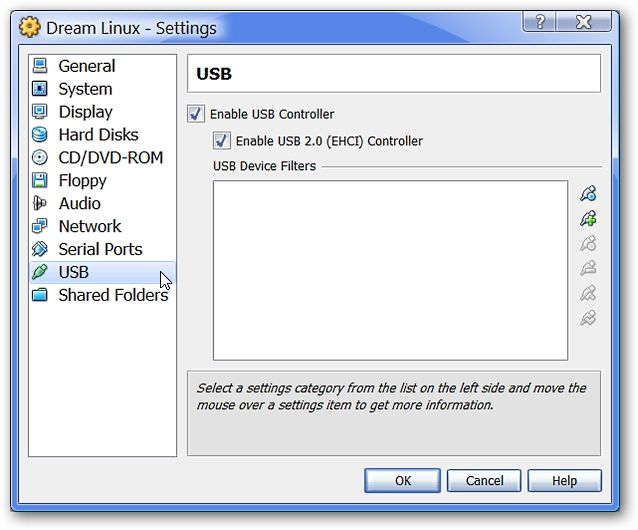
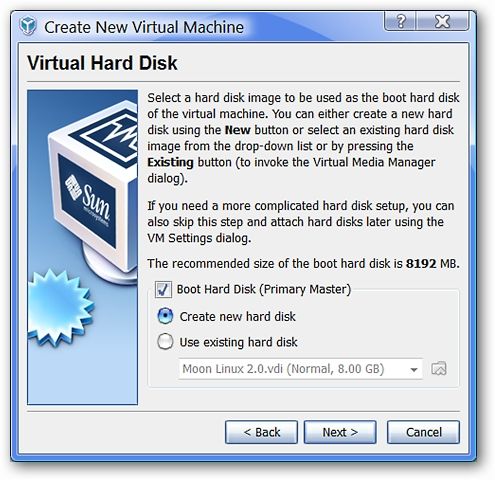
In this window, you will not need to make any changes to the default selections shown.
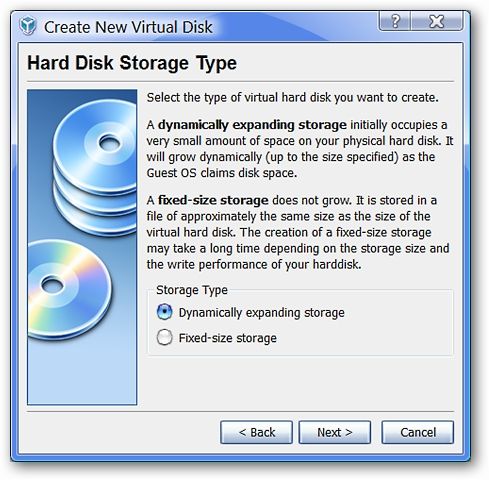
Here you’re free to see the two choices available for Hard Disk punch in.
The default is Dynamically expanding storage and this is the one that you want to use.
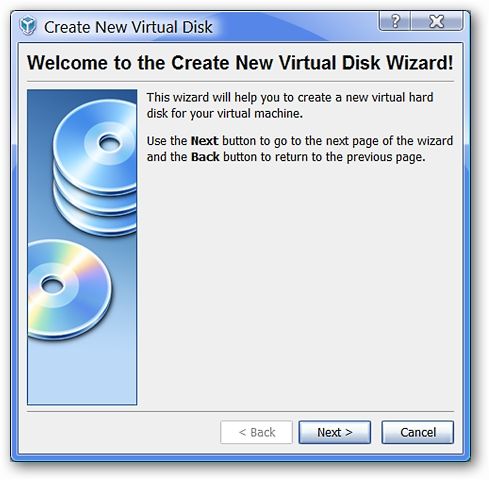
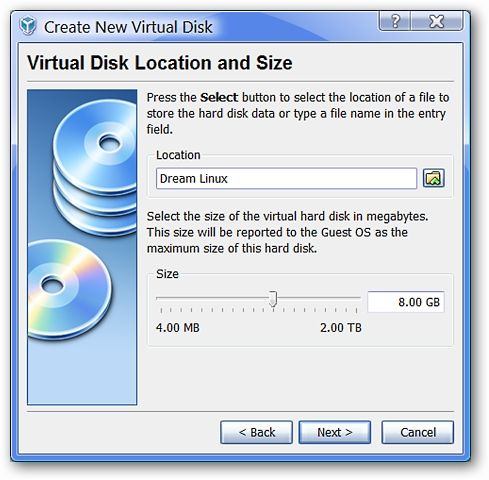
Here you may adjust the maximum size that you want to allow for your Virtual Hard Disk.
The default is 8 GB and has not been altered for our example.
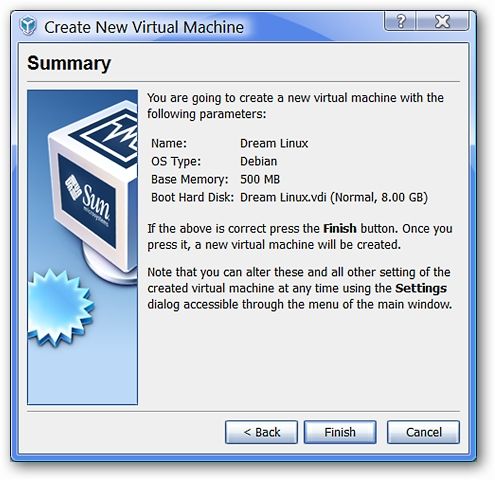
The final summary window for the Virtual Hard Disk that you have just created.
That has your new Virtual Machine and Virtual Hard Disk set up.
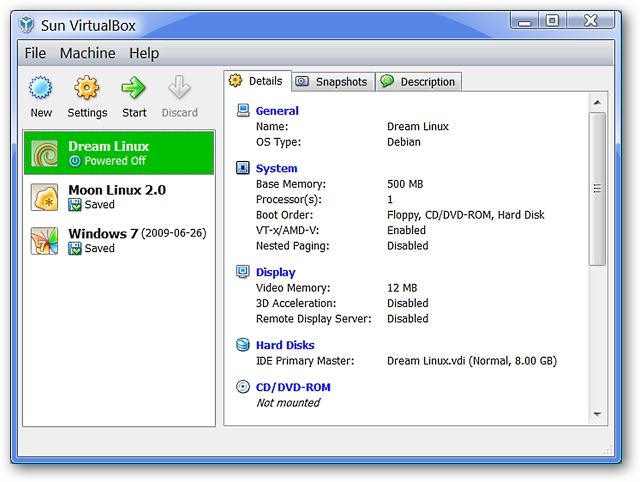
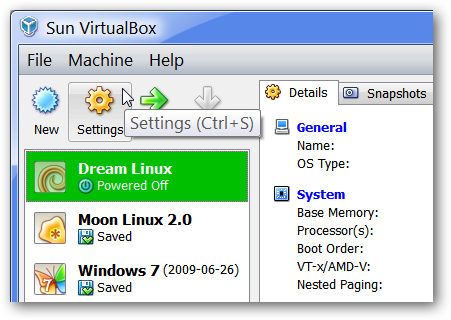
selection portion of the Main Window.
Notice that you’ve got the option to see the tweaks already displaying on the right side.
But there are a few tweaks that still need to be adjusted.
Now that you have the parameters Window open, it is time to make a few changes.
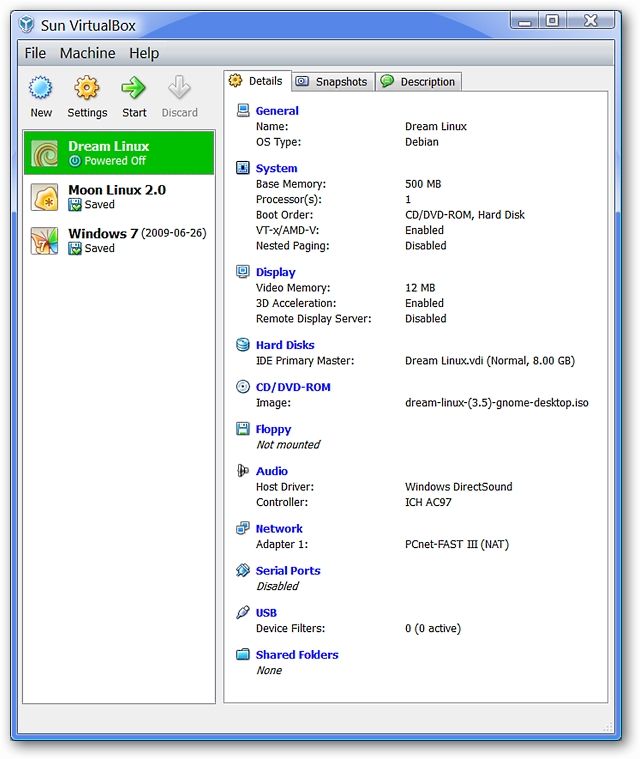
Here you’re able to see basic information about your Linux system.
opt for System category.
grab the Display category.
For our example, Enable 3D Acceleration has been selected.
You may also adjust the amount of Video Memory allocated for your Linux system to use while running.
The default is 12 MB and has not been changed here.
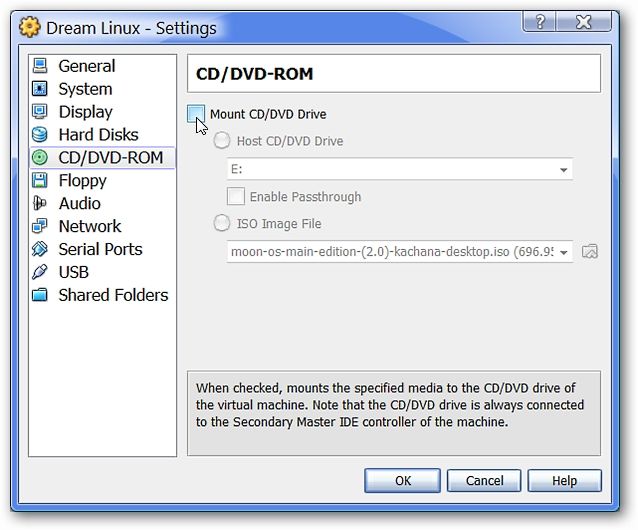
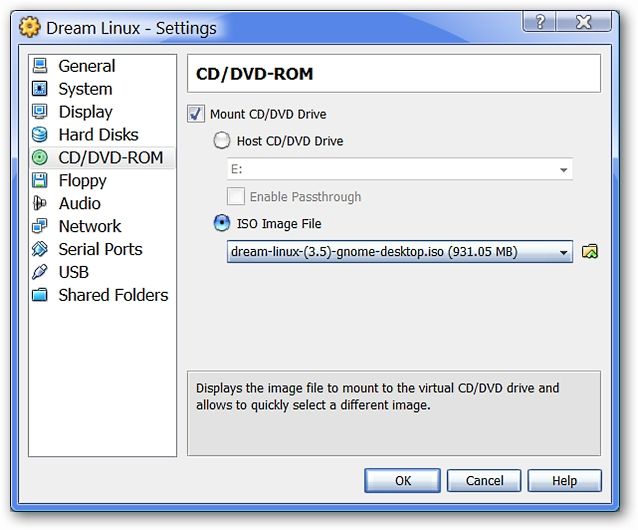
Since you will be running the iso file as a Live CD, go for the CD/DVD-ROM category.
Select Mount CD/DVD Drive.
This will allow you to browse for the Linux iso file you are wanting to use.
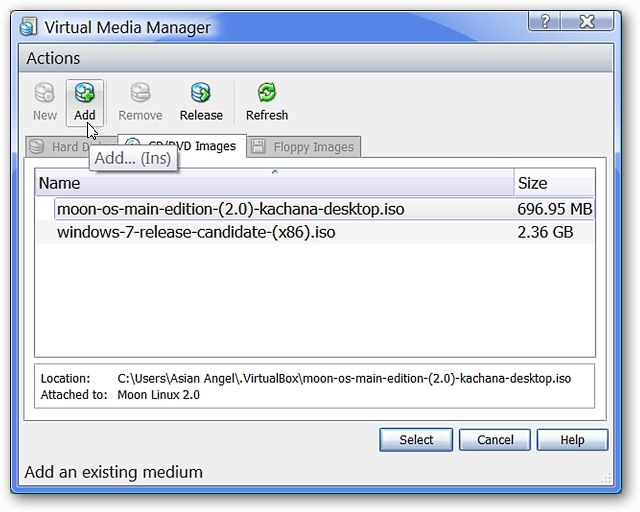
Clicking on the folder icon shown above will kick off the Virtual Media Manager Window.
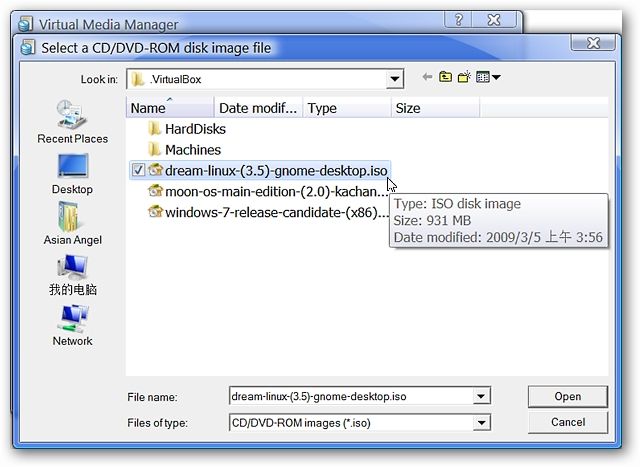
punch Add to open a browsing window.
snag the iso file that you want to use and click Open.
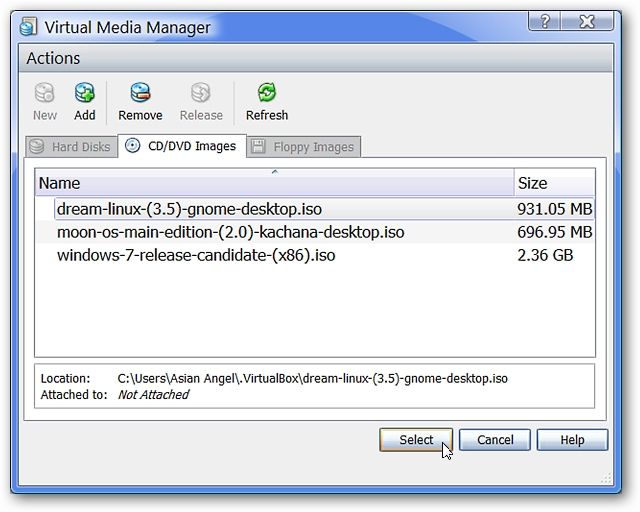
Now the new Linux iso file is in our list.

choose the iso file you need and click Select.
Now the proper iso file is displaying in our tweaks Window.
Now that all of that is sorted, click OK to finish the process.
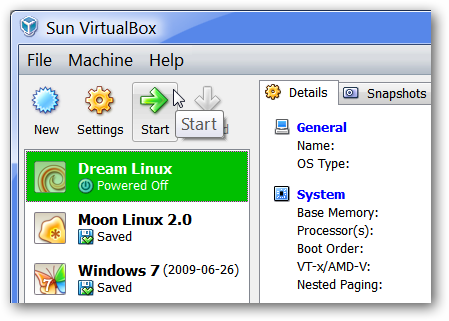
Now comes the fun part!
Select your new Linux system on the left side and click Start.
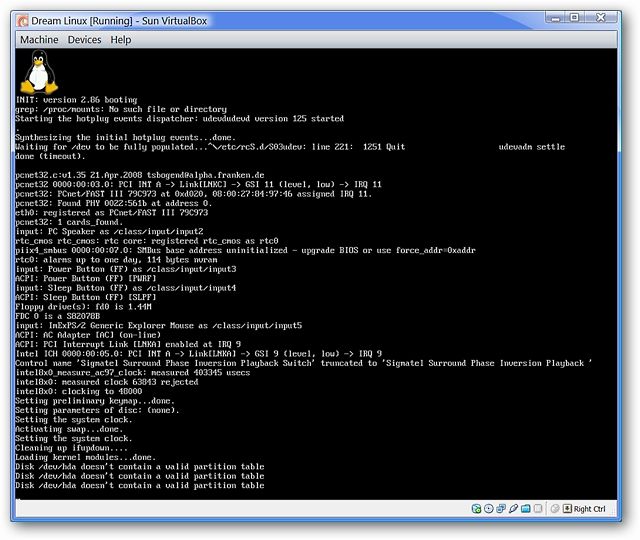
Start up time for each Linux distribution will vary depending on which one you are using.
Here you’re able to see the start up process for our example.
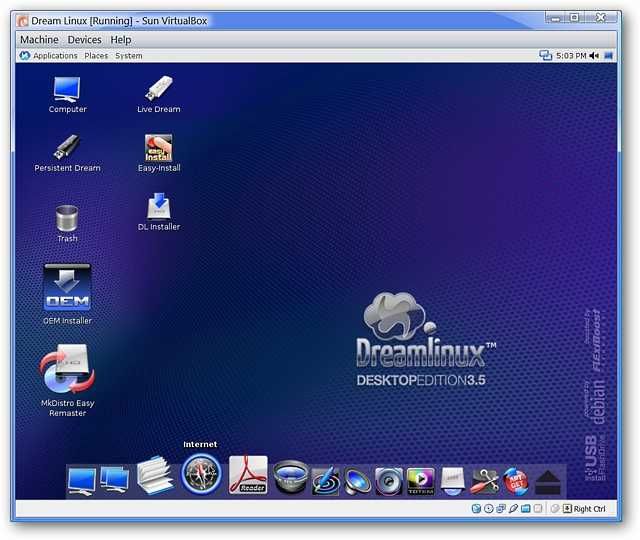
And there it is!
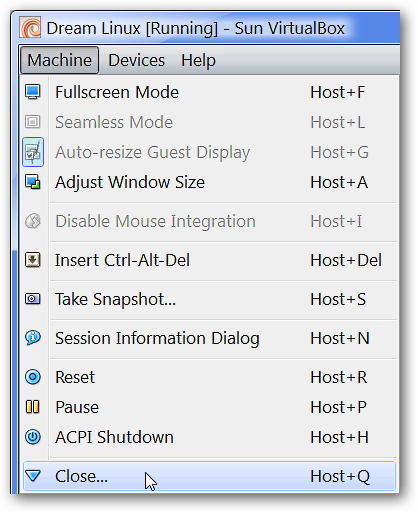
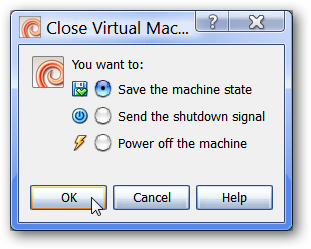
Be certain that Save the machine state is selected and click OK.
Desktop, etc.
).