So all in all, power-users will probably be happier with a Mac Mini.
And on top of that, you may already have a Mini lying around that you want to convert.
I have my Mini (as well as my server) plugged into a gigabit Ethernet switch.
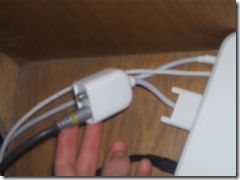
The next important thing is to get your Mini actuallyconnectedto the television.
For this you’ll need two cables and (at least one adapter).
The adaptor can be purchased from Applehere($20 USD).
(note, you may be lucky enough to have a DVI-in on your television.
You will also need to pass the audio from the Mini into your system.
Usually, this means connecting the audio to the television, but you may have a different setup.
VNC Server
We will want to control the Mini using the Apple Remote exclusively.
However, a remote is a pretty limited interface and can only do so much.
To do this, we’ll use VNC.
However, this has its issues and really isn’t the best server to use.
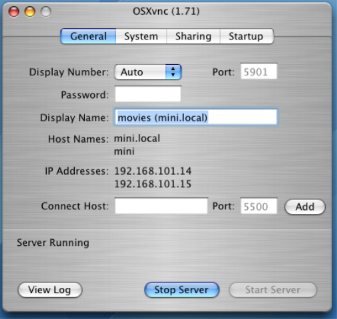
Instead, I recommend you install and configureOSXvnc.
Installation is pretty easy (like with most Mac applications).
Just download the DMG, let it mount, and then drag the OSXvnc.app file to /Applications.
Fire up the OSXvnc app and choose a password.
After you authenticate, OSXvnc should be installed (and running) on your Mini.
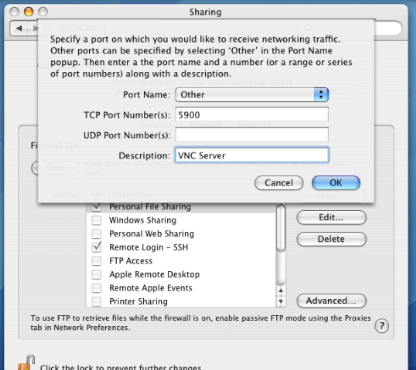
The one final step is to allow VNC traffic through your firewall.
Open System Preferences and select “Sharing”.
Choose “Firewall” and select “Add…” For port name, select “Other”.
Just leave the UDP Port blank.
Click OK and ensure that the service is checked.
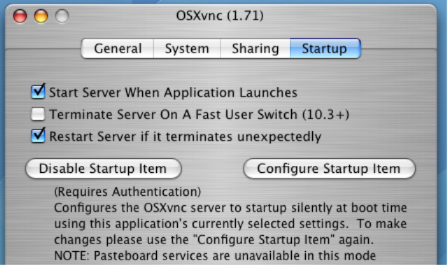
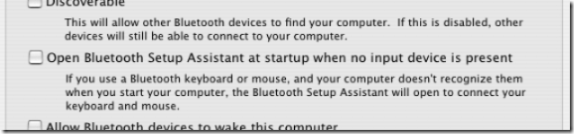
The one wrinkle in this magic kingdom of remote elegance is that Macs require input devices to completely boot.
Luckily, this can be overridden in System Preferences.
FrontRow
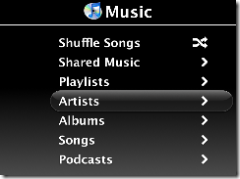
Every modern Mac comes packaged with this magical little app called “FrontRow”.
You navigate using the + - and « » controls on your remote.
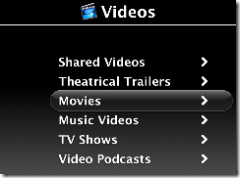
Any iTunes movies you have in your library should be available from the “Videos” section.
We’ll exploit this fact in part 3 to store our movies on a separate server.