Installing the Wrangler Command-Line Tool
To create a site deployment, Cloudflare has created theWrangler command-line tool.
Wrangler requires installation via eitherNPM (NodeJS package manager)orCargo (Rust language package manager).
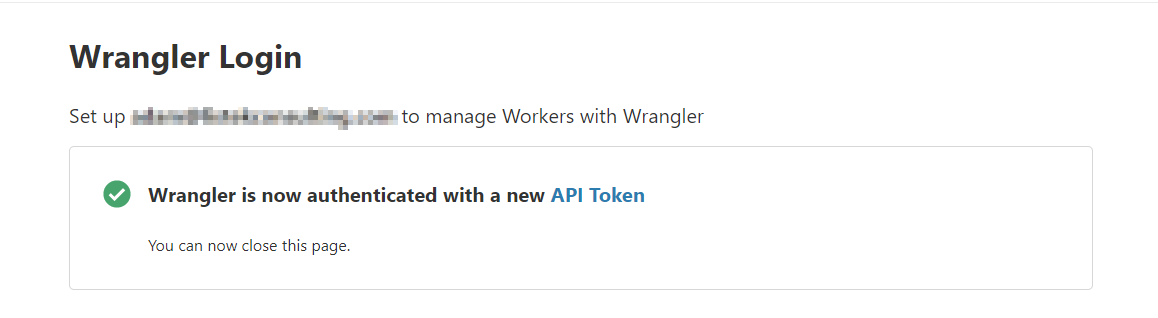
To do this we use the newwrangler loginfeature.

Otherwise, jump in and Wrangler will configure the API token automatically.
This file is contained in the user’s home directory and stored in the sub-directory.wrangler\config\default.toml.
We need to turn off the default WordPress CRON setup by using the following configuration inwp-config.php.

This takes effect the moment that the file is saved.
Typically, worker scripts are only triggered when they are called.
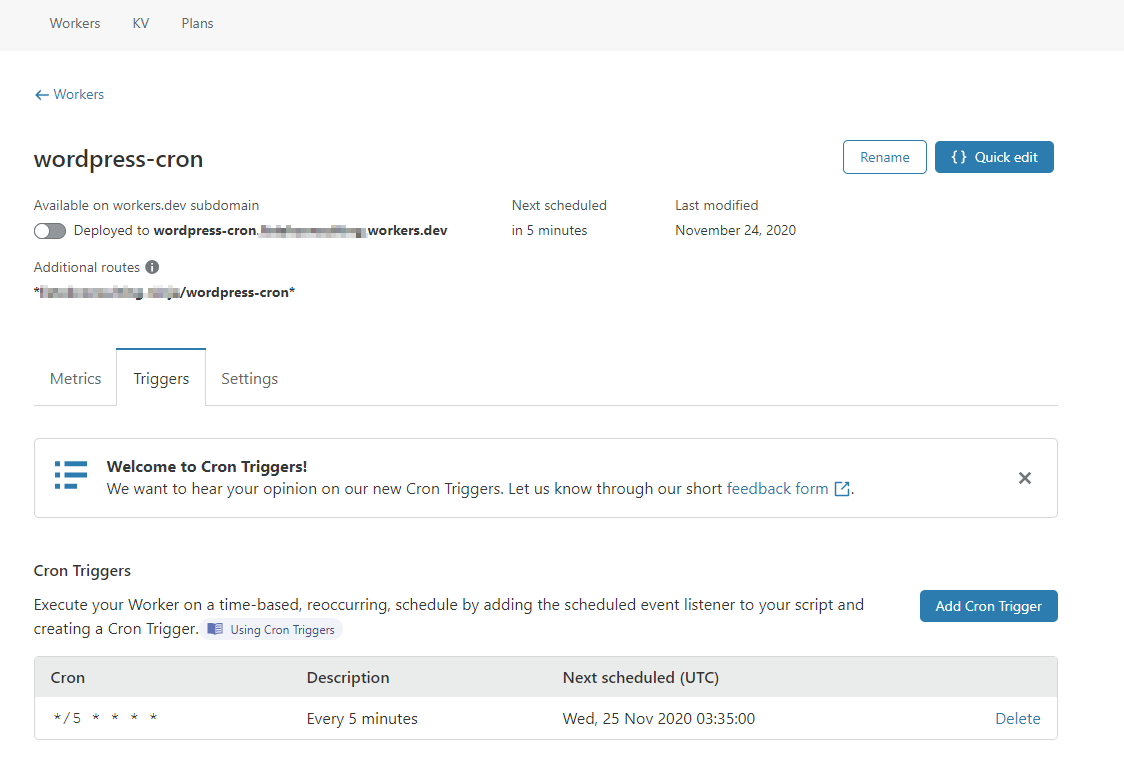
In this case, we will be scheduling a CRON trigger to run this every five minutes.

Cloudflare Workers scheduled by CRON triggers will run on underutilized machines to make the most efficient use of resources.
Creating the CRON Trigger Configuration
Cloudflare Worker CRON triggersuse the familiar Unix CRON syntax.
This makes it immediately familiar and with a wealth of learning resources behind it.

The configuration syntax looks like the below code that shows a trigger running every 5th minute.
This will create a directory named,wordpress-cronthat contains everything needed to deploy a javascript based worker.
Next, modify theindex.jsfile that is generated.
Within the script, we will simply call thewp-cron.phpfile with the parameter ofdoing_wp_cron.
When this is called, any CRON jobs that need to be run will be.
Finally, you will need to update yourwrangler.tomlfile to include the necessary information.
Update the configuration file to include youracccount_idandzone_id.
Both the account ID and zone ID will be located there.
This route will match any protocol,httporhttps, and any additional parameters or paths beyond thewordpress-cronsection.
Feel free to make this whatever you would like.
Start exploring Cloudflare Workers and how this serverless technology can fit into your workflow today!
